When you click on links to various merchants on this site and make a purchase, this can result in this site earning a commission. Affiliate programs and affiliations include, but are not limited to, the eBay Partner Network.
I have done the brackets that mount the airbox. I might paint the rivets black as they draw the eye to a mounting strategy I think is easy and convenient but not necessarily the most beautiful. Sort of wish I had done hidden mounts now but there we go. I put the seal on the cowl and it seals nicely to the box inlet.
Need to work out what I am going to do for the rubber seal that goes across the top of the cowl and seals to the bonnet. The airbox surface is slightly lower than the top flange of the cowl to give room for the curved intake mouth to not hit the bonnet, so the seal needs to be spaced up a bit. Might just cut the OEM seal short and put a sticky back seal on the top of the airbox, probably the easy option.
Intake tract is basically sorted, angles and lengths all sorted.
I've got all the bits in for the catch can so I will start work on that now I know exactly where everything sits.
I'm pretty happy with it though, seeing it in gloss in the bay did make me smile. It's not perfect but I'm happy with it.
Should have the car running again within the week, then the proof in the pudding will be seeing what pressure drop I see at WOT, and how that compares to what I saw on the dyno.
Aiming for 2kPa by 7krpm, that should achieve the 300crank we saw on the dyno.
I'm steadily getting better at my TIG welding with aluminium. I did the best ali weld I have ever done on the outlet boss. I am particularly happy because it is a fillet weld and I always struggled to get a nice tight, non contaminated bead.
Of course the best bit is orientated so no one will ever actually see it, but there we go.
Normal service resumed on the top, visible an-12 boss, where I dipped the tungsten, turned the gas off to sort it all out then started welding with no gas. Classic.
Its coming out pretty good though so far.
And features internal baffling to try to separate out any oil.
I have had to notch a bit of the bottom to clear some wiring and vacuum line. I might extend the bottom of it out forwards wrapping under the intake tract to recover / increase capacity.
I'm in two minds, it never really filled very quickly before.
Finished off the last of the catch can. It's come out alright. I've been trying to analyse my welding closely on this project.
Oddly the welds I have struggled with most are actually the outside corners / edges. This is unusual because that type of joint is normally what I find easiest. Looking into the detail though normally I have an edge that is already prepared for me. For the tanks I buy the pipe, then I buy the top and bottom circular disks in laser cut.
The difference on this can is the outside edges have been cut by me, with a cutting disk. I wonder if this method of cutting is leaving impurities in the edges of the cut pieces. Once cut I give them a quick go over with a flapper disk (zirconium I think, will check), then thoroughly cleaned with spirit and wire brushed. I only use all of these tools on aluminium, no mixing onto other metals.
There's something up with my prep anyway, because I can see and hear the instability in the arc, and little impurities in the weld, and this contributes to the poor appearance because you its hard to get in a rhythm.
This contrasts to the outlet boss I welded - my best weld ever. No cuts were required, I just cleaned and wire brushed. arc was lovely and stable and it shows. Only adjustments to welder setup was amps, no other changes.
I also think I was using too big of a filler wire on the outer edges. I only have 3.2mm. Too much material being added and it gives the ballooned profile. I think some 2.4 would have been better.
ah what could have been. Very bottom weld looks terrible at this angle in the picture but it's not that bad in person. I water tested it and it didn't leak.
Bolted in it's a squeeze but all fits, then I altered the breather pipe lengths to suit. It is a couple of jubilee clamps away from a test run, probably Wednesday at some point because it's going to rain tomorrow.
I like to use bending as much as possible to avoid welds in such situations. Your welds look way better than mine though! Is the braided hose touching the silicone? You may want to isolate them somehow, I guess it will eventually rub through.
I like to use bending as much as possible to avoid welds in such situations. Your welds look way better than mine though! Is the braided hose touching the silicone? You may want to isolate them somehow, I guess it will eventually rub through.
Cheers Harry. They are getting better - and more reliable, but I want to get better.
Almost, there is about 1mm in it. They probably touch under load a bit so I will keep my eye on it, thanks.
Had a bit of clear weather at lunch, and thought no time like the present! So here are the results:
Ambient pressure was quite high today, in this location average about 102.5kPa. Maximum depression in the intake at redline was 100.6kPa.
So achieving the target of 2kPa depression with the airbox. Basically the airbox design is providing the filter all the air it requires, pressure drop is the same that I saw with the filter totally open to the atmosphere on the dyno.
Interestingly MAP was well up, to about 208kPa, then 220kPa under rev limiter conditions. This will be a combination of the extra ambient pressure and lower intake restriction. Shows how these compound one another!
No issues with the setup, just need to tidy a few bits up.
Sounds really good too. A lot more induction noise but more crisp air suction sound than overbearing whine noise.
Not a big update, but I have just finished off the last of the tidying up around the new airbox.
I treated / painted the cut panel edges, put a self adhesive seal across the back of it to seal to the bonnet, put some mesh over the cabin fan intake and fitted a slightly modified cowl cover thing.
So next on the list is the cylinder head - I am swaying back to the +1 exhaust valve head, but trying to find some cheaper options for the machining side of things.
I'm not sure exactly when this is going to make an appearance. I am moving house around Easter so I will be busy but also a little shy of making any big changes close to the move, not much time to put any issues right. I also don't want to rush it though. If I can get it ready late feb I might be tempted, but later than that I might wait until after the summer, we shall see.
I could be tempted to try putting my big exhaust cam in the current stock head (just need to get shims, the BCDs of the stock vs my cams are quite different) just to see if that makes any difference. Sim says this is worth 5hp, and could give a good indication to if further exhaust modifications will win me anything.
No particularly exciting updates. I dropped the cylinder head into the machine shop. This is the +1 exhaust head. I replaced the guides myself, which wasn't too bad. I actually drilled and tapped the old guides then pulled them out with some threaded rod, a nut, and a long socket to act as a puller. It worked well the intakes came out perfect, there were a few slight scratches in the bores on the exhaust, I think from some carbon. Generally it was a good process, gentle on the guides and bores but pretty long winded. I then reamed out the exhaust guide bores to 11.02mm (about a thou bigger than stock) with a hand reamer. The shorter Subaru guides are about a thou larger in diameter than the stock guides and I wanted to maintain the stock 2thou interference fit. It also removed the few scratches in the exhaust guide bores from the removal process.
I then put the head in the oven at 130degC for about 45mins, slowly bringing it up to temp, and I froze the guides in the freezer. Then used a valve guide driver and air hammer to install them. It was easy going, I used just above the minimum power available on the air hammer and they went in smooth. The Subaru guides look great in the exhaust ports, but the intake guides (made for the Mx5/Miata) extended too far into the intake port for my liking, so I removed them and did the same as I did for the exhaust, reaming out to 11.02mm and fitting the shorter Subaru guides. Looks a lot better, when you look down the top of the port now everything lines up into the bowl. Exhaust port with guides
The machine shop are going to ream the guides to size, open out the exhaust seats and then cut the seats, sinking the +1 ex valves to stock height. It's going to be about a month. I have saved quite a bit of money doing the guides myself (or atleast spread the cost over a couple of months, had to but the reamer and guide driver). The shop doing the work has a long and great reputation for performance engines and they knew exactly what I was trying to do, so I am sure they will do a great job. They will also do all the vacuum testing, concentricity checks etc so I am in good hands.
I've been practicing my TIG again, trying to route out the causes of my inconsistent aluminium welding and grey stainless welds. For the aluminium I had a fresh piece of intercooler pipe bend. I wiped it down with solvent and cut it into a few sections with a fresh disk in my angle grinder. First I tried welding the two factory prepared ends (not cut with my disk) together. It didn't go great but on initial arc strike was clean and created a nice pool. I was able to tack weld very easily and cleanly. I had a bit more trouble as I tried to continue the weld, I think I was pulling my filler out the gas coverage accidentally, but a bit more work on technique and I think I can crack that, its the working around a pipe that throws me.
I then tried welding two ends that I had cut with the disk. The difference was obvious, despite cleaning before cutting and using fresh disks the pipe didn't want to tack together at all. The arc didn't sound right and the pipe just wanted to melt away with little black impurities in it.
The disks I am using are just cheap general purpose thin metal cutting disks, I am going to talk to some places and see if there is anything more suited out there. I'm also going to get myself a nice big hacksaw with a suitable blade and try that too.
Next test was just on a flat plate of fresh aluminium. I peeled off the film, wiped it down and wire brushed it (only use this wire brush on ali). The arc was really stable and I could lay beads without an issue. Didn't have the filler rod problem, it was easy to keep the rod in the gas on the flat plate and it kept everything nice and clean, as it should be. Then what I did was take my grinder with one of my flapper disks (also fresh) and give it a quick pass over an area of the ali plate. I then laid some welds on that area. It did weld, but I could hear the arc wasn't quite as happy, particularly at the start of the bead. In appearance, you can see these beads have impurities in them. Flap disk area on left, just cleaned and wire brushed on right. These are right side welds, the arc was a lot more stable and particularly at the start they are more regular (although still a bit squiffy) These are the flap disk, left side welds. More impurities, less regular at the start.
I think I have found the main source of my problems on aluminium, which is good, and I need to practice my filler rod technique going around pipes doing butt welds.
On stainless I am still having issues with grey welds, even on flat plate where I don't have so much of a technique problem as on pipe. I can fusion / tack weld the stainless and these come out the correct, shiny colour but as soon as I add filler they go grey. I've been doing a lot of research and it seems to be a lot about heat and travel speed and I think I need to get myself a larger cup / gas lens. I have been really focussing on cleanliness but on stainless atleast I haven't been able to see the improvement yet. The greyness also happens regardless of whether its on flat plate, a fresh factory edge or an edge I cut with a disk, it is related to my technique / setup when adding filler or doing more than a spot weld.
On mild steel I don't have any particular stop dead issues. The welds are shiny and bright. I probably move a little slow and sometimes meander a little off course sometimes but generally I am pretty confident I can lay a decent weld first try. My fillet weld technique has improved a lot, get the weld right into the joint and a nice side profile on them now. Mild steel fillet and butt weld
Took the car in to get it aligned, corner weighted and weighed today.
Really happy with the results. The car hasn't felt as eager to turn in lately, I had put it down to tyres but we found that the coilovers settling over the year removed all the rake and that I was running too much rear toe in.
We corrected that and also added a little bit more front camber. On the road it felt great. I'm back off to Curborough this weekend so we shall see how it goes there. The toe in may also explain why the rear tyres went off so quick at Donnington, end of last year. I'm pretty happy because if we have managed to put a bit more accuracy in the car and solved the rears going off on these tyres I will continue to run them, because on the road they are great, no surprises and nice and progressive in all weathers.
Only issue I have is that I am still using the slightly bent subframe from the crash a year or so ago, so it is a bit of fun and games getting the rear camber correct side to side. I will replace the subframe next winter.
We weighed the car, this is with 80kg in the drivers seat, full fuel and water. So 1052kg if you take my weight out. Very happy with this I was expecting 1060-1070kg with the WI and big exhaust.
I've been practicing my TIG again, trying to route out the causes of my inconsistent aluminium welding and grey stainless welds.
without trying to teach you something with eggs, practace & then practace some more I've 33 years practace and evry day I get paid to practace more (still no good with it though! wobble too much...)
also, sit if you can as you'll relax - stress or tension are not your friend (as I know all too well)
what set are you using and what settings for ally? there doesn't look to be a lot of 'cleaning' action around the bead so can you adjust the ac ballance some?
It's a Stahlwerk machine. It has ac/dc, amp, ac balance, pre flow, post flow and high frequency start. It is a cheap machine but seems well specced and had good reviews.
I have the ac balance at about 10oclock, 12oclock being the middle of adjustment, although I am not sure if 12oclock is true 50% duty.
I would agree the cleaning action is pretty tight to the weld.
My only gripe with the machine so far is the lack of foot pedal function. I'm looking into how to add it, there seems to be some options out there, some more DIY than others.
I normally stand, but rest my hands on things. It is far from optimal, I need to get myself a stool.
Out of interest how do you normally prepare ali for welding?
Thanks Rich, as per chat I had a bit more luck with the stainless today. Instead of using my filler rod I used my 0.8mm stainless MIG wire as filler. It seems better suited to the amps, about 50, melting quickly and nicely, rather than my 2.4mm filler rod which doesn't want to melt as much at that power setting and as a result you sit there cooking it. I did a lap and a butt joint on left over ss pipe from my manifold. I also pulsed the trigger to manage the heat, because I still find moving around pipe awkward. But a big step in the right direction, see below. The mig wire is annoying to use though, too flexible, its hard to be accurate with it. Might try some 1.2mm filler see how that goes. Also I need to try a bigger cup, because when I tried to just do a straight bead on top of the pipe I had the same issue as before, grey welds. I was moving a lot faster, so I think the back of the weld was coming out the narrow gas shield too early. Didn't have this issue on the pipe because I was pulsing around it, so moving a lot slower.
Had a great day at Curborough on saturday. The adjustments to the setup have done wonders, I am proper happy. The back corner on the circuit, before the main straight, is a tightening right hander that really shows up any handling deficiencies. You need to trail brake the car in around the first part to tuck the nose into the late apex so you can get on the power nice and early to power out as the track opens up onto the straight. Too much front grip and you can put a rear wheel on the grass coming in and it will spit you round before you know it, too understeery and you just have to manage a depressing push and slow exit. I've had both variations over the last couple of years going there, but yesterday the car was really easy to tuck the nose in without being too aggressive on the way in. I'll post up yet another Curborough lap video very soon, just incase you haven't all seen enough Anyway I had loads of fun chucking it about and it felt properly quick. I took a few friends out in it and they were all very impressed with how the car went as a whole which was nice to hear, as these guys are all very competitive in the local autosolo championship and know what to look for. I took one of the attendees 12 year old son out for a lap of lairyness and by the sounds of it I think we have a future mx5 owner Few pics from the day
My hacksaw arrived this morning, so I thought I'd try a little test butt weld on some ali pipe.
I wiped the pipe down, cut a slot in it most of the way through, leaving a bit on the back just to hold it together.
This gave me a butt joint with a consistent 1mm ish gap to fill. I have never done even half reasonable ali pipe butt joint weld before. My supercharger setup doesn't have any joints of this configuration (luckily) they are all fillets or outside corners, I don't have any boost pipes that would require them, and someone else did the joints on my coolant reroute pipe a few years ago.
I wire brushed the top surface and fired up the TIG and the difference was night and day.
I used about 100A, AC balance about 10oclock and the arc struck straight up, producing a nice puddle. Got a bit of filler in there quick just to tack and came off trigger.
I turned it down to 85A and got a bead going no problems at all, no crackling, no melting away just nice easy going.
See below for previous efforts vs this morning.
Its not perfect, bit uneven but I am still standing up, hobbled over the top of it. I am not comfortable at all so that is the next thing to work on, get myself a welding stool. That will help my torch angle and gas coverage too. But it's a massive improvement and it wasn't luck. It felt controlled and that I could achieve that again if I prepared the material the same way.
Got the head back from the machine shop. had them hone the guides to size, open out the exhaust seat throats a little to match the +1 ex valves, then a 3 angle cut on all seats.
Everything looks good, they pressure tested all the valves after cutting so shouldn't have any issues there, also they sank the +1 ex valves correctly.
Measured the combustion chamber volumes and they are between 49.4 and 49.9cc. This works out at a CR of about 8.7.
My current engine is about 8.7CR, and now think I was running a CR of about 9 previously with my big cams. The actual CR seems to be a little lower than if you just take the advertised CR of the pistons (9:1) and the estimated increase from a skim.
I think I am just going to give this head a 1mm skim, which will put me at an actual CR of 9.4.
This will put me a just little higher than previous, not getting too greedy and causing potential valve to piston, deck thinning or det issues, but still giving me most of the bump in power my sim says I should.
I need to keep in mind I run 50degC air temps out on track.
Nothing massive to report, but there are a couple of interesting things I have been looking at.
First up I have revisited the mystery of why my new pulleys (2.5:1 ratio) didn't make any more power than my old pulleys (2.19:1 ratio. In my head lately I thought that maybe on the day of the new pulleys we hadn't corrected the figures, and as it was a hotter day this would be a disadvantage.
However when I checked both days figures had the same DIN correction applied, so it's not that. But then I noticed that the dyno run for the new pulleys seems to stop earlier than the old pulleys. The charts are in wheelspeed but when I calculated it out the new pulley run stopped at 6346rpm and the old pulley run at 6632rpm. It is likely that these rpms are a little low as the tyres will have been part worn (smaller diameter than new) which would increase rpm for a given wheelspeed. The diameter should be pretty much the same between the two dyno days because they were close together date wise, with only one trackday in between, which I didn't do a lot of miles on, because of the oil temp issue. For some reason (laziness I assume) I had used the same 6600rpm figure for max power when comparing, which works against the new pulleys, because they were actually making the power earlier in the rev range. I think I didn't notice straight away because the two pulls are in different gears, one in 5th one in 4th. When you plot it correctly the power plots look like this:
This is what I expected to see, not quite the gain I predicted (or that my sim predicts) but still the correct trend. Maybe the extra heat of the day was disproportionately effecting things like the chargecooler heat soaking which gave a larger disadvantage than the DIN correction adjusts for, not sure. But anyway, the general trend is correct.
I have also been playing around some more with the simulator. One thing I have been conscious of is I have been churning out results that tally with my dyno whp numbers, but really the sim should be predicting engine hp. There is a lot of adjustment within the simulator, everything from supercharger efficiencies to combustion modelling settings, and a lot of stuff that I don't really have the data for or ability to measure. But basically I standardised my ambient atmospheric settings to the DIN standard (same standard as dyno) which is 101.3kPa, 20degC and 0% humidity, and also looked more in depth at the friction model updating my oil type and oil temperature, along with bearing sizes. The result of this basically sprang the power figures up to my engine hp readings from the dyno. This also incorporated working with the actual CR numbers from my engines, for instance 8.7CR on the current engine rather than 9CR. Also using the 9.4CR I will build the next head to instead of 10CR.
You can choose different friction models, which result in different FMEP figures for the same data inputs so within relatively small degree you can sort of choose your power result. Its really the delta results I get when I change cam or valve size I am most interested in, and for those I keep all the base settings the same to compare fairly.
Setting up the sim to align with engine hp still resulted in the same trends as previous testing which is good. The sim expects my new head to make about 323hp @7k, up to 340hp @ 8k (engine hp) if I spin it all the way there. The two traces below are where I currently am, which ties in nicely at just over 255lbft and 305hp @7k (vs 251lbft / 303hp from last dyno), and the new head.
See if all the bench racing has got me anywhere in real life later in the year.
Still a bit of work to get it bob on as the sim now slightly overestimates the engine hp if you remove the supercharger system and run it NA, I get results of 150-160hp at the engine where really it should be 140hp. Equally I think 150-160hp at the fly is fairly normal for adding an aftermarket ECU, decent tune and exhaust on a healthy engine? Been a while since I've looked at what people normally achieve with NA mods.
Hi everyone, not a massive update, to be honest I've been just getting to events and enjoyed driving the car hard this summer.
There were a few things that were frustrating me. The new engine continued to use oil. Hard to say exactly how mucb as it wasn't consistent, and I don't do regular mileage in the car anymore, but it was probably around 1litre per 1000miles, maybe a little more. I would also get the odd puff of smoke now and again.
The car also grew an appetite for lambda sensors since the rebuild. It also tended to read very rich until the sensor warmed up a bit, when afrs would suddenly return to normal. It wasn't a warmup mode and I could see from the pulsewidths in the log that it wasn't something in the tune.
Also a bit of a weird one but over a period of a few months I found the car getting richer under load, like the volumetric efficiency of the engine was reducing slightly.. However leak down and compression tests still showed great results, valve lash all in spec etc.
Anyways I had a set of OEM valve seals lying around and thought I may aswell check the valve seals in the head (which is a head I bought off a friend in a rush last year to get back on the road). I knew the seals in it weren't OEM. Every single intake seal was split like this, and every exhaust seal felt very loose on the guide.
So I put it all back together with OEM seals and replaced the lambda sensor. Readings during warmup read correctly and very interestingly (and slightly worryingly) afrs under load went about a point lean. I had to add all the fuel I had taken out over the past few months back into the map. I think the oil burning had poisoned the lambda sensor producing odd readings. Glad I caught it before anything was damaged.
I did a long trip to a trackday, total around 600miles, about 100miles of that on track and the car only used about 0.2 litres. Which is a big turnaround and I am totally fine with. Also not a puff of smoke seen since.
Here is a video of me chasing a Lotus Exige 380 Cup on that trip. Was quite pleased to be able to keep that in sight for a few laps. I've been in one before and they are definitely a very fast and capable car.
And a video from earlier in the month at Blyton Park. It was the hottest proper trackday I have done with this setup and it performed without a hitch. I saw intake temps of up to 60degC at the end of the longest straight, but as usual came down again during braking, rather than steadily increasing during a session. Oil and coolant temps were all fine, was able to batter it around all day.
I went back to using MRF ZTR track tyres, this time in a wider 225/45 r15 and I have really enjoyed the extra grip and precision. Plans over the winter are to finally get the upgraded head on the car, but also pay some attention to the suspension to see if accuracy can be improved further. Also my diff is a bit tight, could do with being slightly less aggressive as it is causing a bit of understeer with the grippier tyres. I think with the AD08s on I had the grunt to unstick them and rotate the car in mid speed bends, whereas the MRFs have a lot more grip and having the rear wheels locked so much is pushing the nose wide.
After moving house I built a shed in the garden as a little workshop. I've been working on my TIG welding a lot, and also got a lathe. There are a few things on the car I would like to redo with the improved capabilities.
Will continue to update as I go but the car is still alive and kicking.
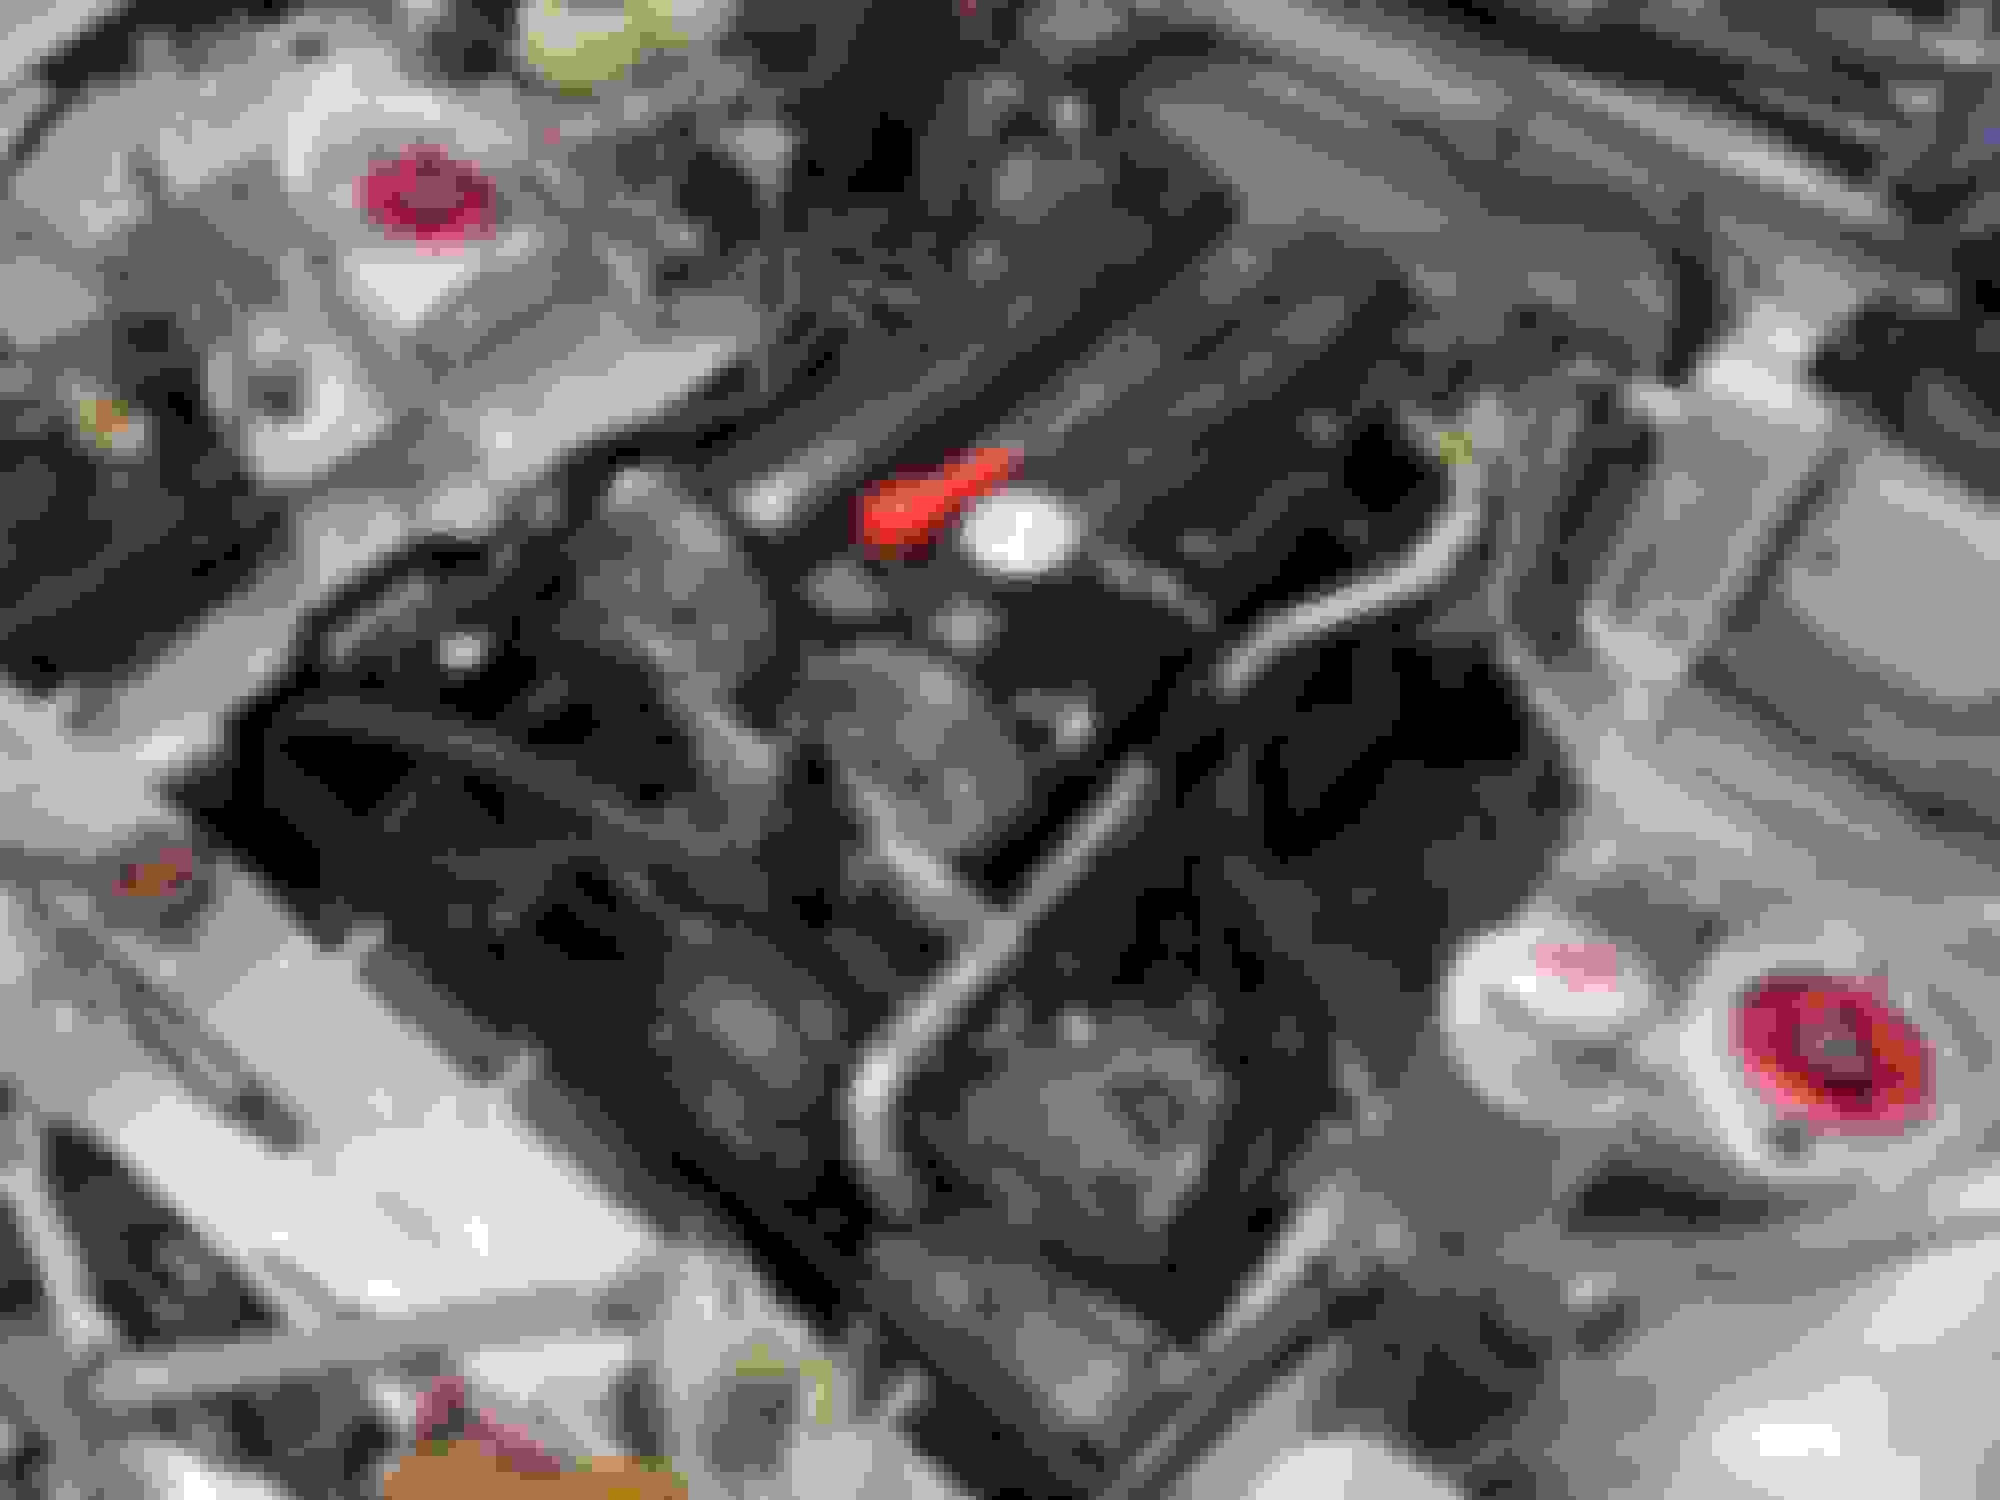
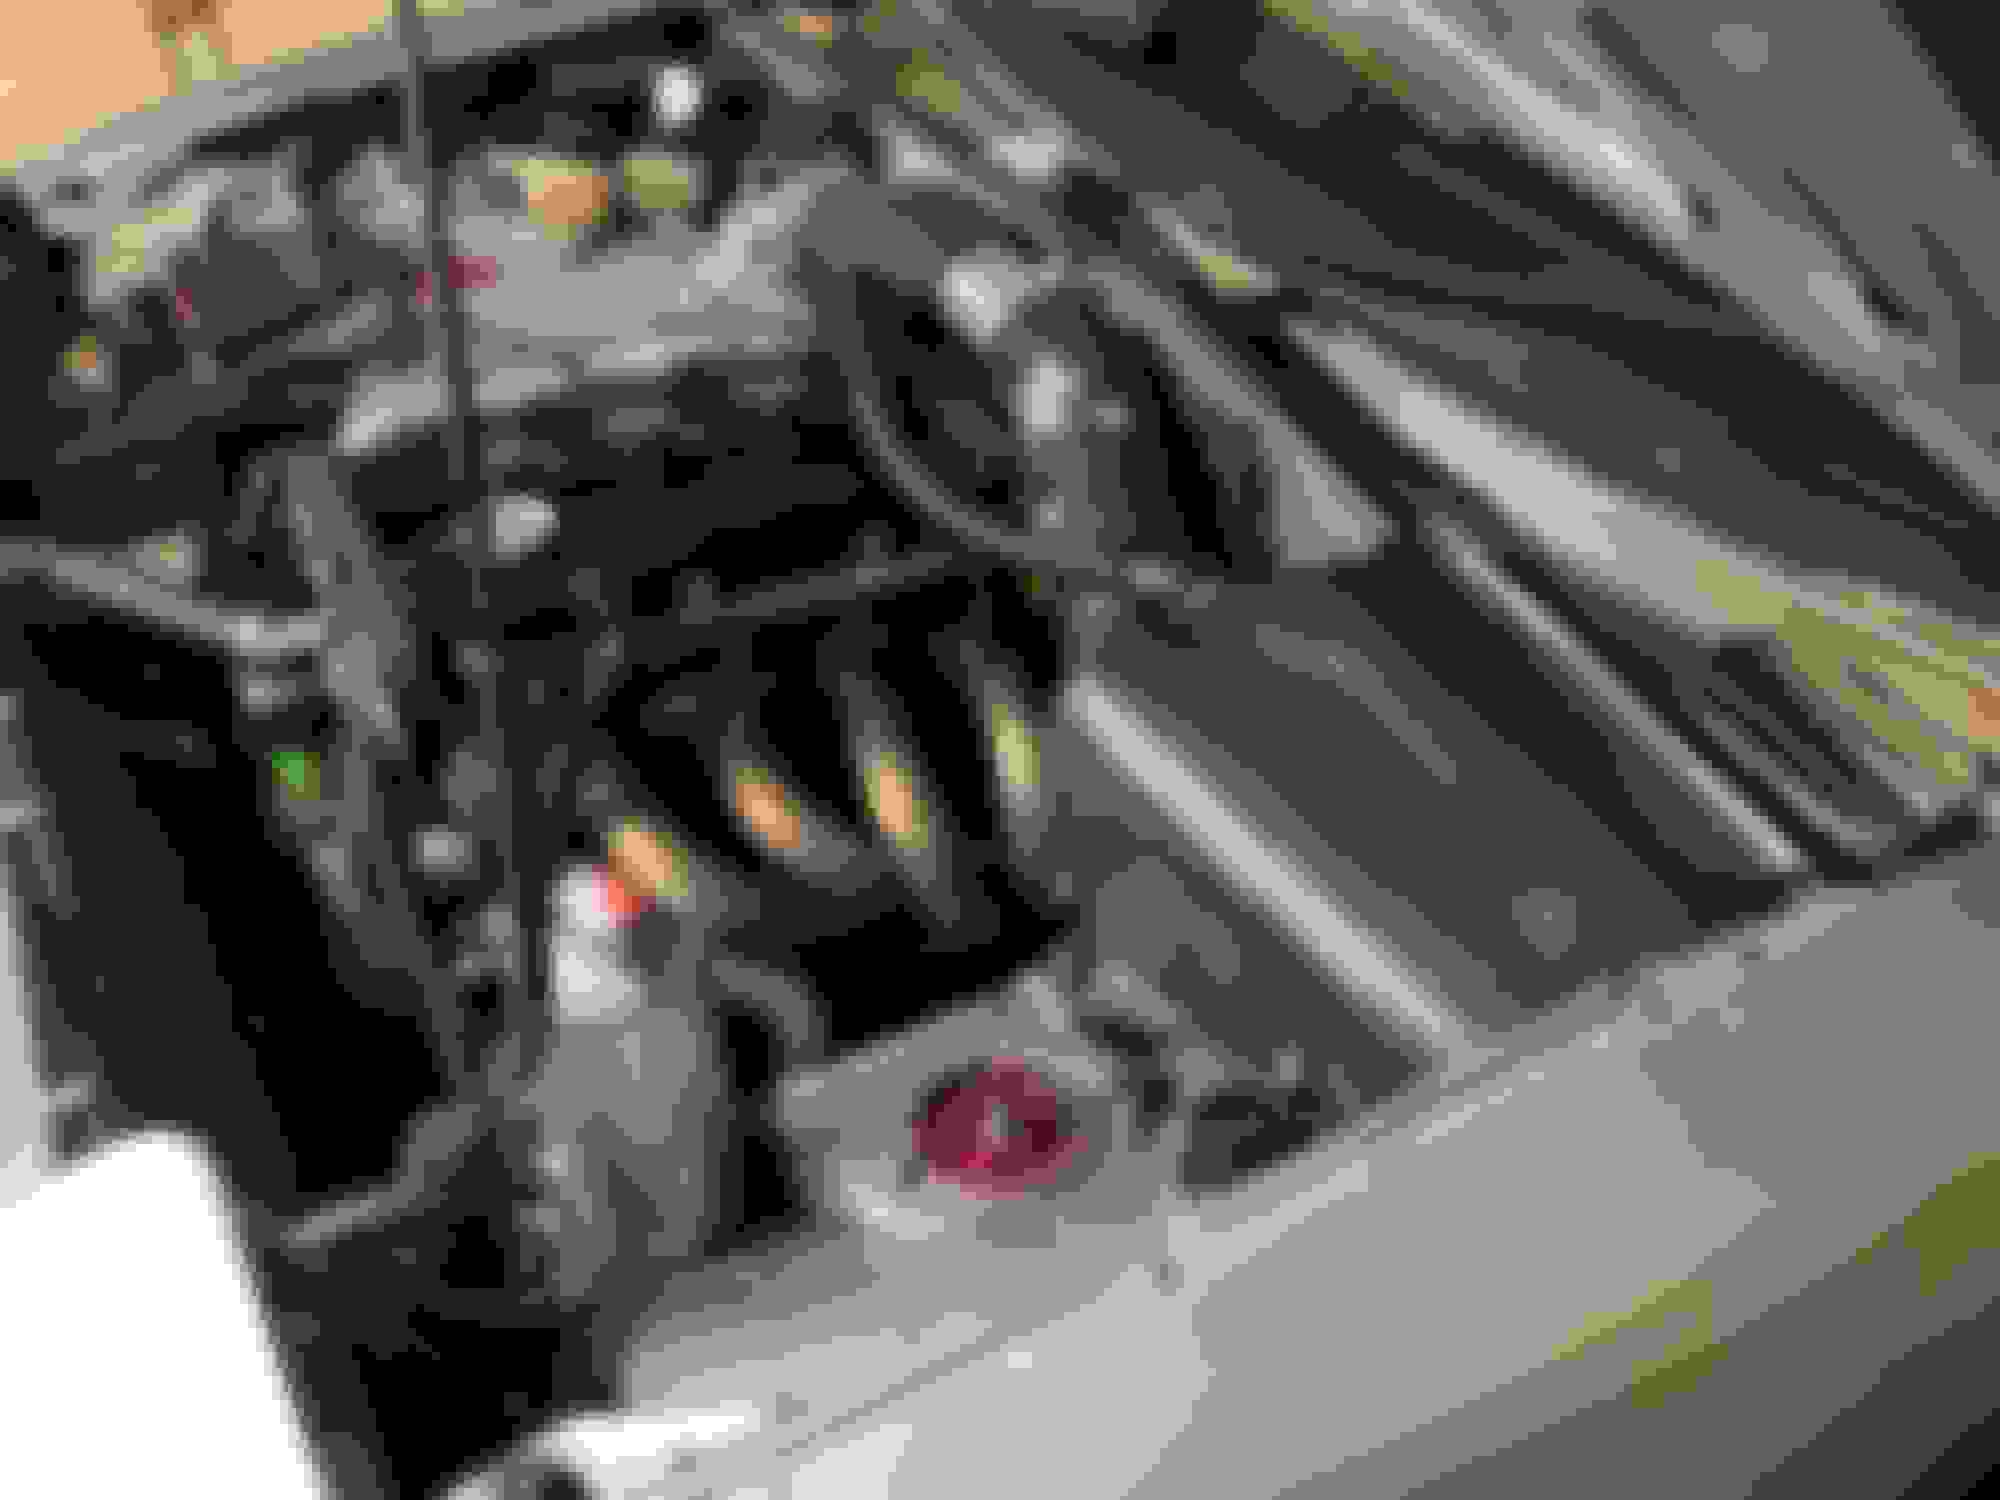
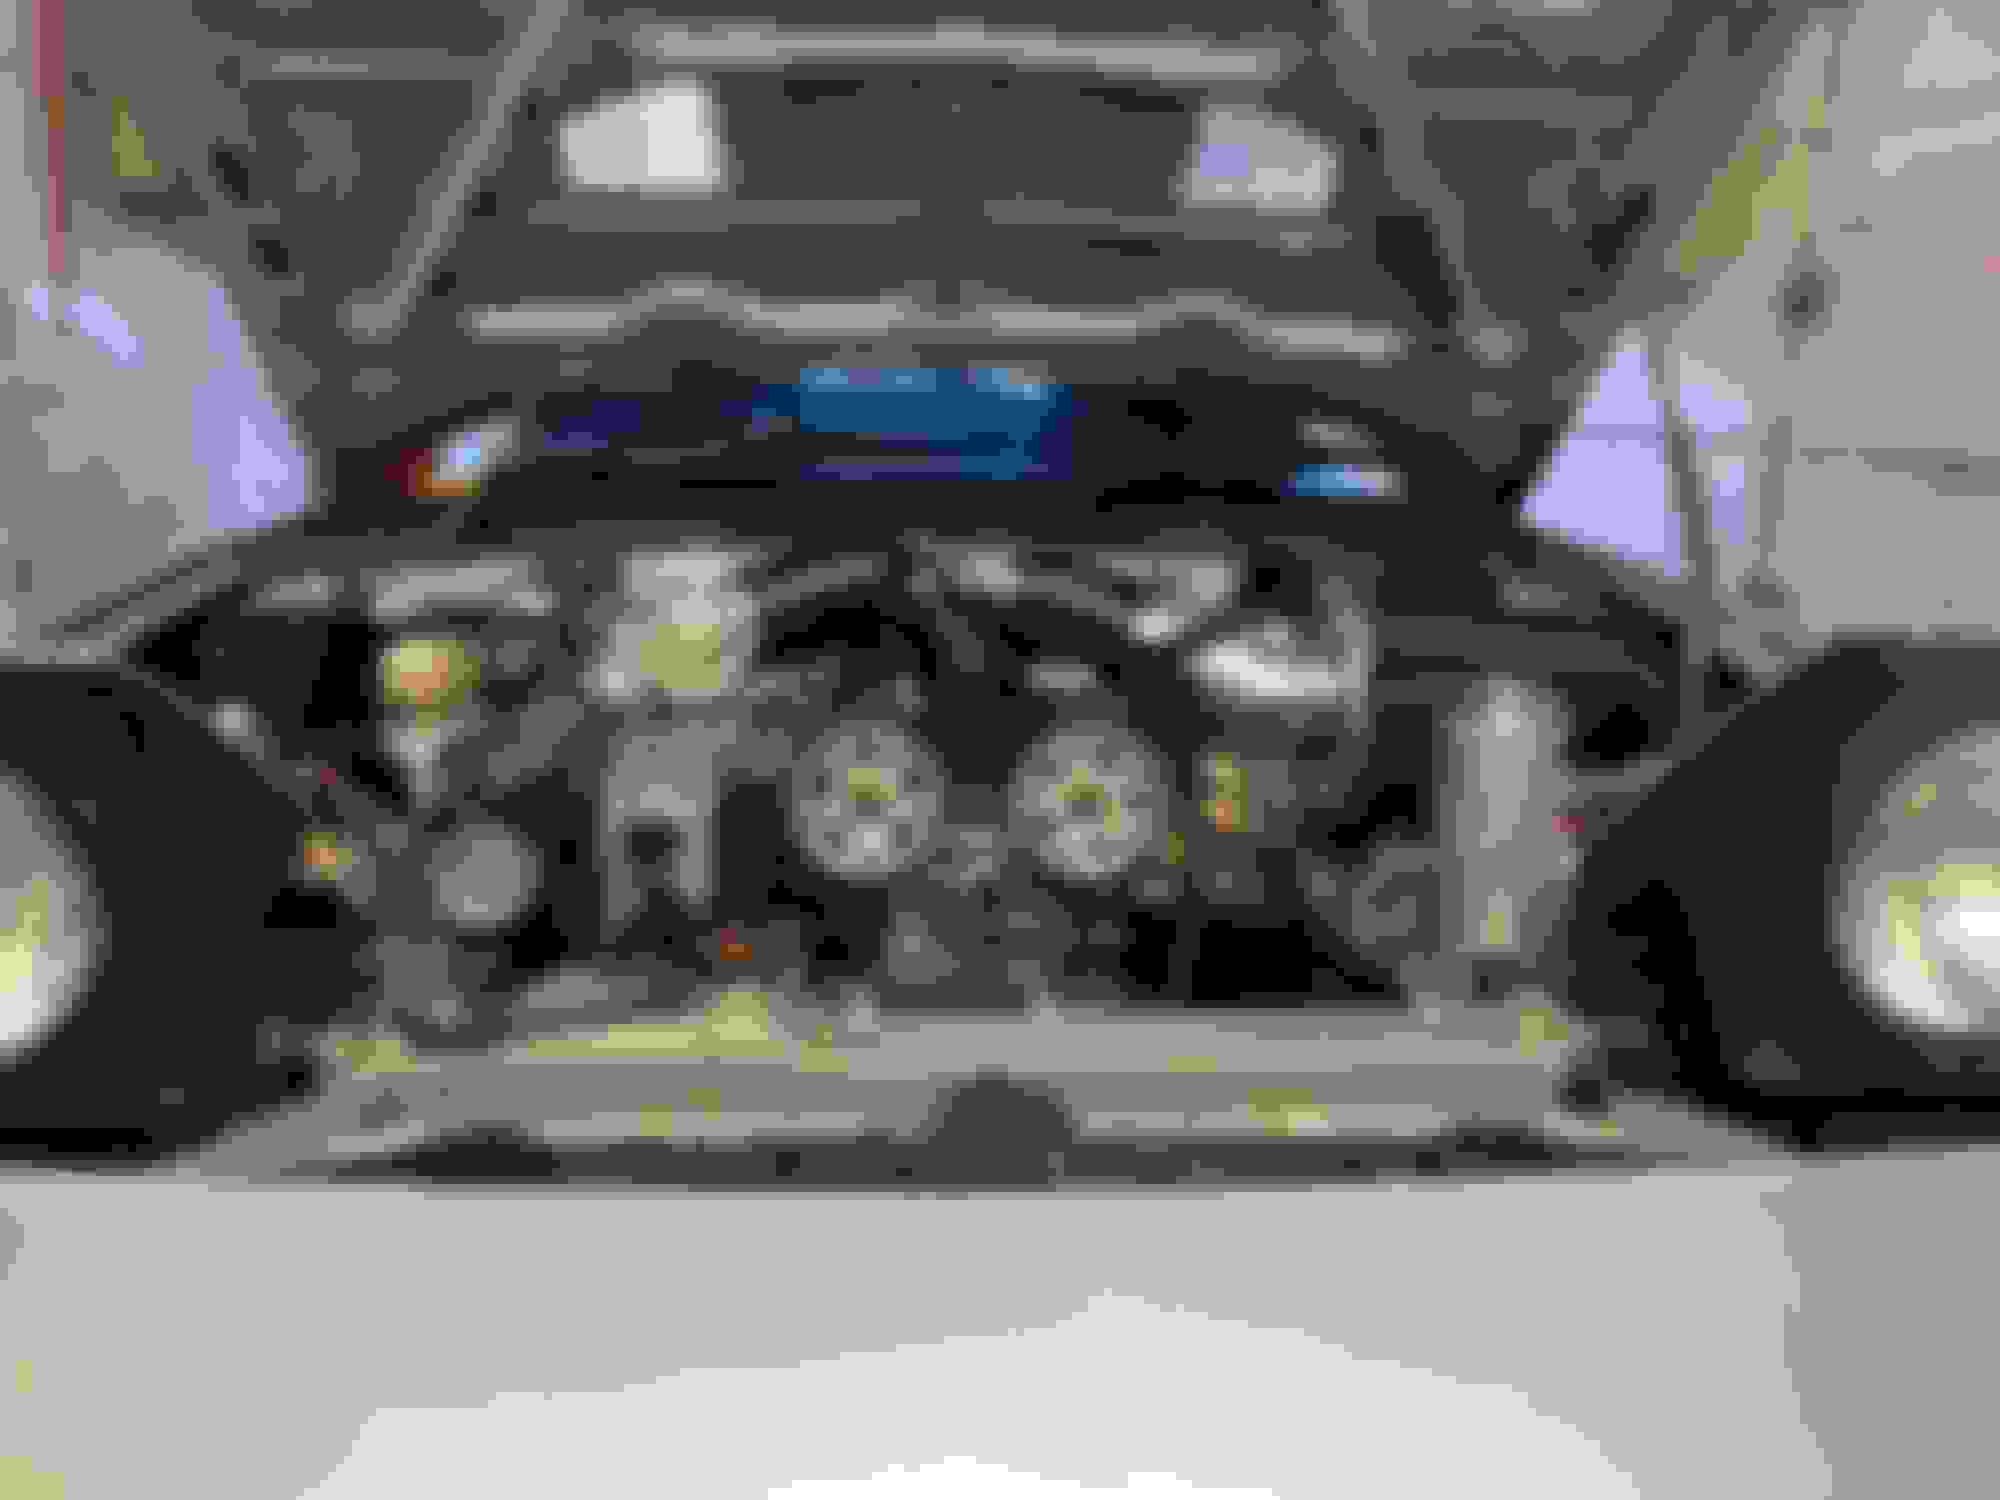
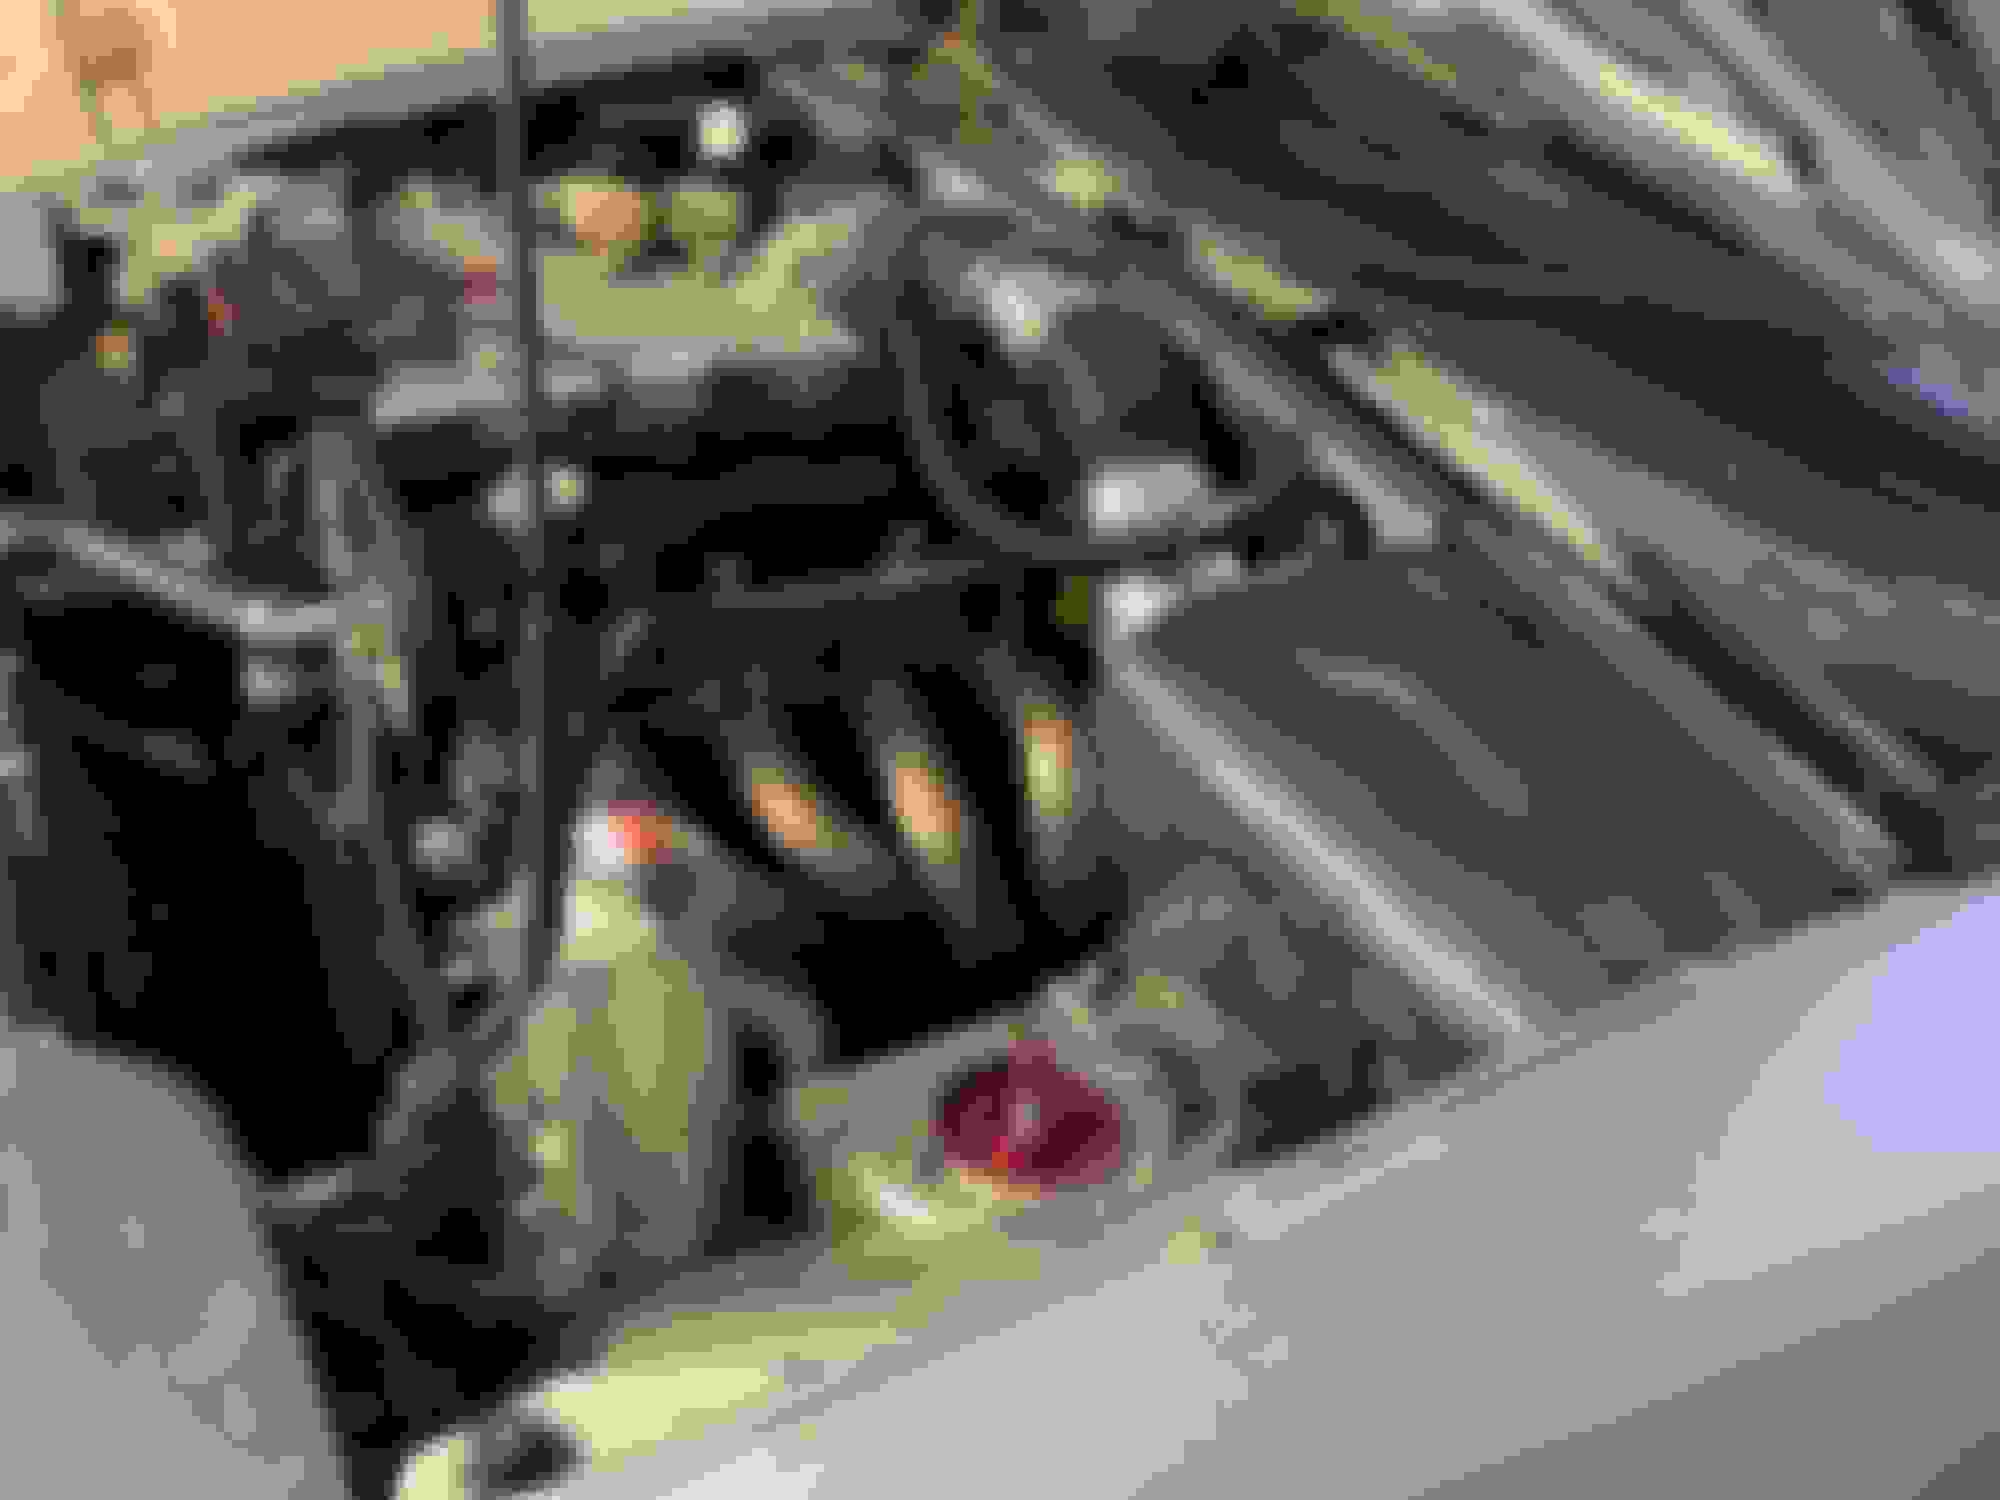
Work is ongoing installing the new cylinder head, so the supercharger is off the car currently. All is well, but I'm going to give it all a clean up.
I did find a couple of things. First one was that the fuel return from the rail to the FPR was rubbing on the silicone pipe that goes from the bypass back to the sc inlet. Space is very tight round there, so I have moved the FPR to down on the chassis leg. The fuel rail is now fed from a tee before the regulator and has no return. So it is sort of a dead head system, but the rail is still vac referenced to the engine. I don't see any reason this won't work, and it simplified plumbing in a crowded area significantly. New FPR location, see the tee feed just before the reg.
The other fix which I'm yet to start is moving to a remote mounted oil filter head. Filter changes required the removal of the supercharger, a bit of a PITA for basic maintenance. Just ordering the bits now to do that before getting the car back together again in the next couple of weeks.
The big change apart from the cylinder head is that I am moving to an electric water pump setup, and reverse cool the engine - i.e cylinder head gets priority cooling.
The general concept is the EWP (Davies Craig 150) is mounted down low by the radiator outlet. The main feed then carries the majority of the coolant to the back of the cylinder head, under the exhaust manifold. There is a branch off that feed that carries a smaller feed of coolant to the front of the cylinder head. This is in an effort to even out cooling across all combustion chambers. The idea of cooling the cylinder head first is increasing knock threshold - this may be a mute point at my boost levels (particularly with WI) but I am hoping keeping the cylinder head cooler will help against heat soak, which could certainly be better. This warmed coolant is then directed down to the engine block. This will mean that the rest of the cylinders run hotter - meaning less heat transfer as the pistons move down the bore under combustion - possibly netting a power increase. Coolant then flows out of the front of the engine back to the radiator. I am not intending to run a thermostat. I will PWM control the pump from my ECU instead. Potentially there are a few ponies in the greater efficiency of the EWP over the mechanical pump. But TBH the main driver is I think it's cool and it interests me.
I chose the 150 model after doing a little bit of maths around the coolant flow and expected heat generation from the engine. Doing a bit of research told me as a general rule 30% of the energy from combustion gets to the flywheel, 30% goes into heating the coolant, then 40% goes out the exhaust and lost to internal friction. So I based my calcs on 350hp at the flywheel to give a little headroom, which means 350hp worth of energy will be transferred to the coolant. You can then calculate the flow rate of a given coolant to give a certain temperature drop, I used 30degC. So if my coolant enters the head at 50degC, I expect to be able to flow enough coolant for it to exit the block at 80degC. This seemed sensible as an engineering judgement. There is about 10% headroom on the pump of my already slightly inflated power figures so I'm not nailing myself to a wall with anything.
Anyways some pics so far: New toy :-) its only a baby 3/4 hp - but what a difference cutting aluminium plate and pipe. I need to fit an inverter to it for steel, blade speed is too fast. V1 front head cylinder fitting. Unfortunately I'm not going to use is because I was really pleased with this weld. Cutting the main pump blank. I've incorporated a mounting wing on the right had side to do a neater job of mounting my alternator tensioner. Left hand mounting wing stays to be the third mounting point of the sc belt tensioner like before. Doing the main feed routing, EWP down by the alternator. Setting the front feed up. Need to redo this to incorporate a bleed valve in the top fitting. The welding of the an fitting to the main pipe wasn't the best, fit up wasn't brilliant so Im not too heartbroken doing that bit again.
Other points of note are I am keeping the cabin heater and hope to run that off the new cooling setup without the need for an additional small circulation pump. Fingers crossed on that one. I am conscious that without the thermostat coolant is not being pressurised against either a closed passage or a relatively narrow opening, just after the heater feed. It is perfectly reasonable that it is this pressure delta that drives coolant around the heater circuit. I don't have that restriction so likely a far lower pressure differential. Fingers crossed.
I am also going to be running waterless coolant - this is to mitigate risk of steam pockets in the head forming as the system will run far less pressure, and I imagine clearing any pockets will be more difficult as they would have to flow downwards and out the front of the block now, whereas before they would be pushed back and out the rear of the head. The waterless coolant has a boiling point of 180degC, plenty of head room. I did think about drilling steam ports and adding fittings and pipework inside the head to get around this risk, and run normal coolant, but I thought this was more of a potential headache than a slightly more expensive coolant.
I tuned a car recently that had an issue with the coolant system (suspected stuck themostat). The car is a hotside m45, intercooled, modest boost (about 7psi) We were right at the beginning of tuning so taking it easy when we noticed the issue. Coolant temps climbed to about 105degC during a short pull, and the engine knocked at my safe, base map spark advance. Timing offset had all been setup, checked with strobe, and it is a 99 too, with the non adjustable position sensors so you know if something odd is going on if you have to enter weird offsets. A car running normal coolant temps would have no issue whatsoever at that spark advance, and I would have happily added a couple of degrees once fuelling was confirmed. It showed me the difference cylinder head temp can have on knock threshold. The car is fine btw. We heard it, realised there was an issue and stopped play.
This build is really cool. Great work, and I love that you are tracking the car. Some people throw setups together and never really torture test them like regular tracking will. I've earned a lot of respect for F/I miata builds that actually see track abuse, since mine has gone through so much development to make it track worthy.
This build is really cool. Great work, and I love that you are tracking the car. Some people throw setups together and never really torture test them like regular tracking will. I've earned a lot of respect for F/I miata builds that actually see track abuse, since mine has gone through so much development to make it track worthy.
Keep up the good work!
Thanks very much Got to pass the torture test!
Had a scout through your build, glad to see you came back from your track run in. It's a bummer when that sort of thing happens but looks like youre coming back stronger. And serious shop envy!
 01-08-2022, 05:04 PM


 3
3


 I've 33 years practace and evry day I get paid to practace more (still no good with it though! wobble too much...)
 )
)


 Anyway I had loads of fun chucking it about and it felt properly quick. I took a few friends out in it and they were all very impressed with how the car went as a whole which was nice to hear, as these guys are all very competitive in the local autosolo championship and know what to look for. I took one of the attendees 12 year old son out for a lap of lairyness and by the sounds of it I think we have a future mx5 owner
  Few pics from the day