
Aidan's loose oily bunghole actually runs a track lap

Elite Member

Joined: Mar 2007
Posts: 5,306
Total Cats: 888
From: Santa Clara, CA
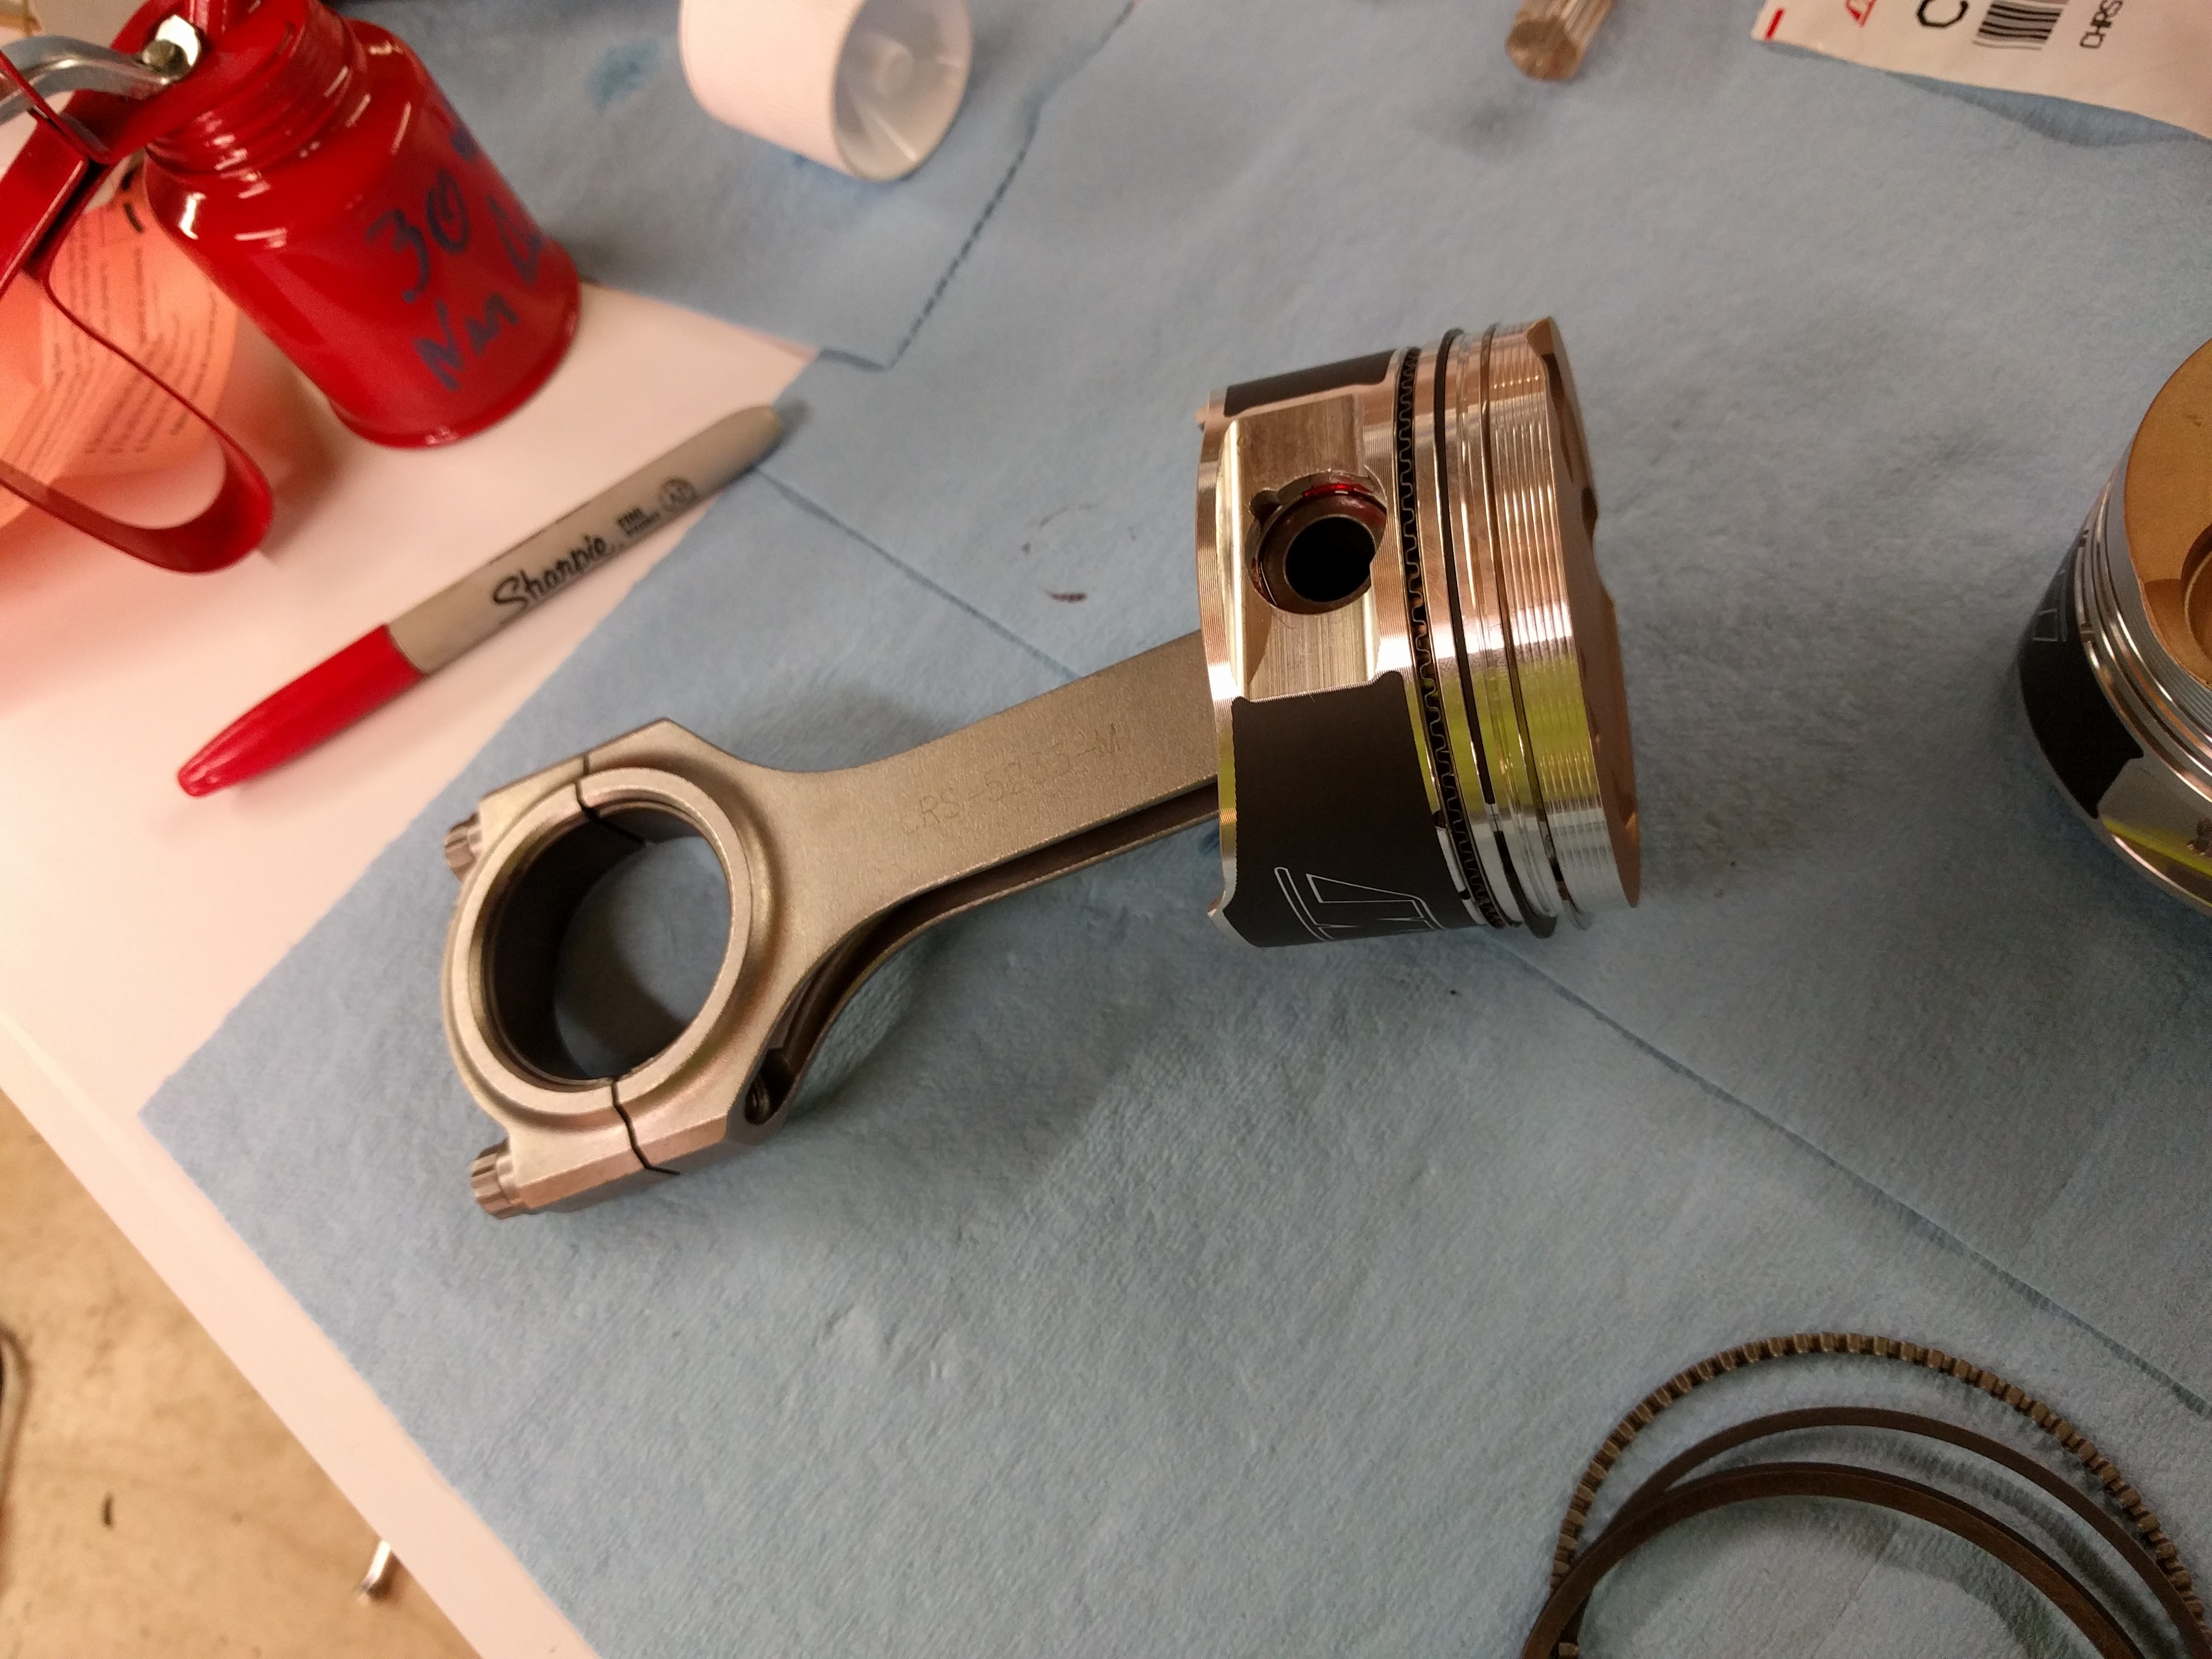
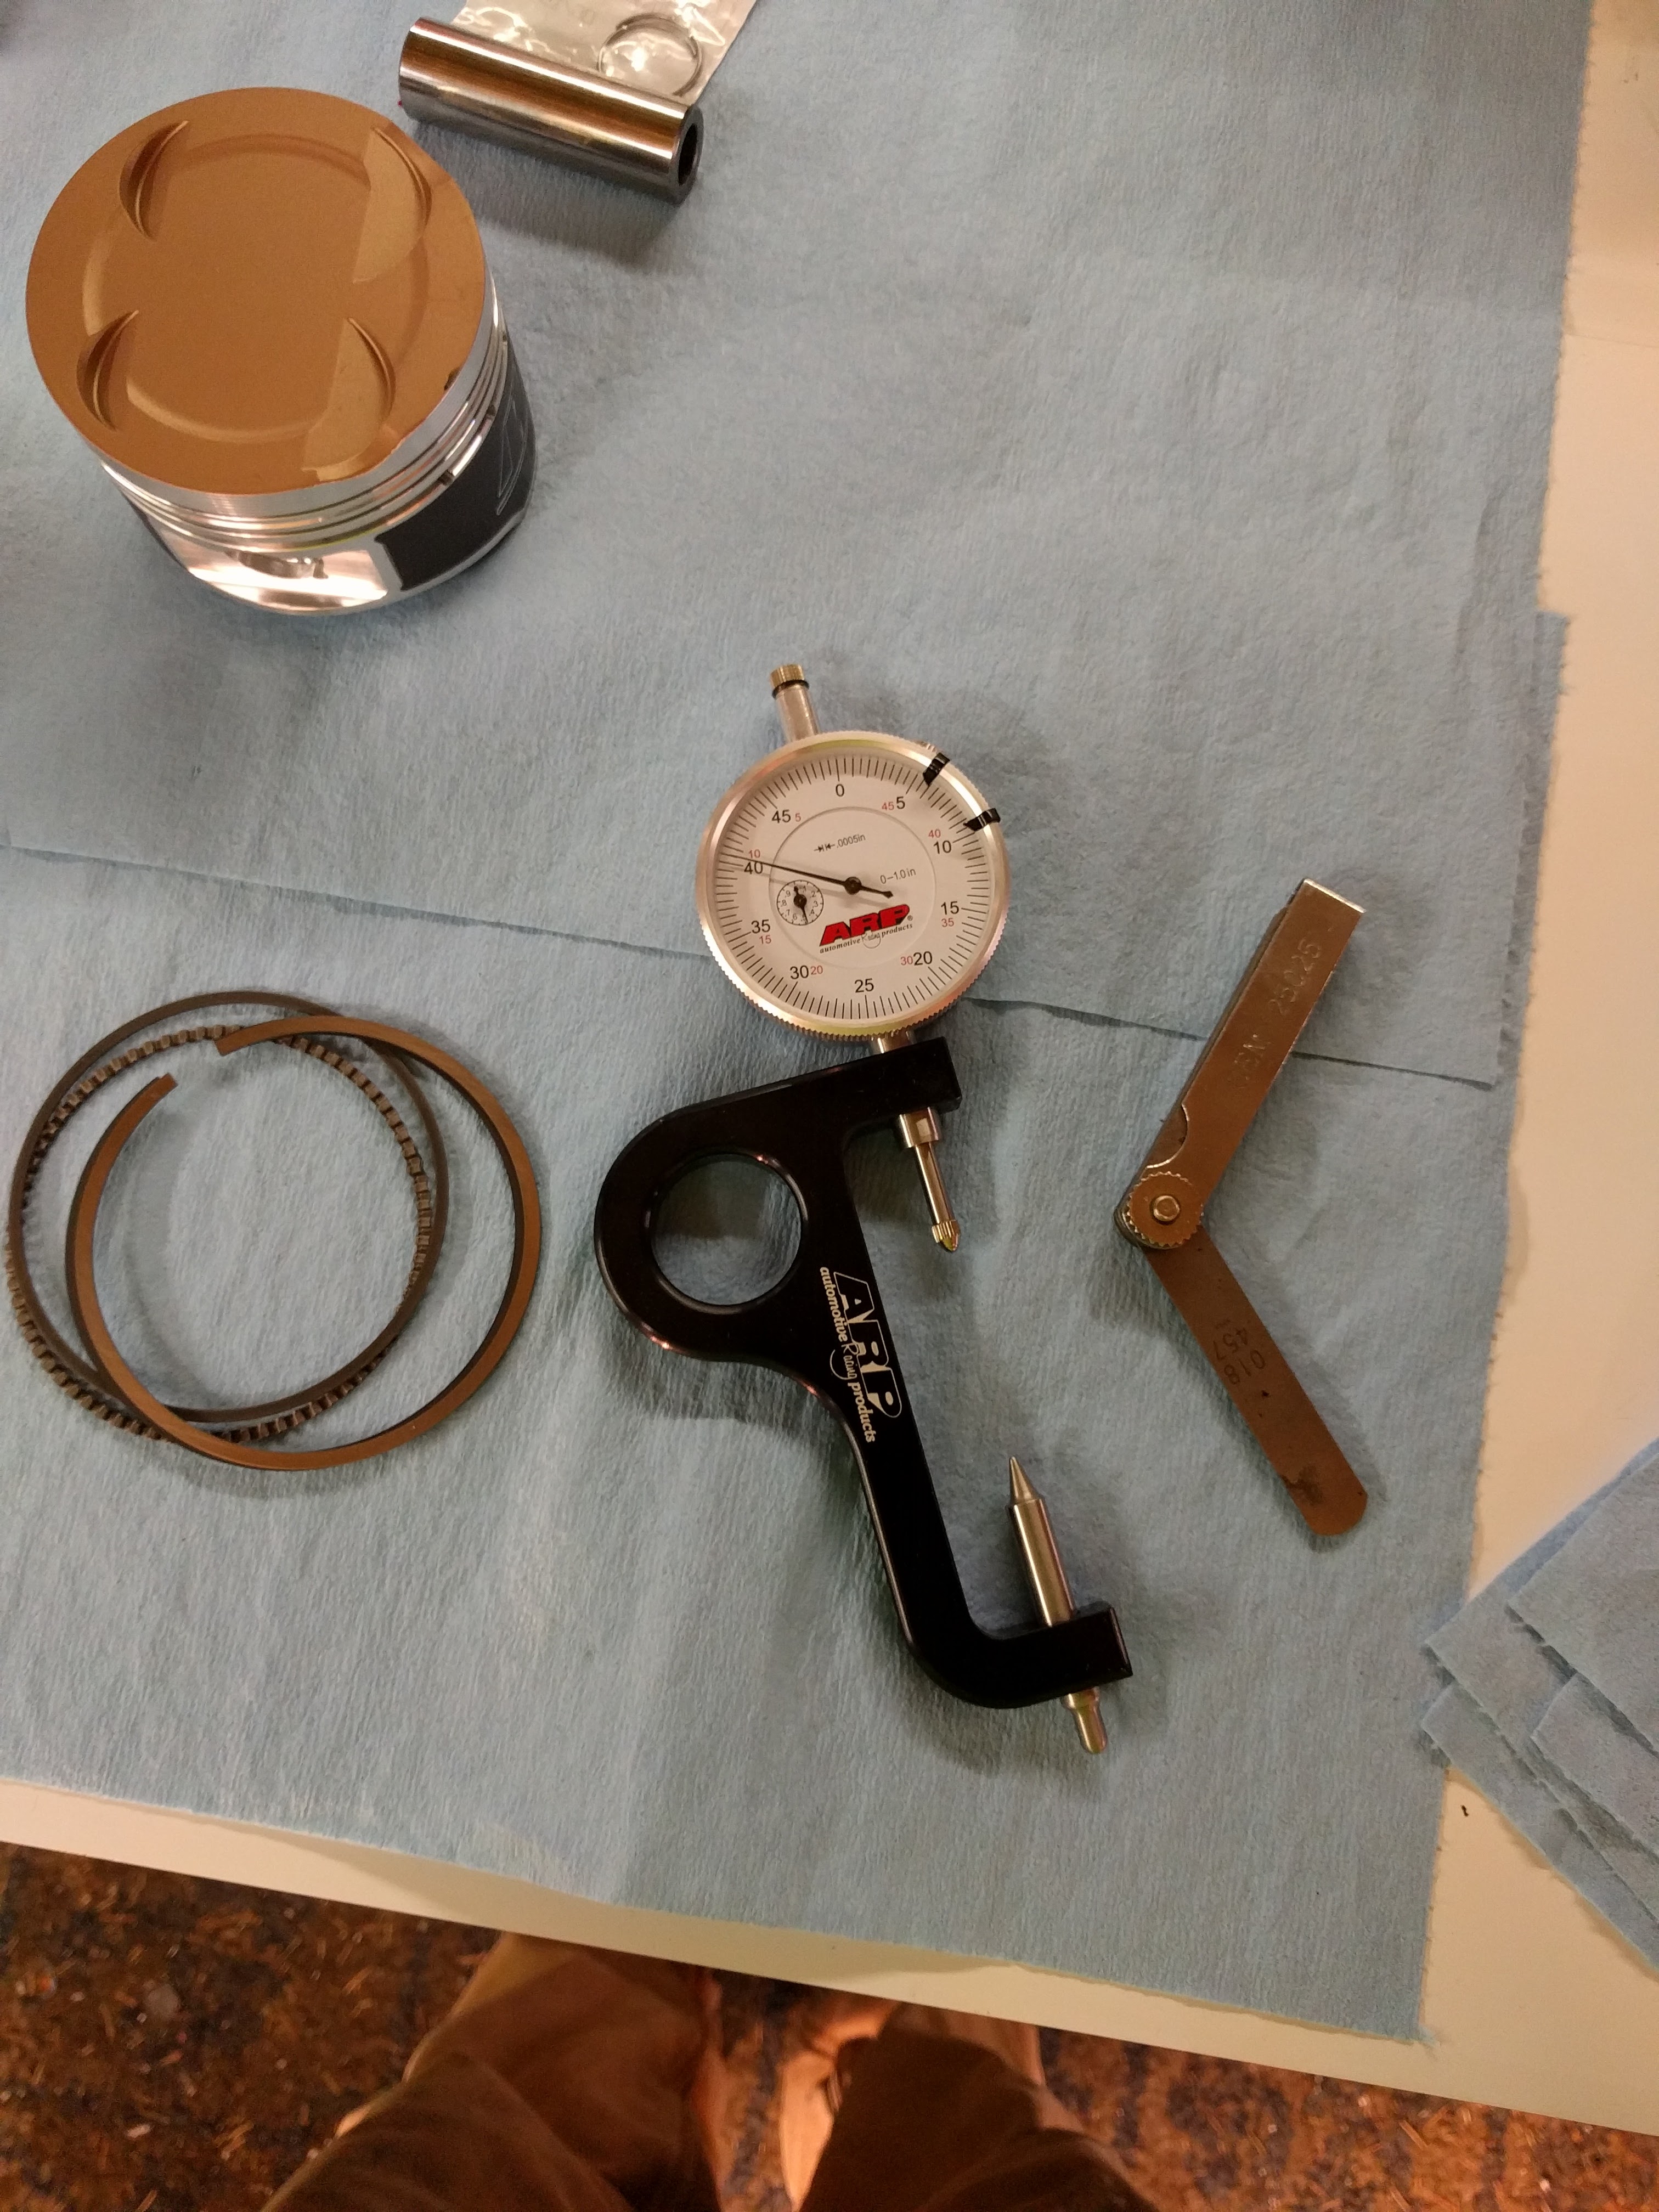
I used the .0055 spec for the top ring, .006 for the second, I don't remember why though. I'm pretty sure I didn't grind the oil rail at all.
Make sure the rings are level in the cylinders when you measure them, if it's cocked even a little bit it will give you a false reading.
--Ian
Make sure the rings are level in the cylinders when you measure them, if it's cocked even a little bit it will give you a false reading.
--Ian
Reply
 0
0

0

Elite Member
Joined: Mar 2007
Posts: 5,306
Total Cats: 888
From: Santa Clara, CA
I think there's a typo in the chart for the second ring -- it doesn't make sense that it would go .005/.0055 to .0055/.0053 and then .006/.0057. I used .018 and .020.
And yeah, I vaguely recall reading that the oil rails are just a minimum of .015 always, not multiplied by the bore. I don't see it in the instructions, though.
--Ian
And yeah, I vaguely recall reading that the oil rails are just a minimum of .015 always, not multiplied by the bore. I don't see it in the instructions, though.
--Ian
Reply
0
0
Elite Member
Joined: Mar 2007
Posts: 5,306
Total Cats: 888
From: Santa Clara, CA
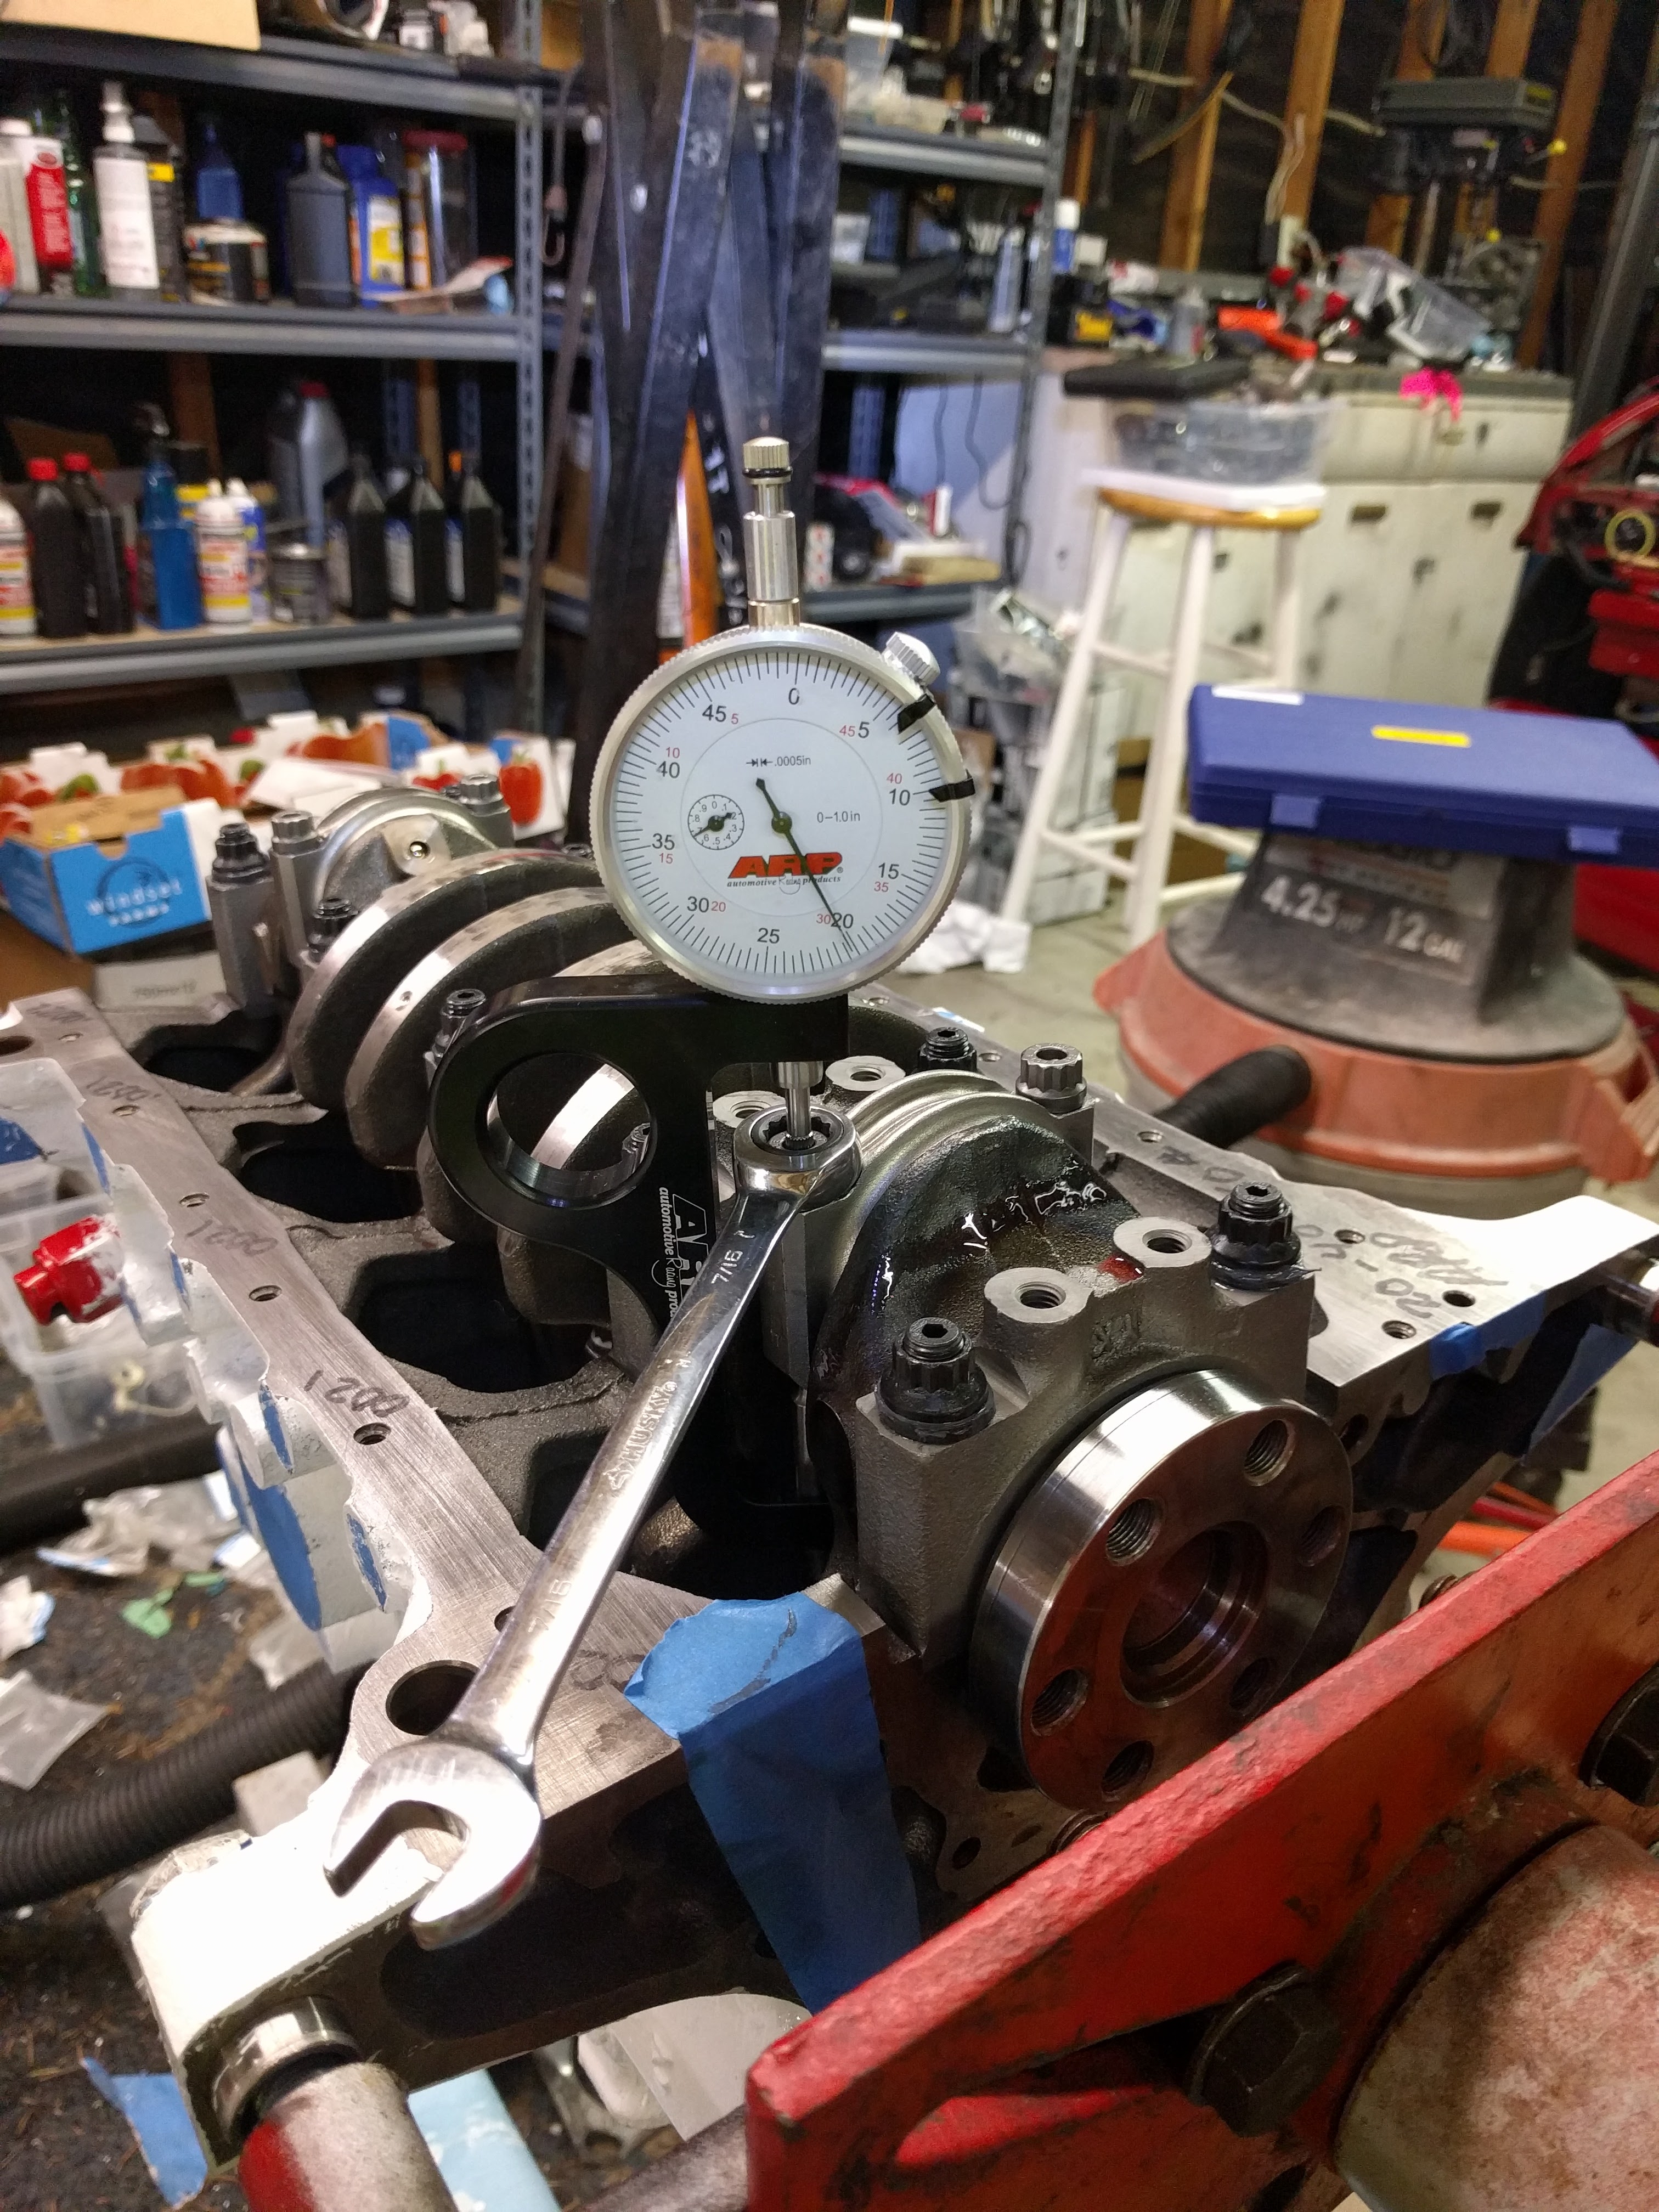
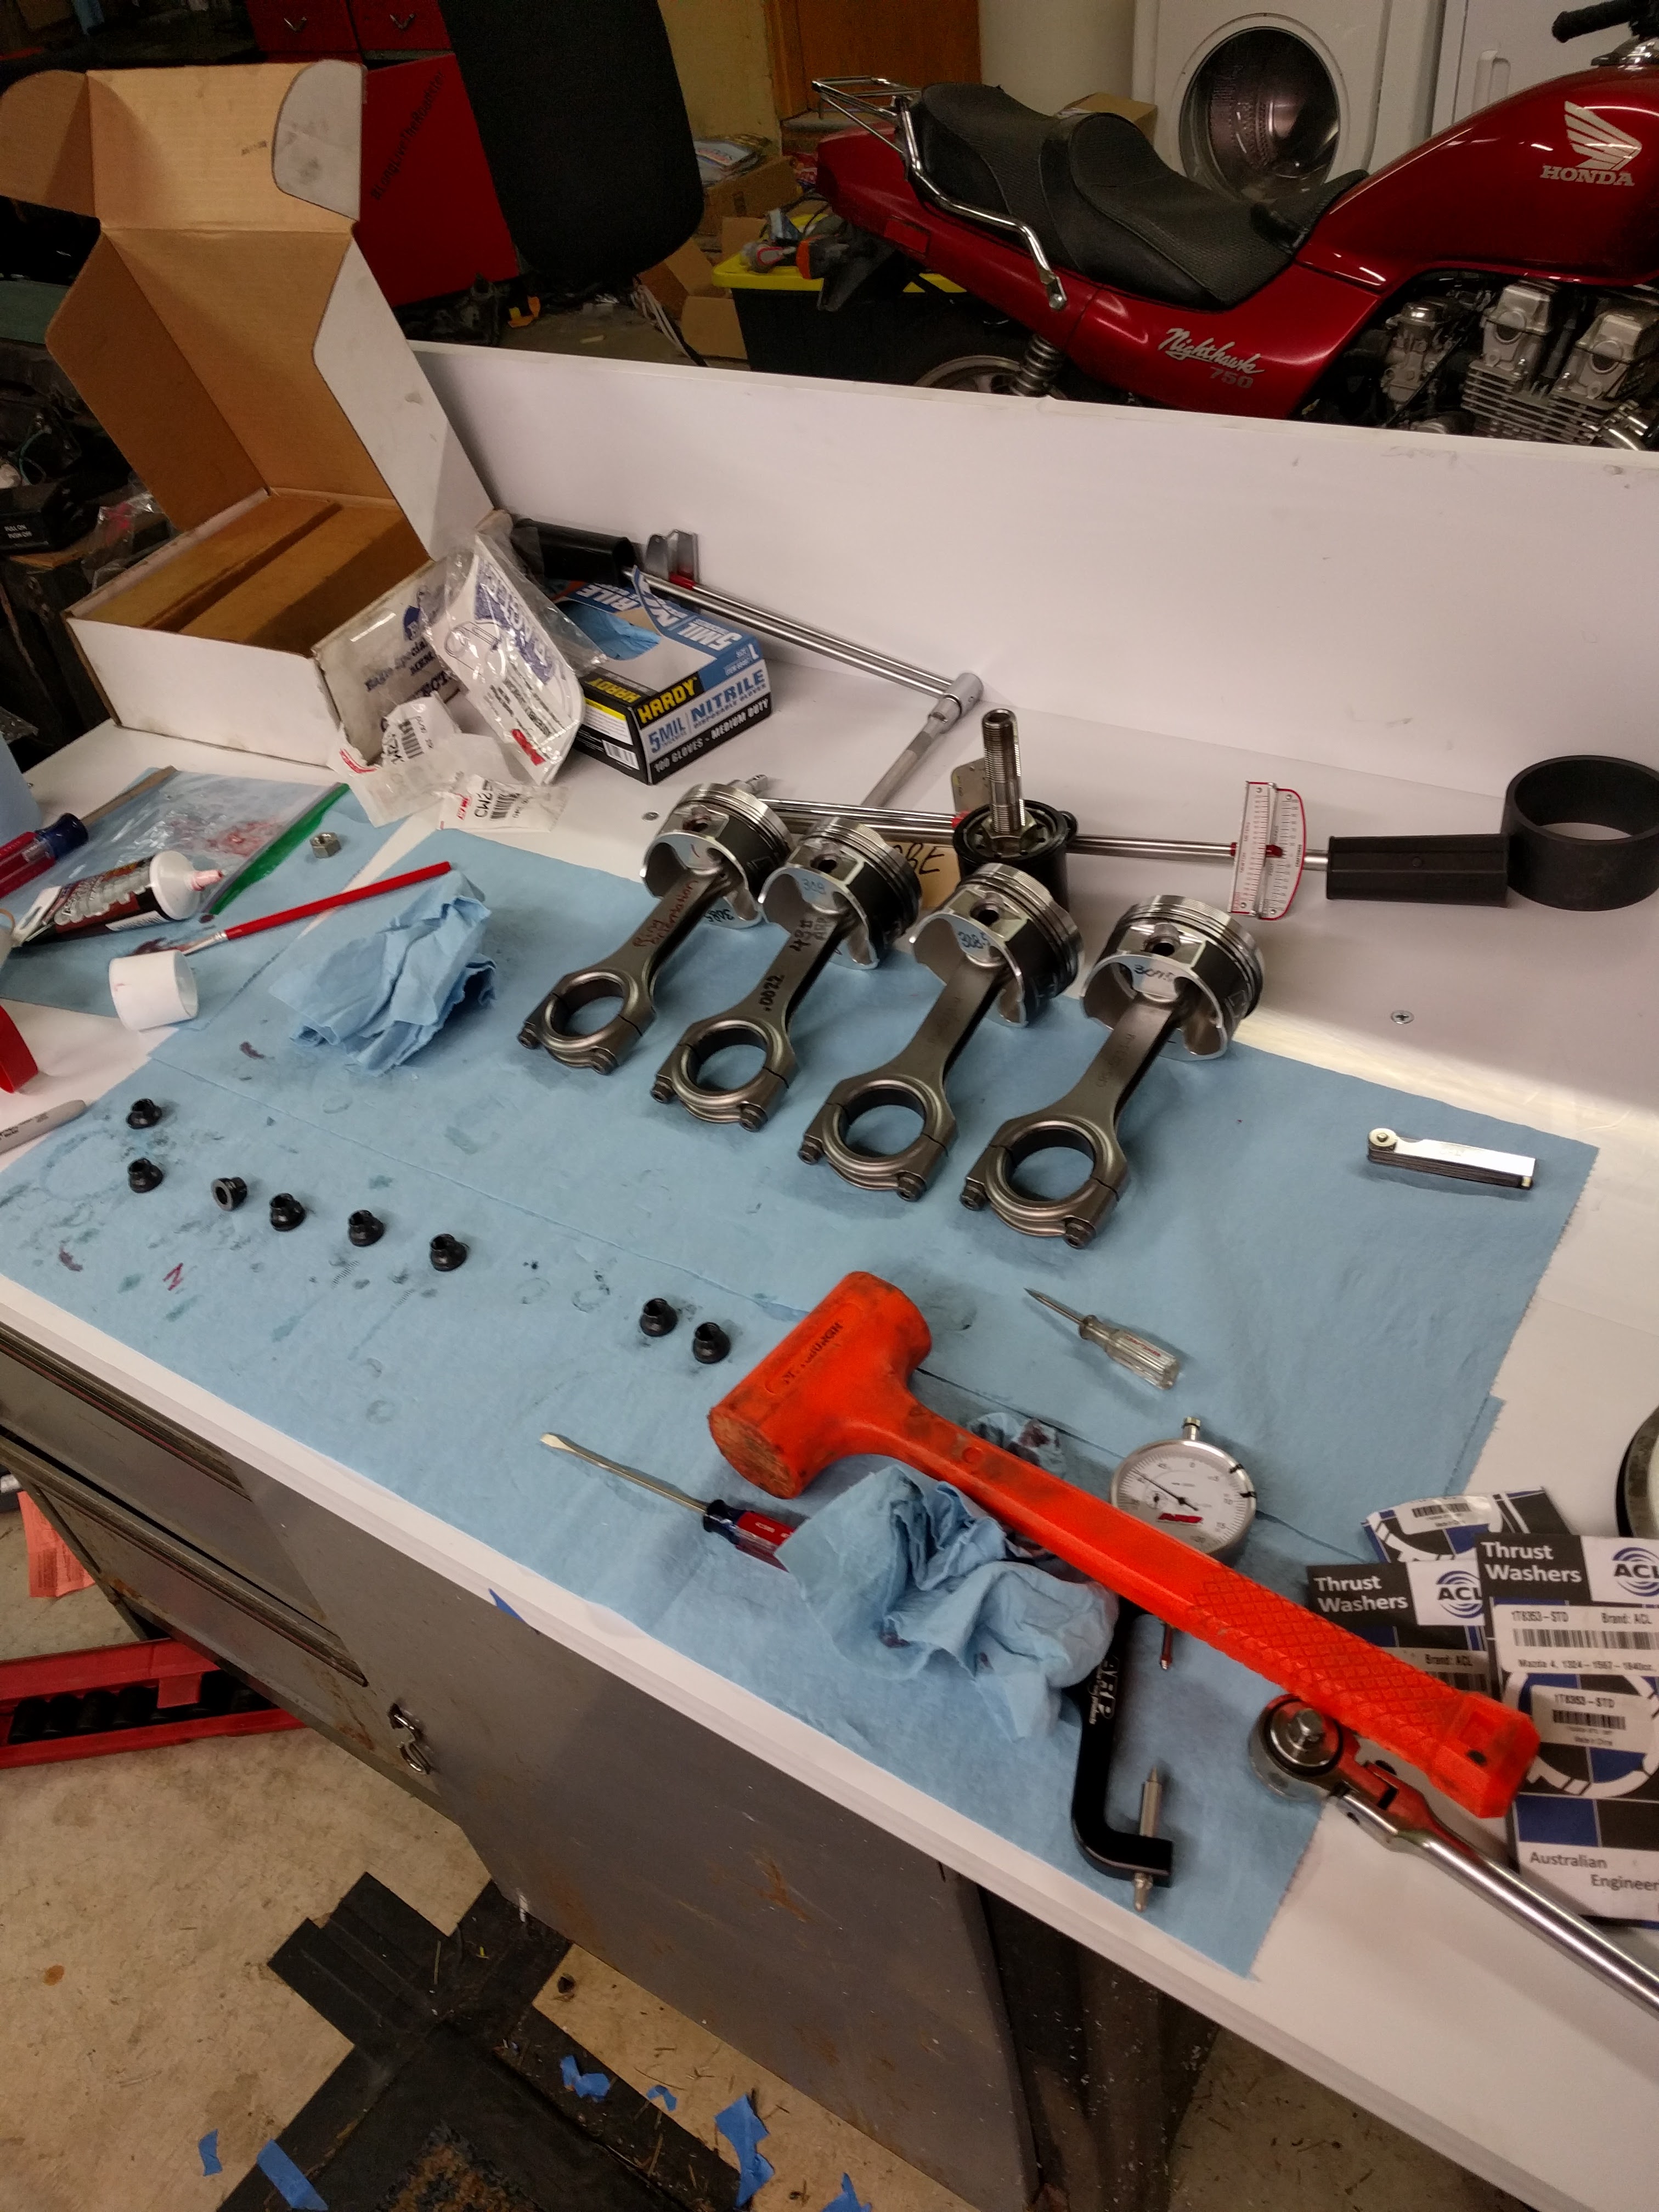
BTW, don't forget to measure the length of the rod bolts before you install them and write them all down, so that you can know if they're safe to reuse after you break a throttle body screw, trash a piston, and need to rebuild the engine again. 
--Ian
--Ian
Reply
0
0

Try it dry, try it with oil, compare measurements. If it does not change, it does not matter?
Let me help you overthink this some more...
Do you expect your bores to be constantly flooded in oil?
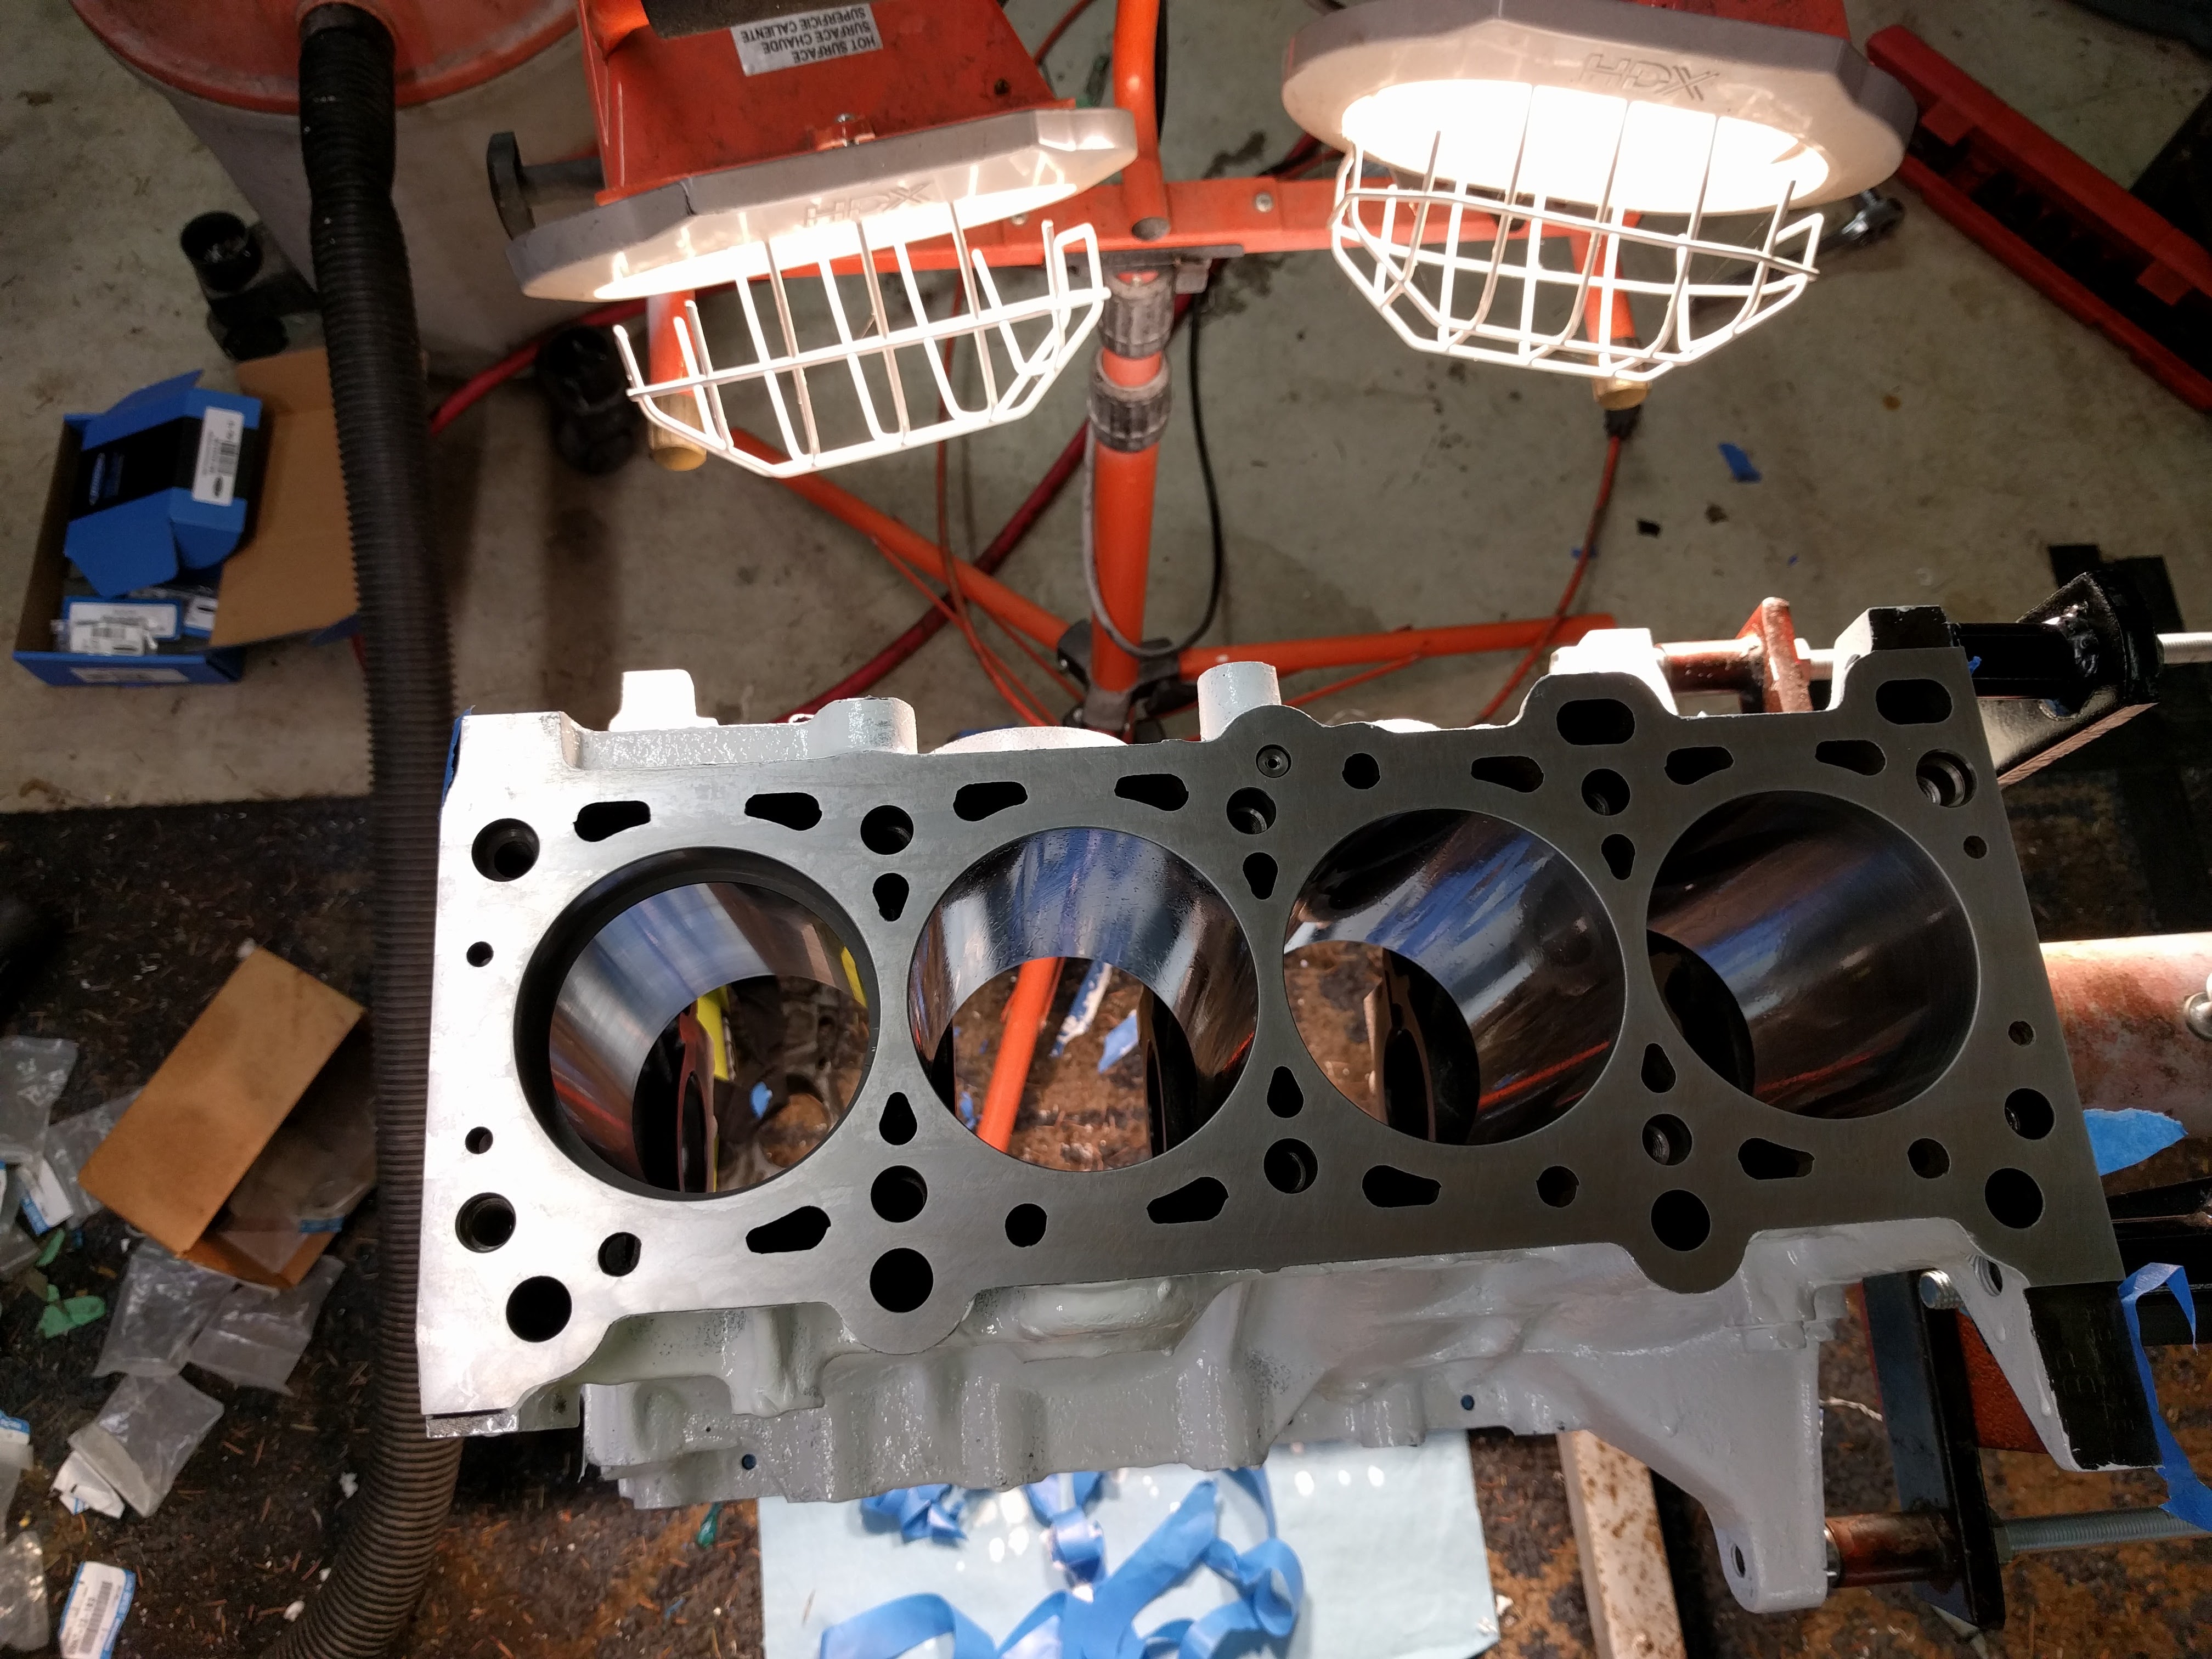
Did you heat the block to ~190� before taking the measurement?

Let me help you overthink this some more...
Do you expect your bores to be constantly flooded in oil?
Did you heat the block to ~190� before taking the measurement?
Reply
1
1

Elite Member
Joined: Mar 2007
Posts: 5,306
Total Cats: 888
From: Santa Clara, CA
Yeah, that looks right. Who did you buy the rings from? If it was Andrew or Emilio or another Miata vendor, might want to ask them for input on what they recommend for ring gaps.
--Ian
--Ian
Reply
0
0
Thread Starter
Joined: Apr 2014
Posts: 18,643
Total Cats: 1,870
From: Beaverton, USA
Nope. Through a local shop.
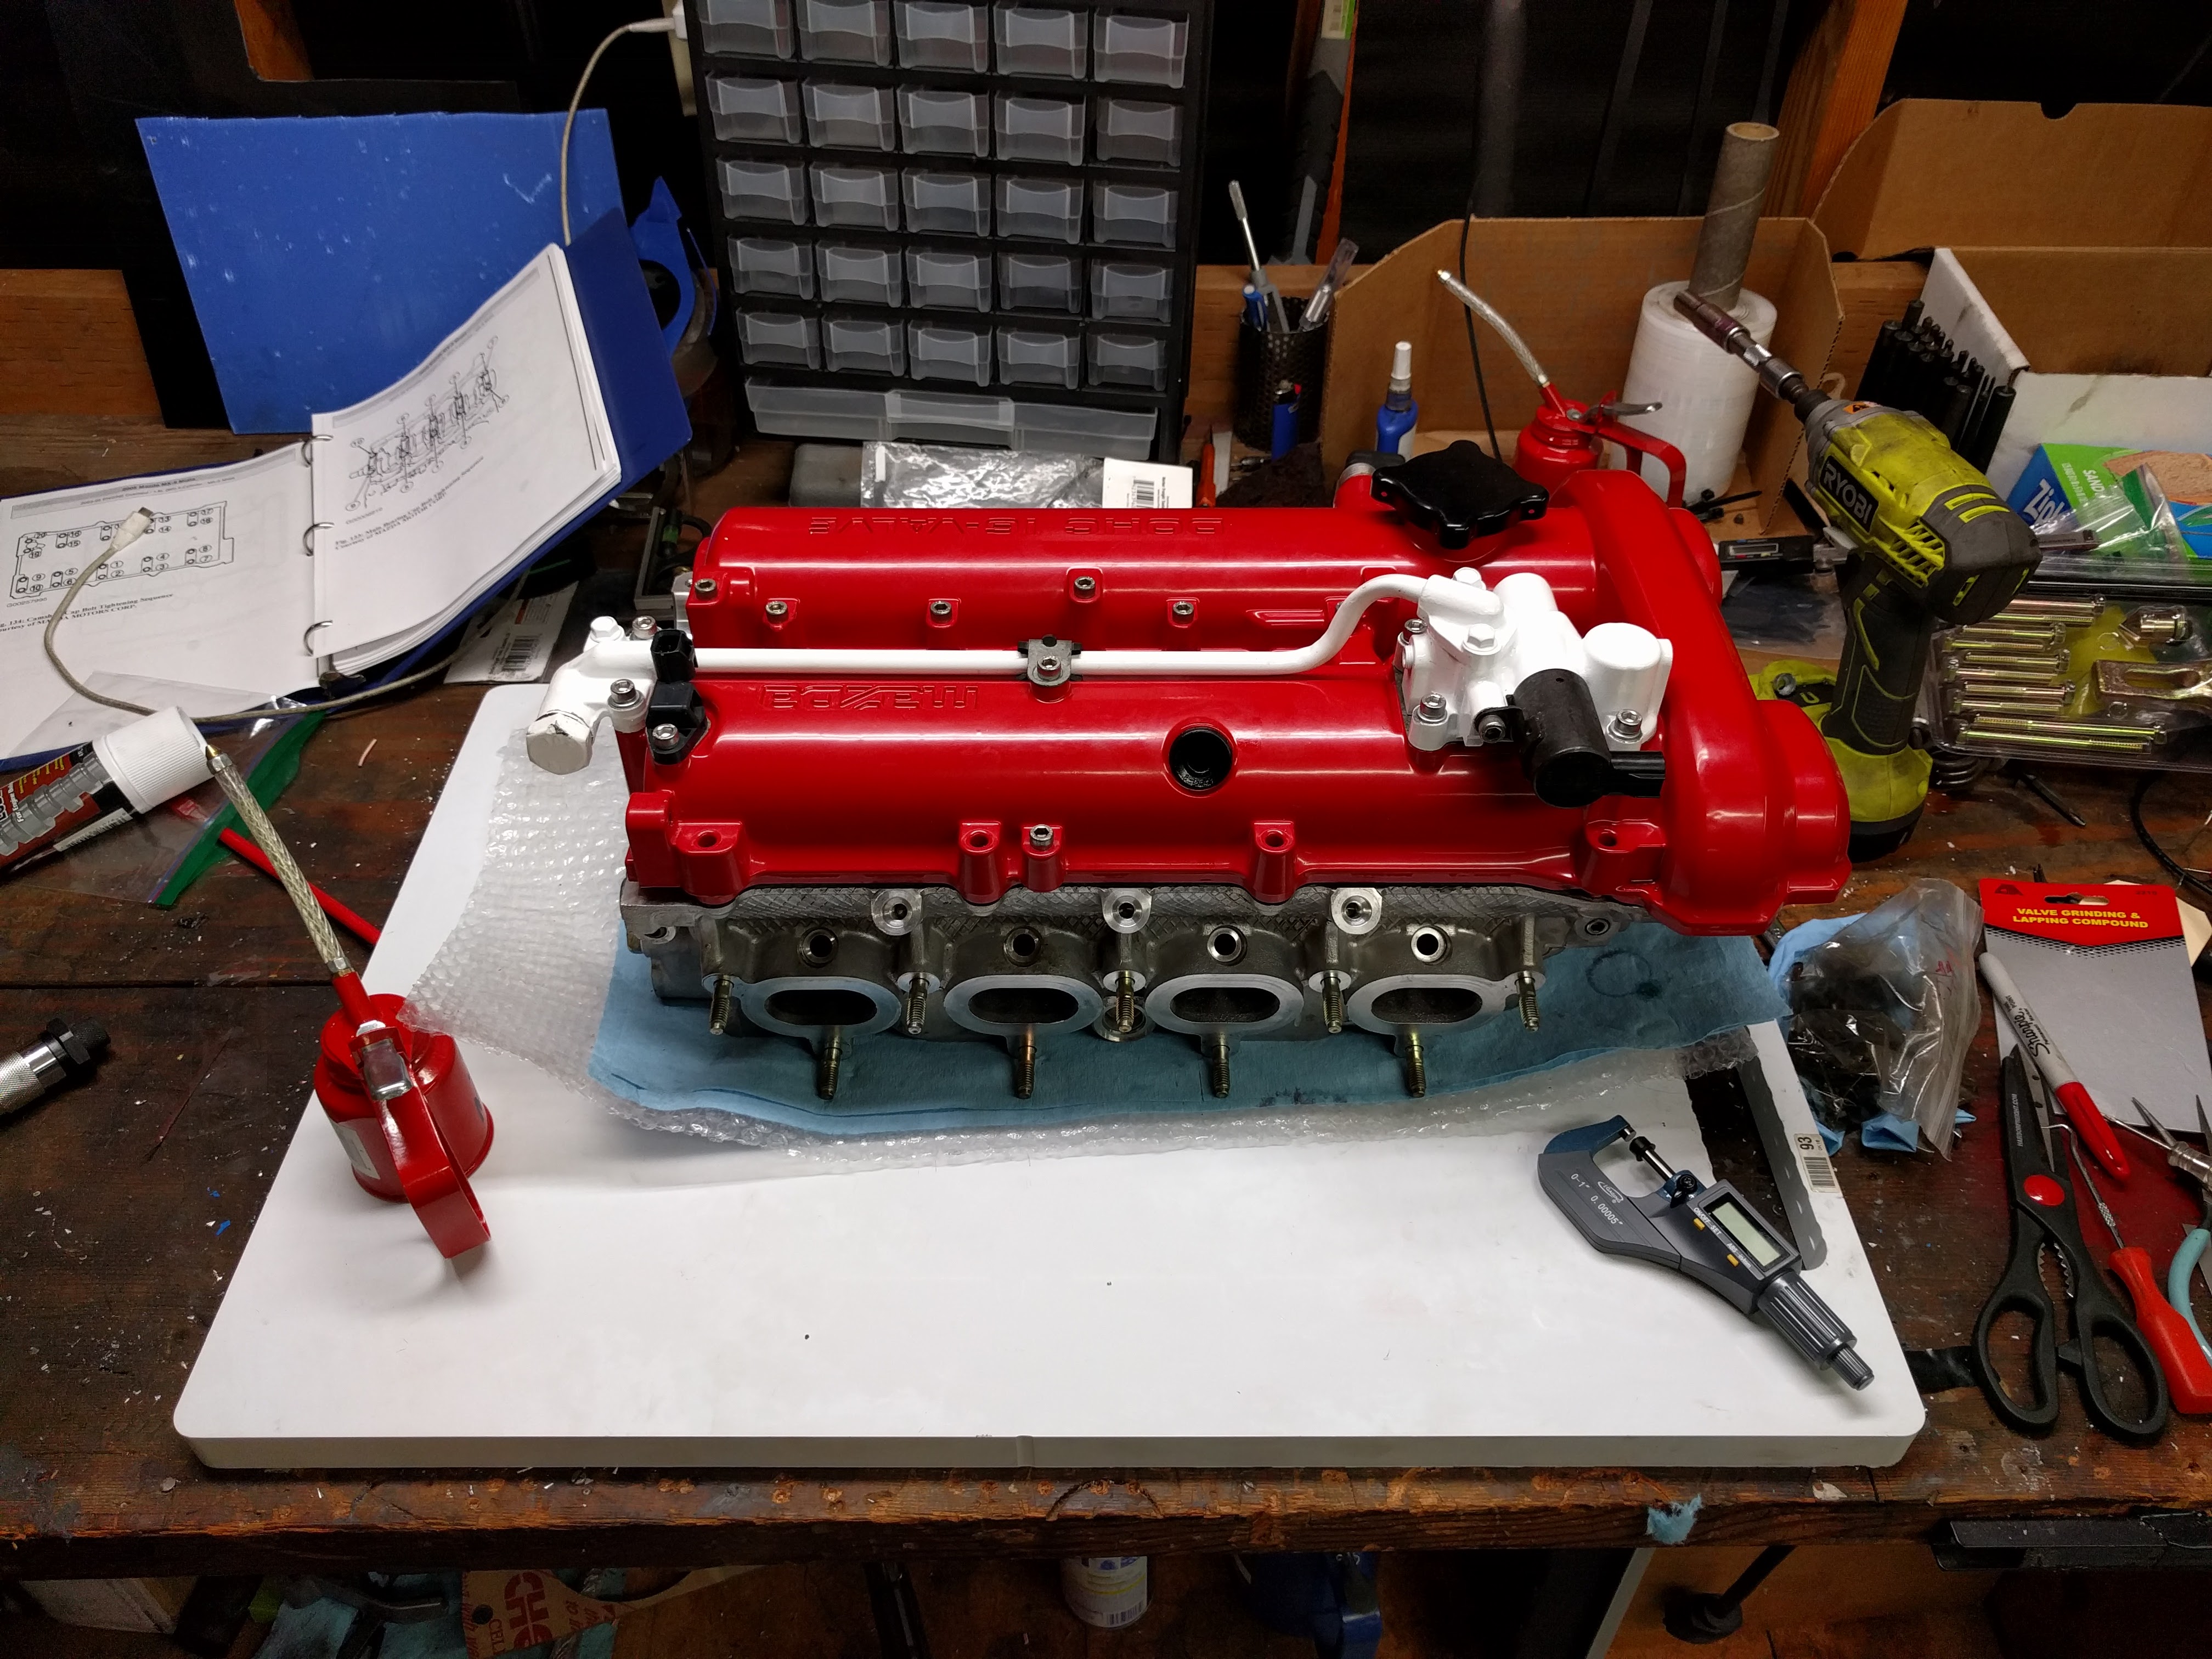
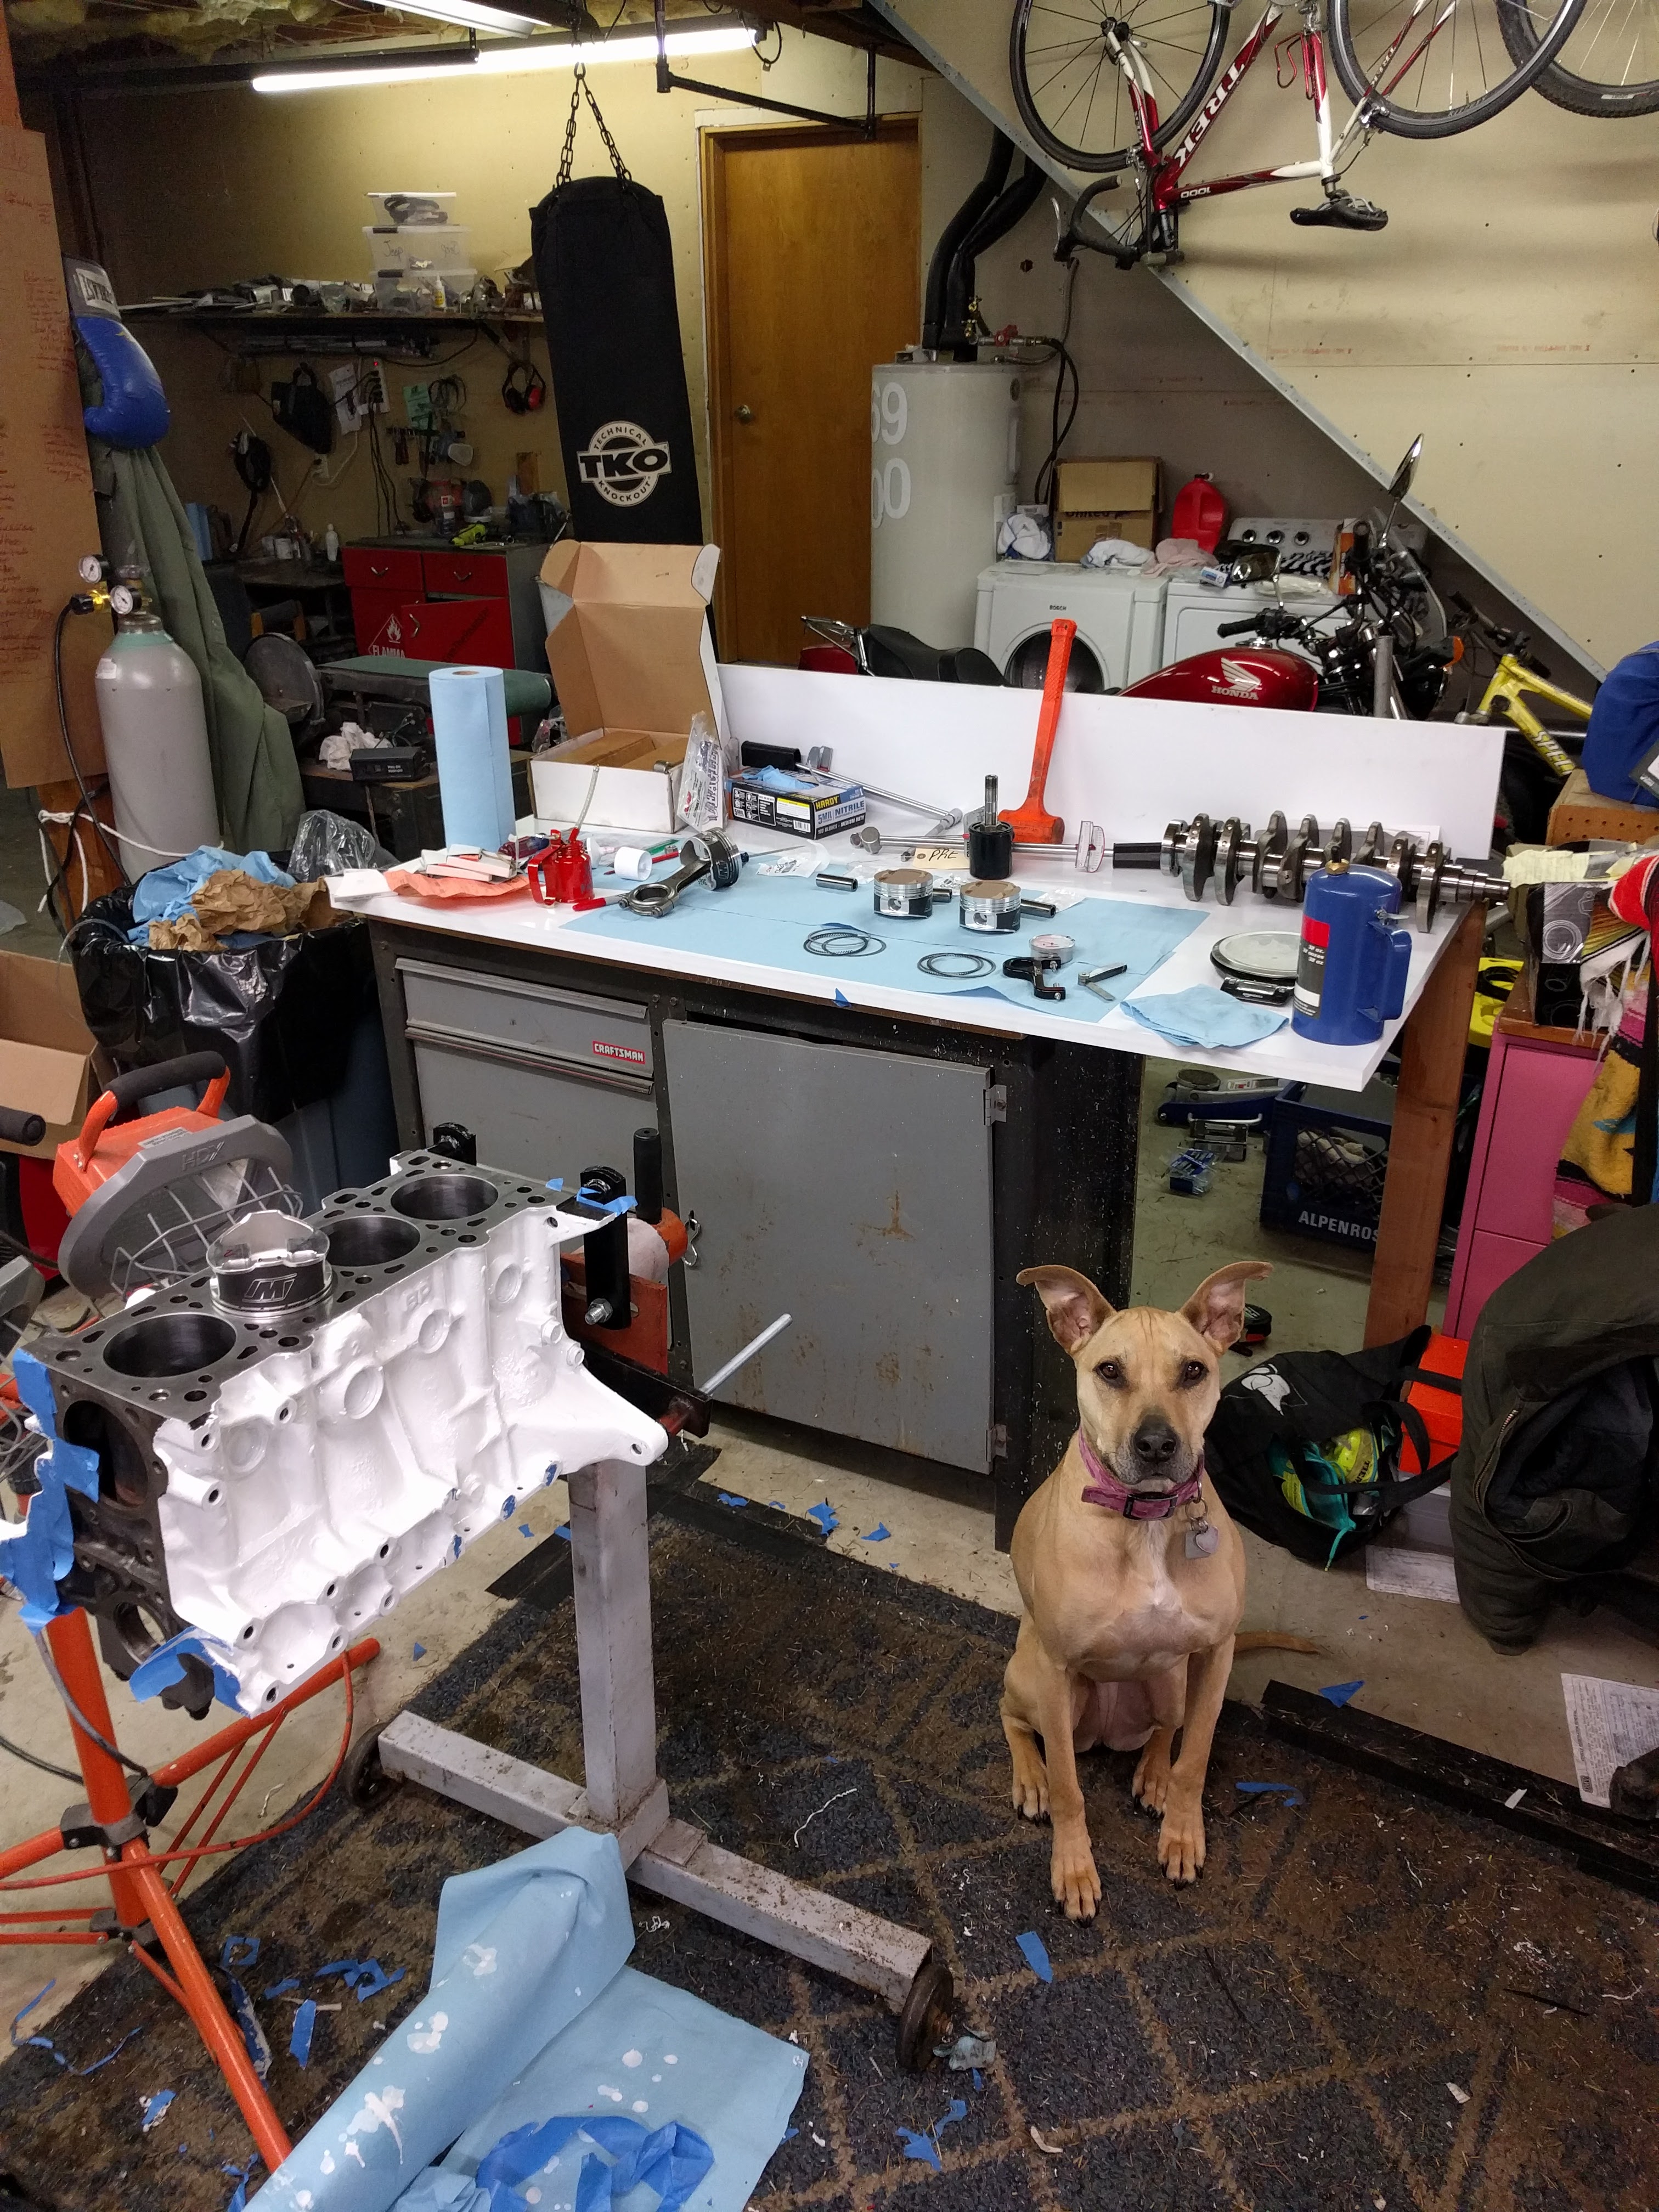
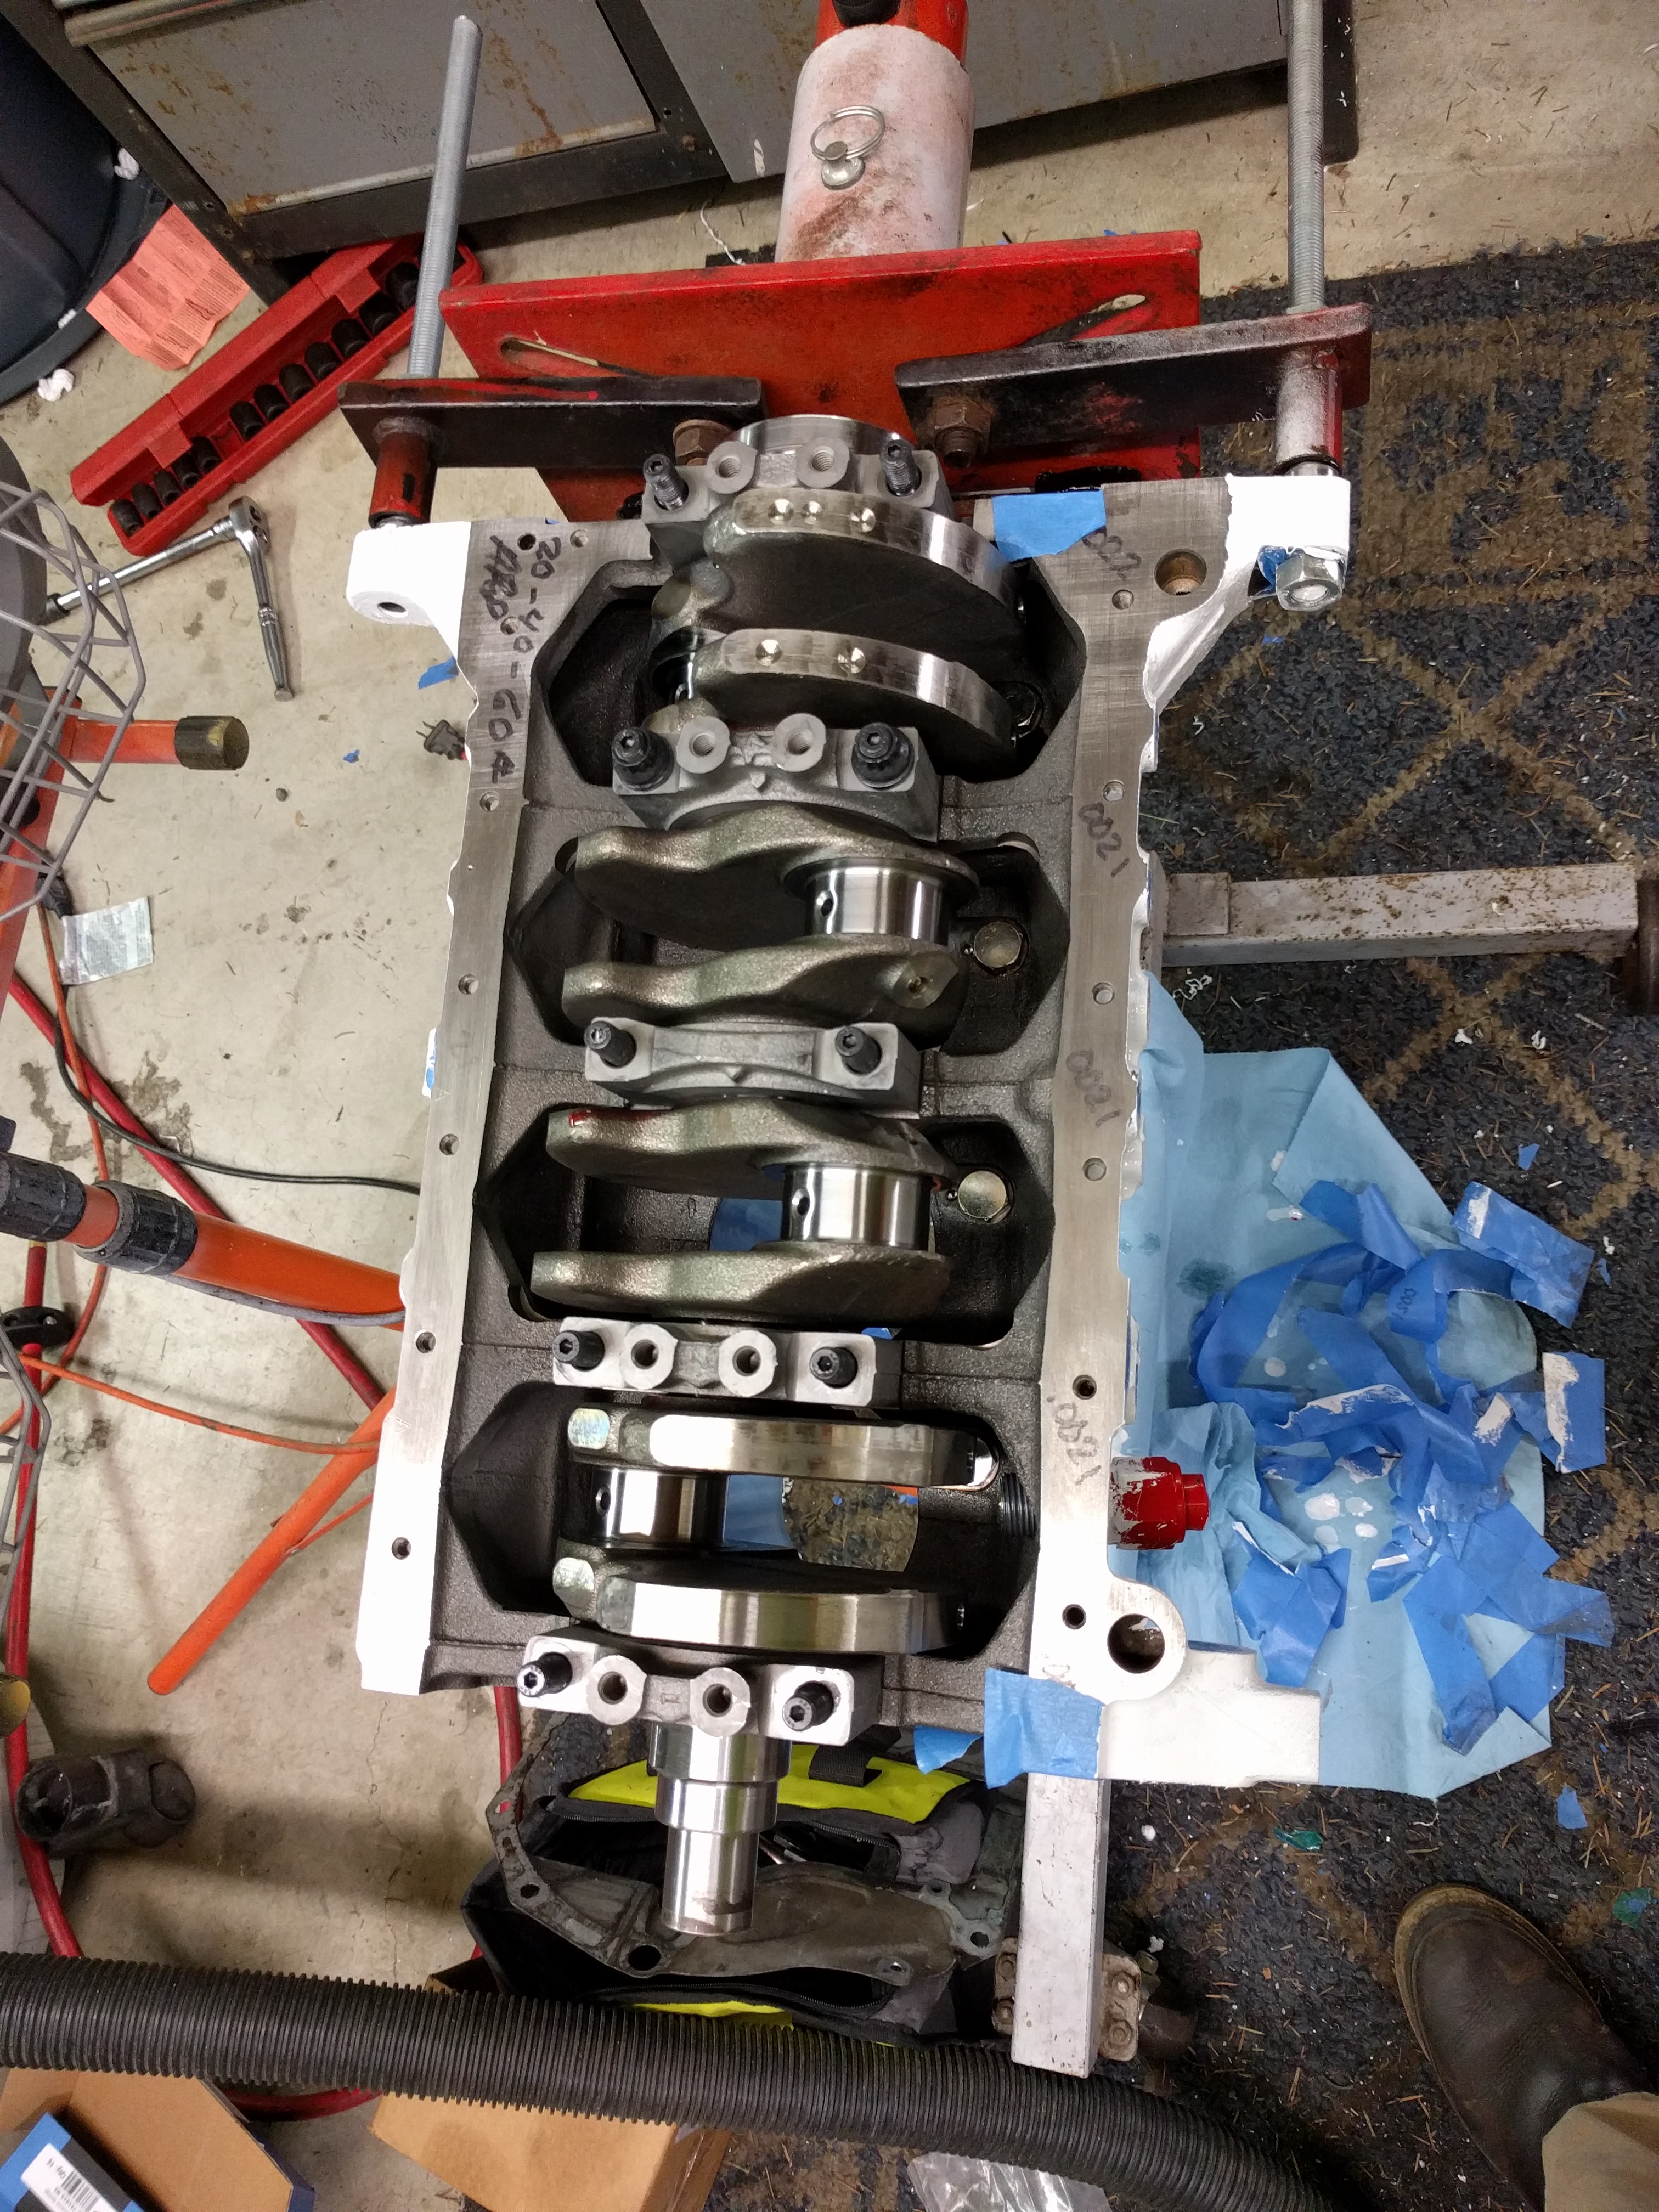
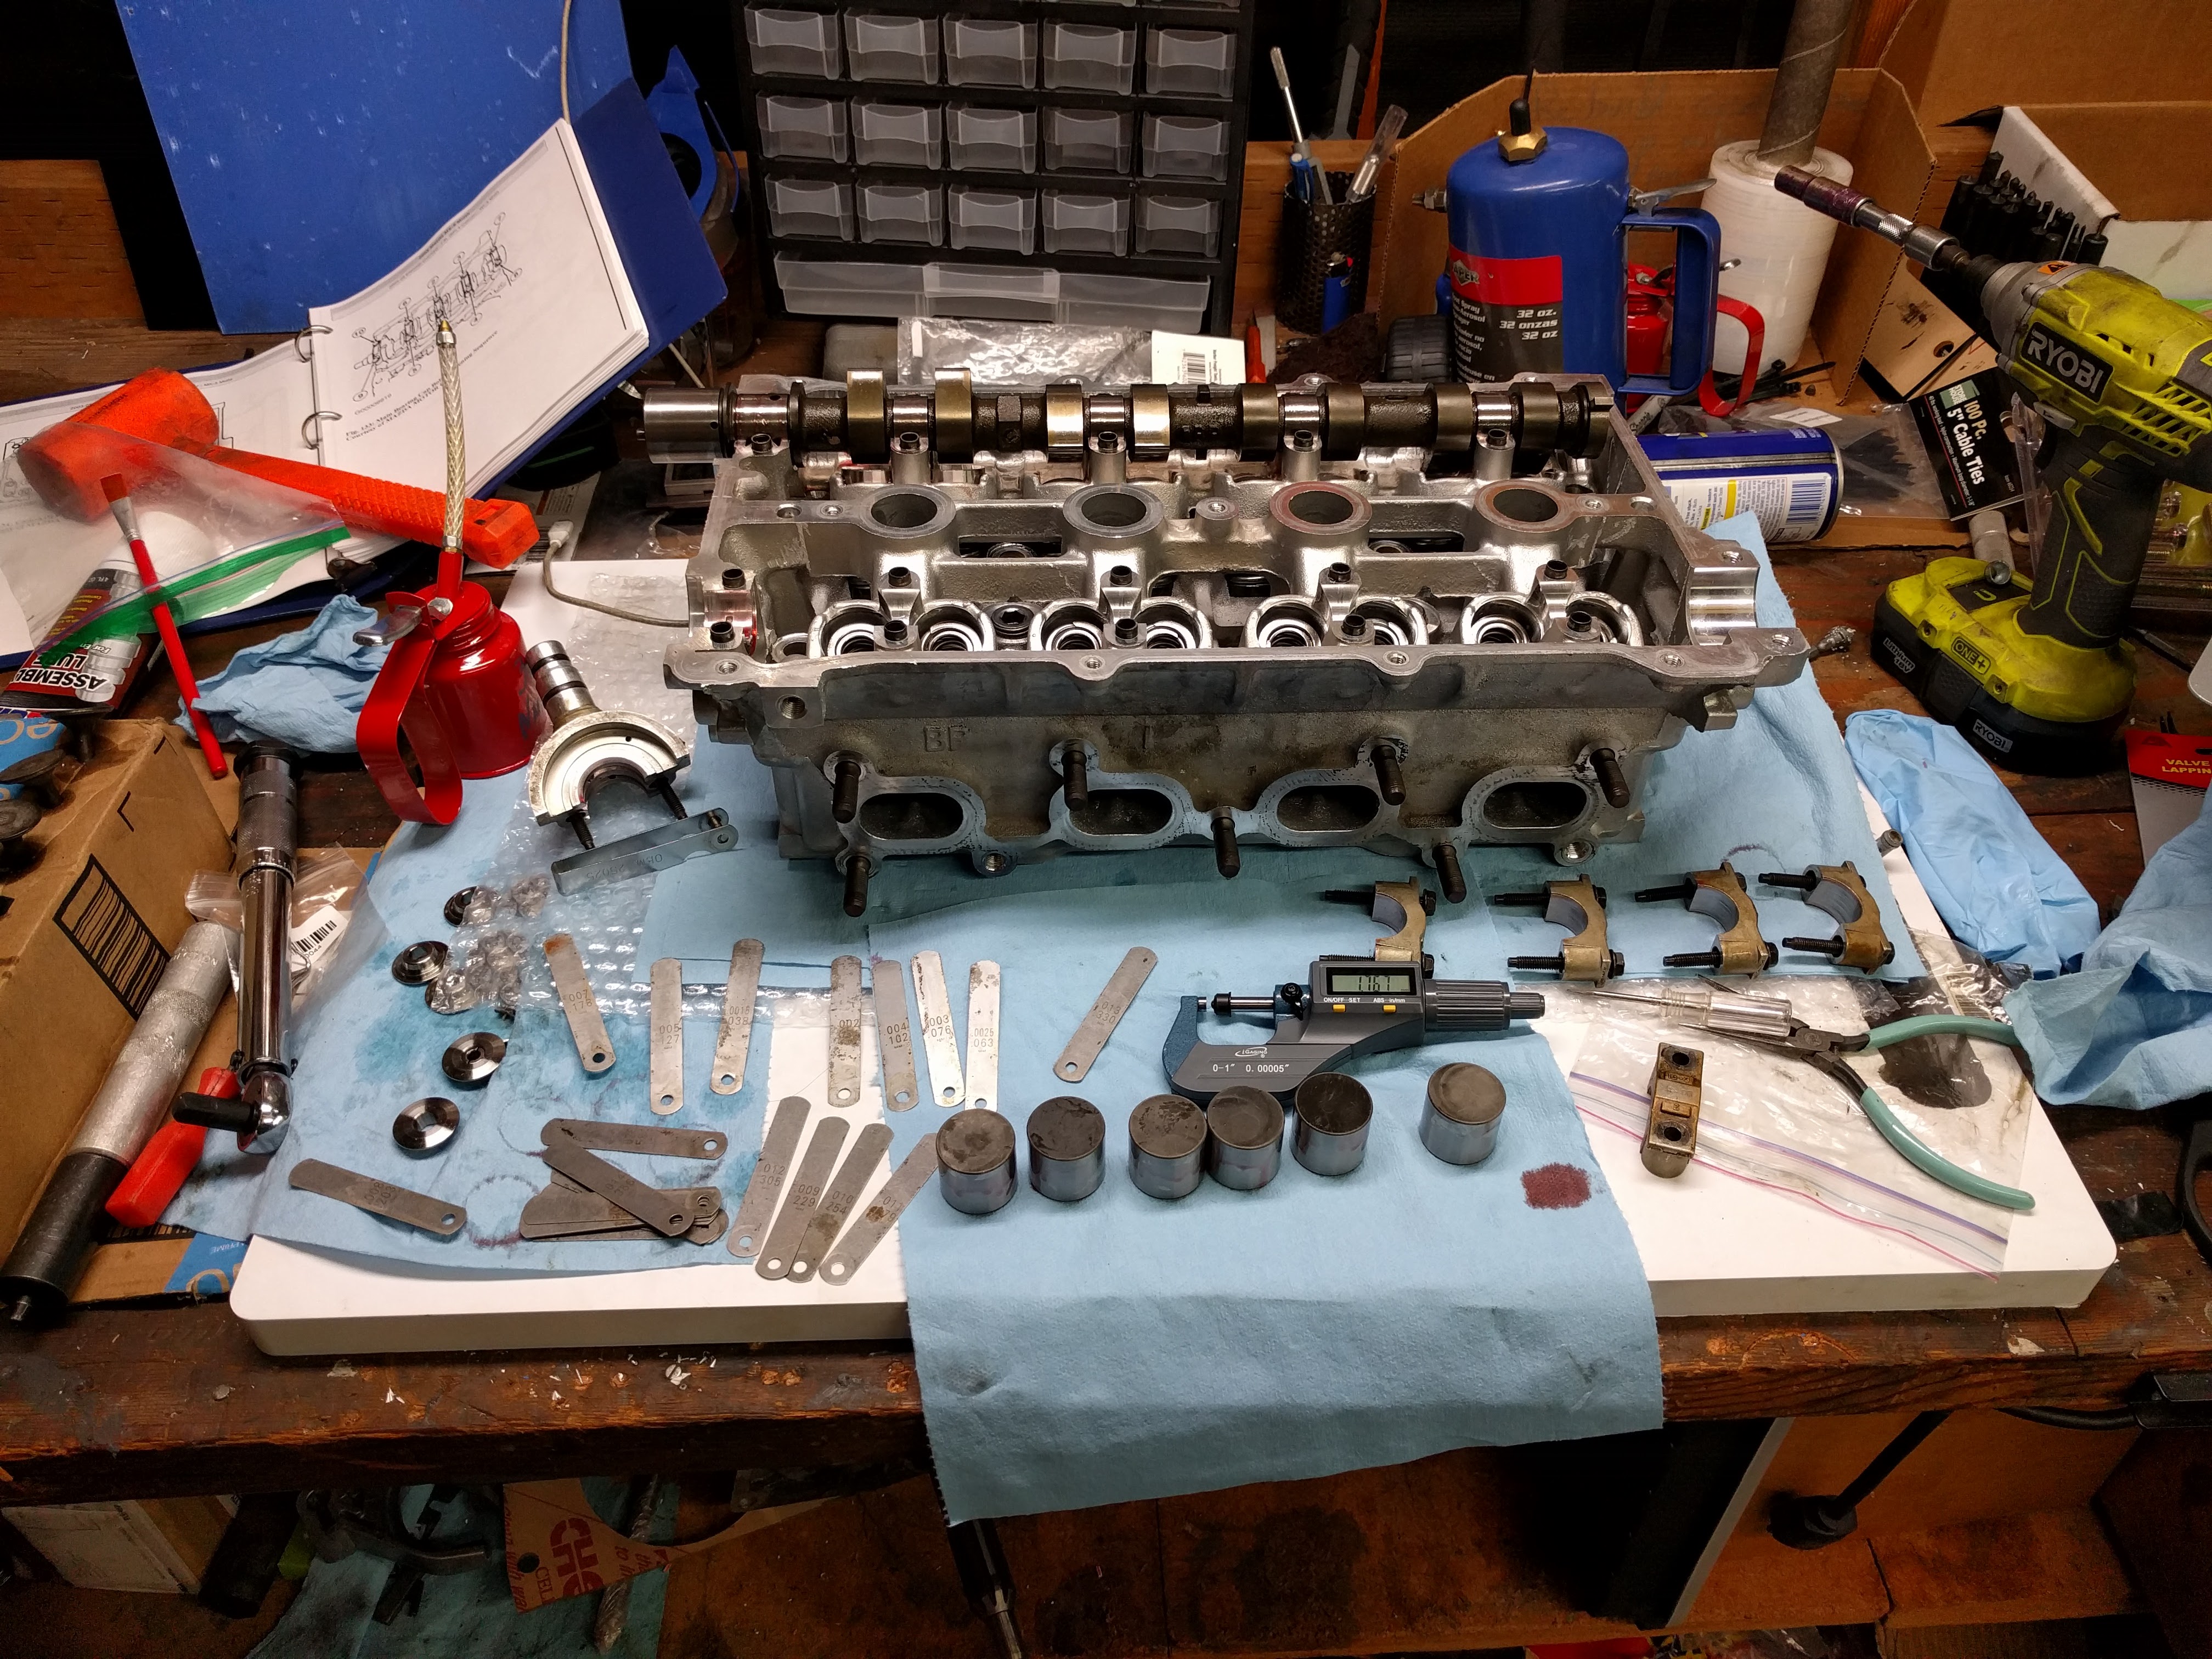
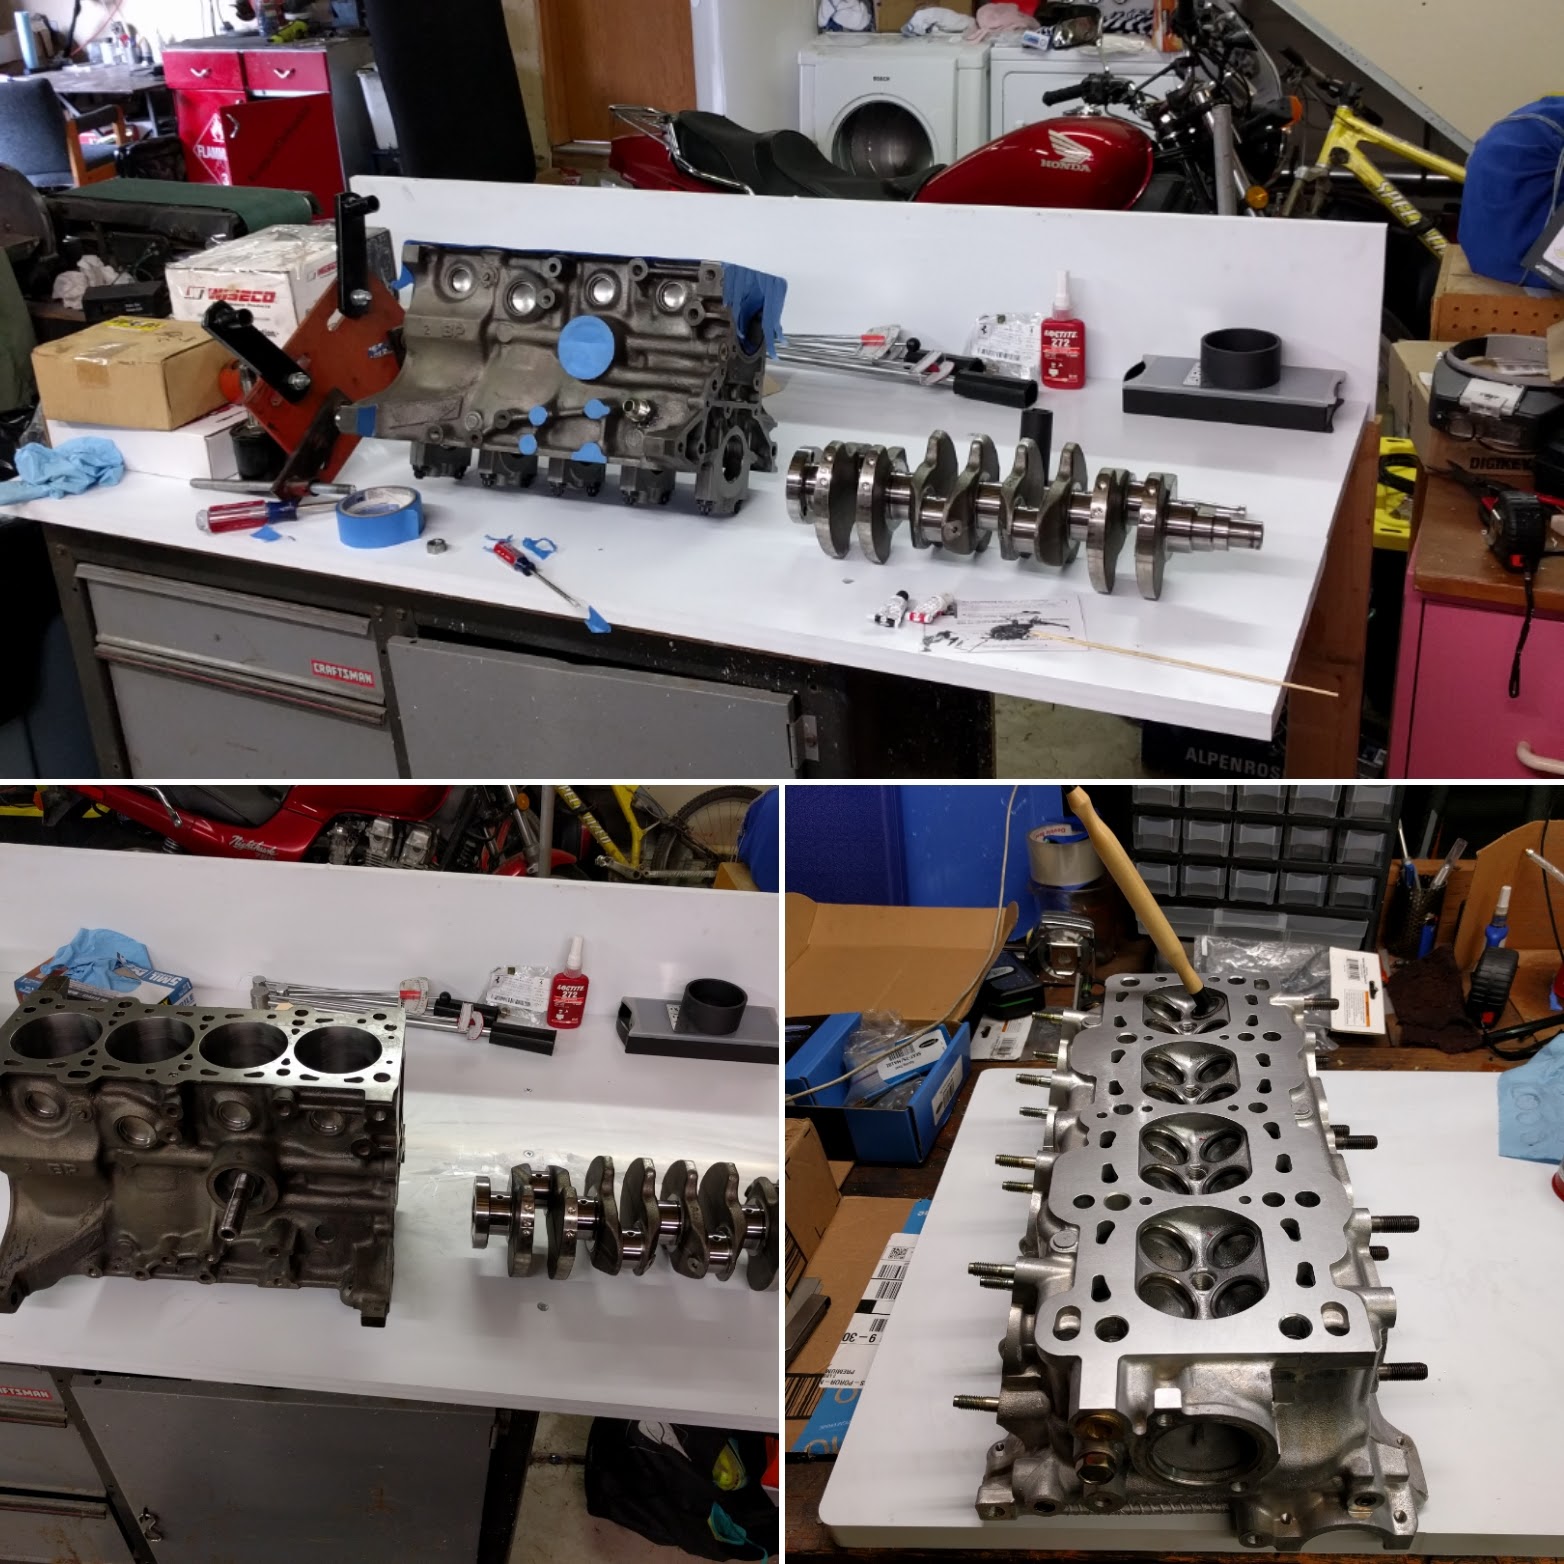
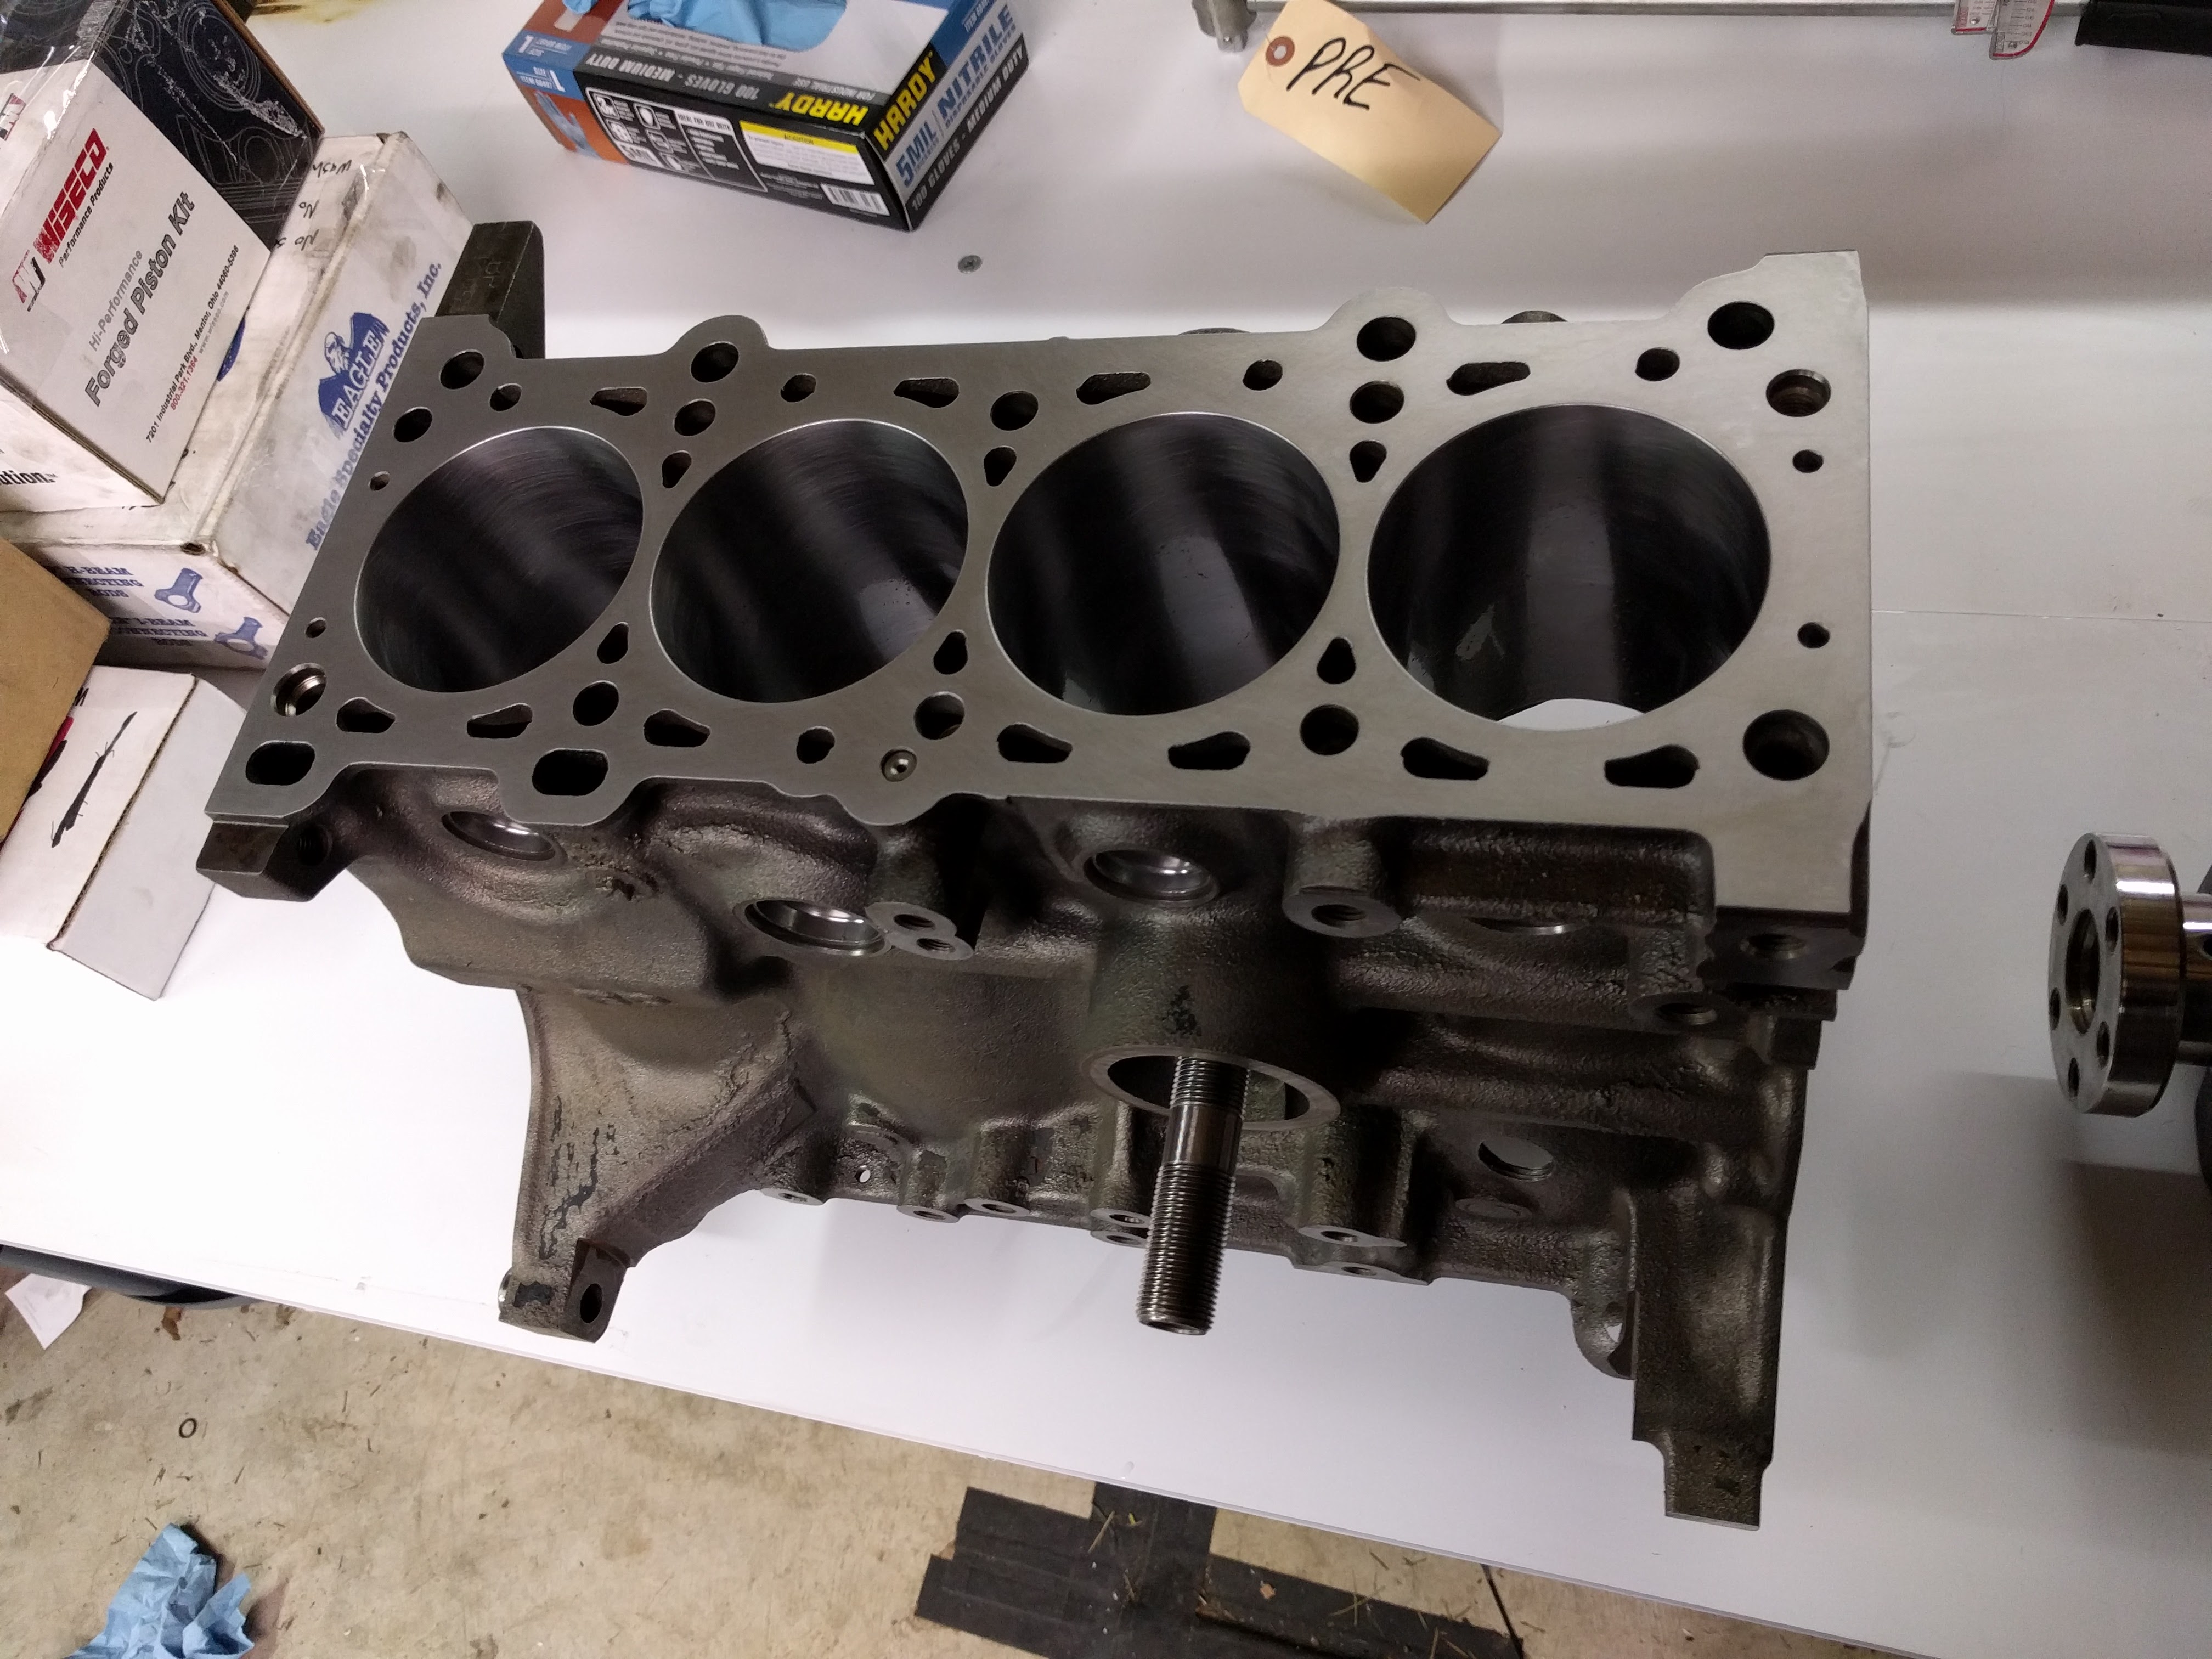
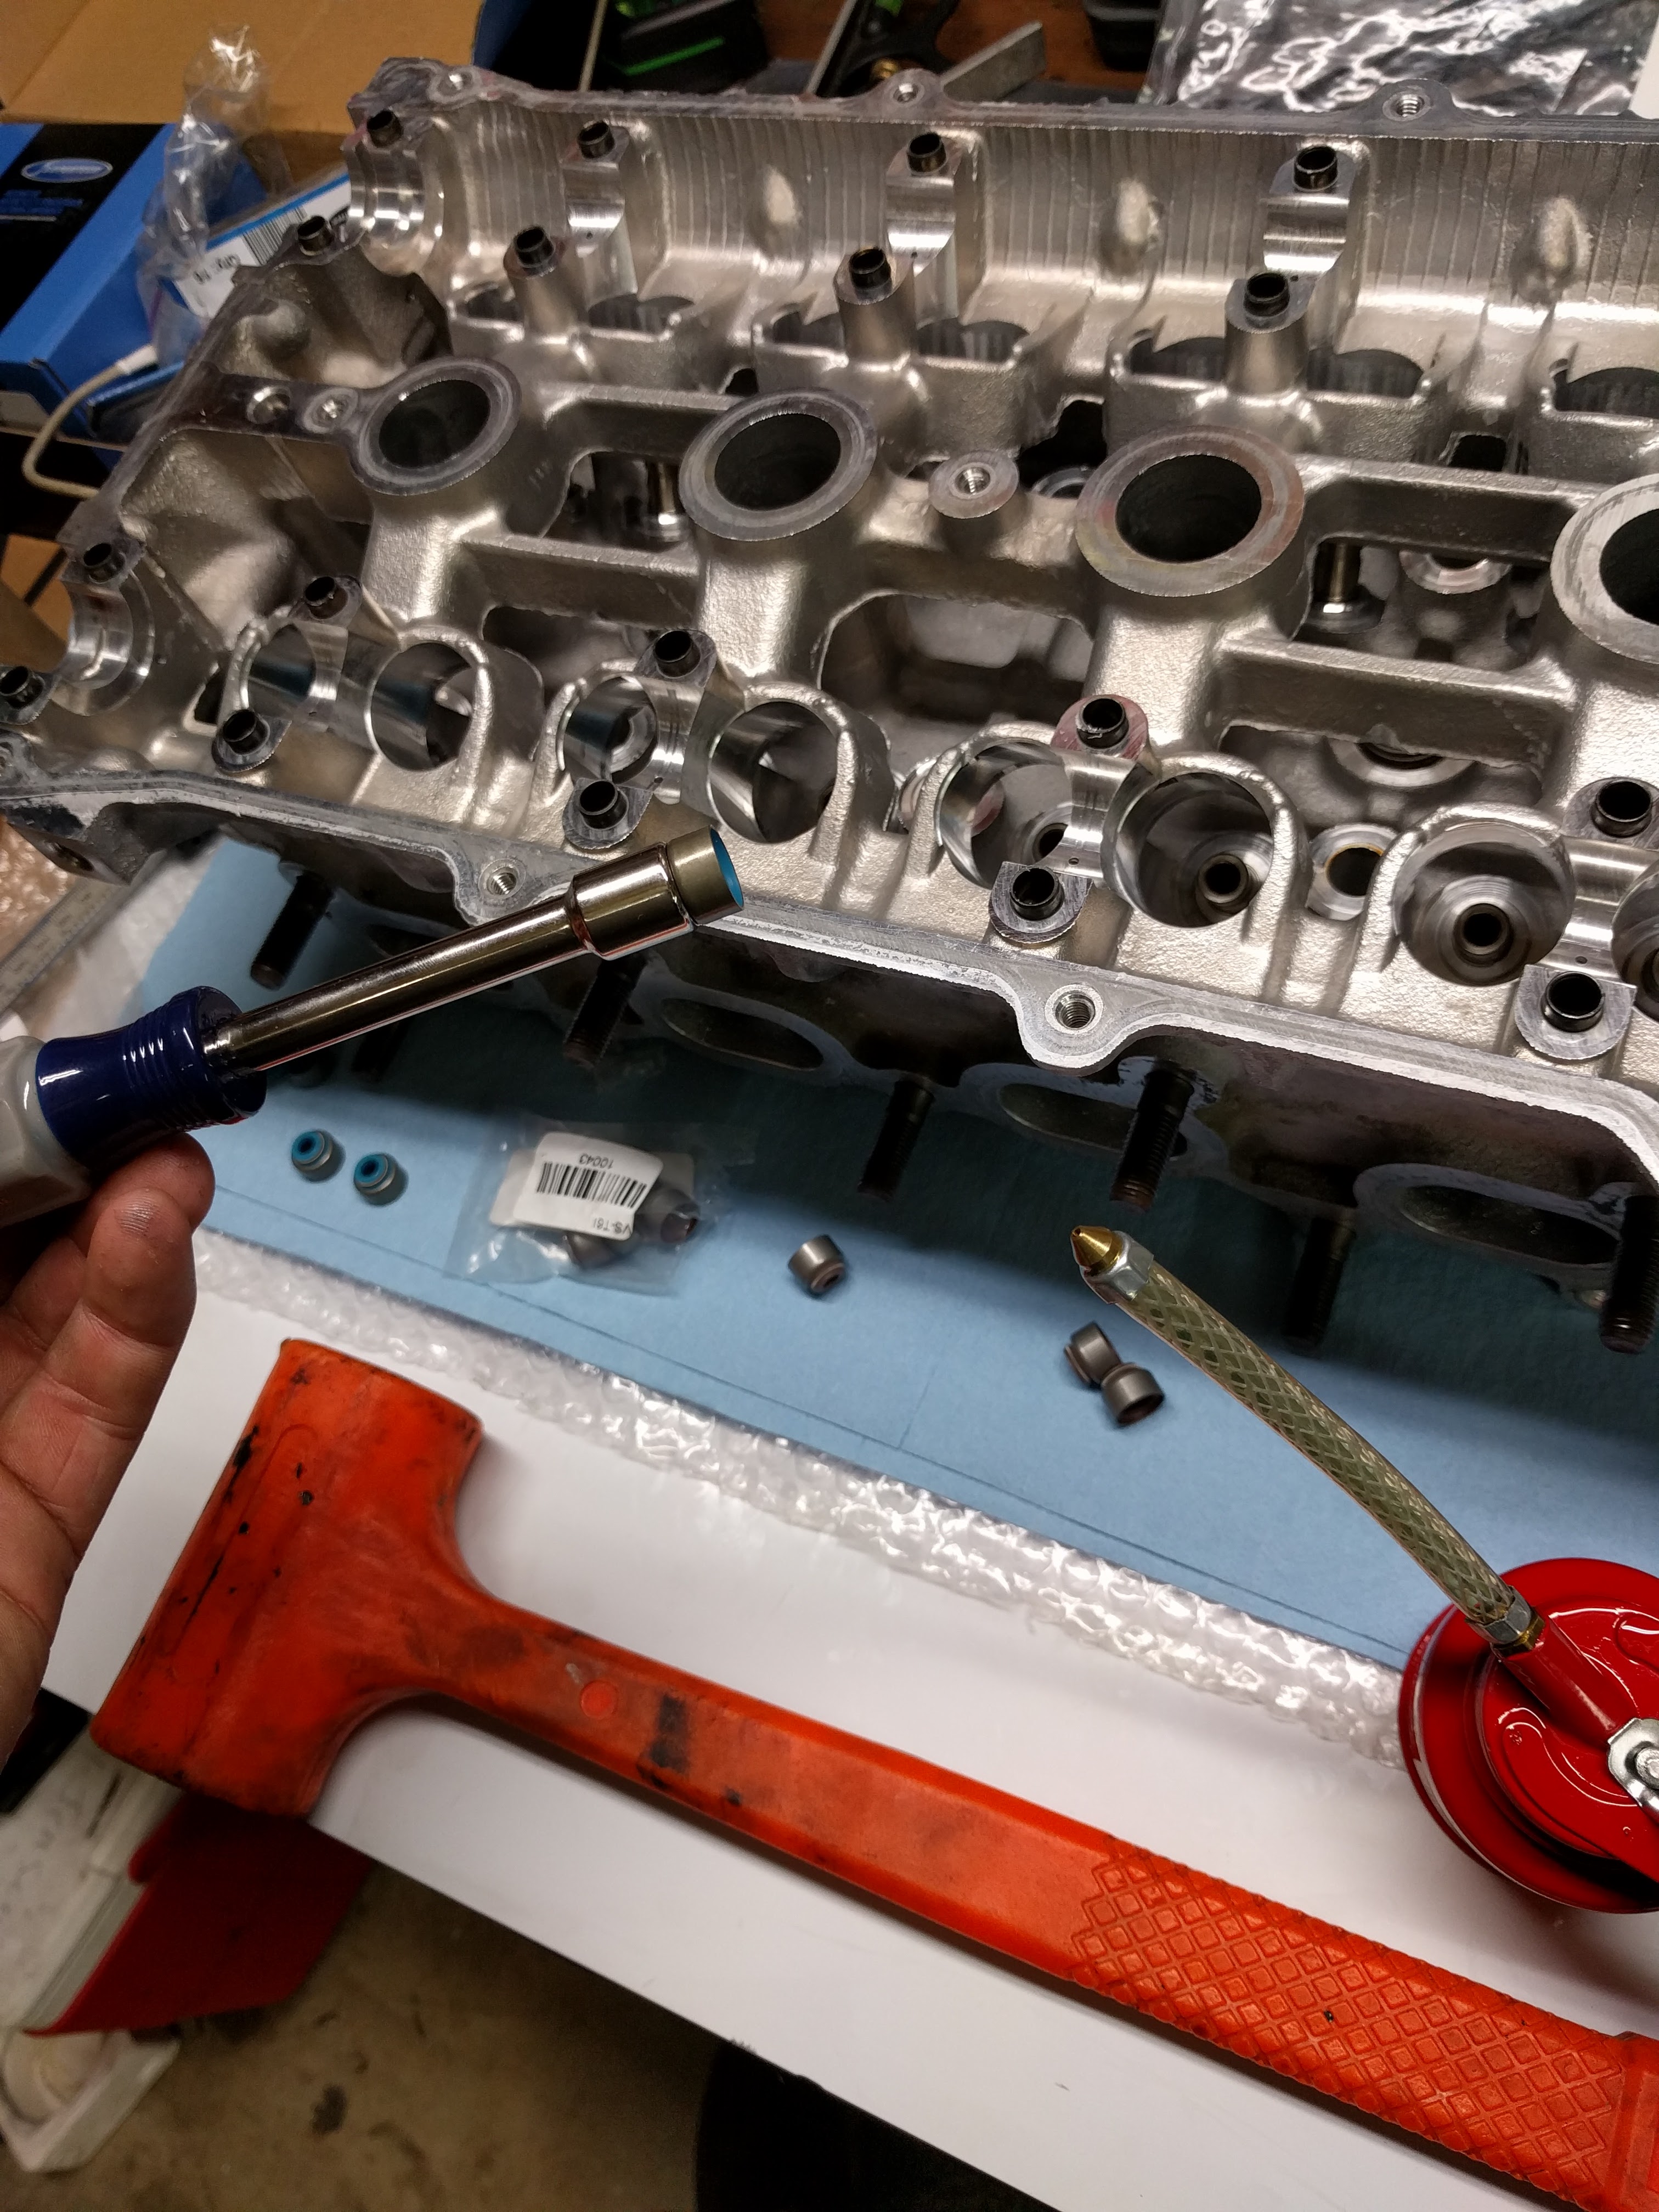
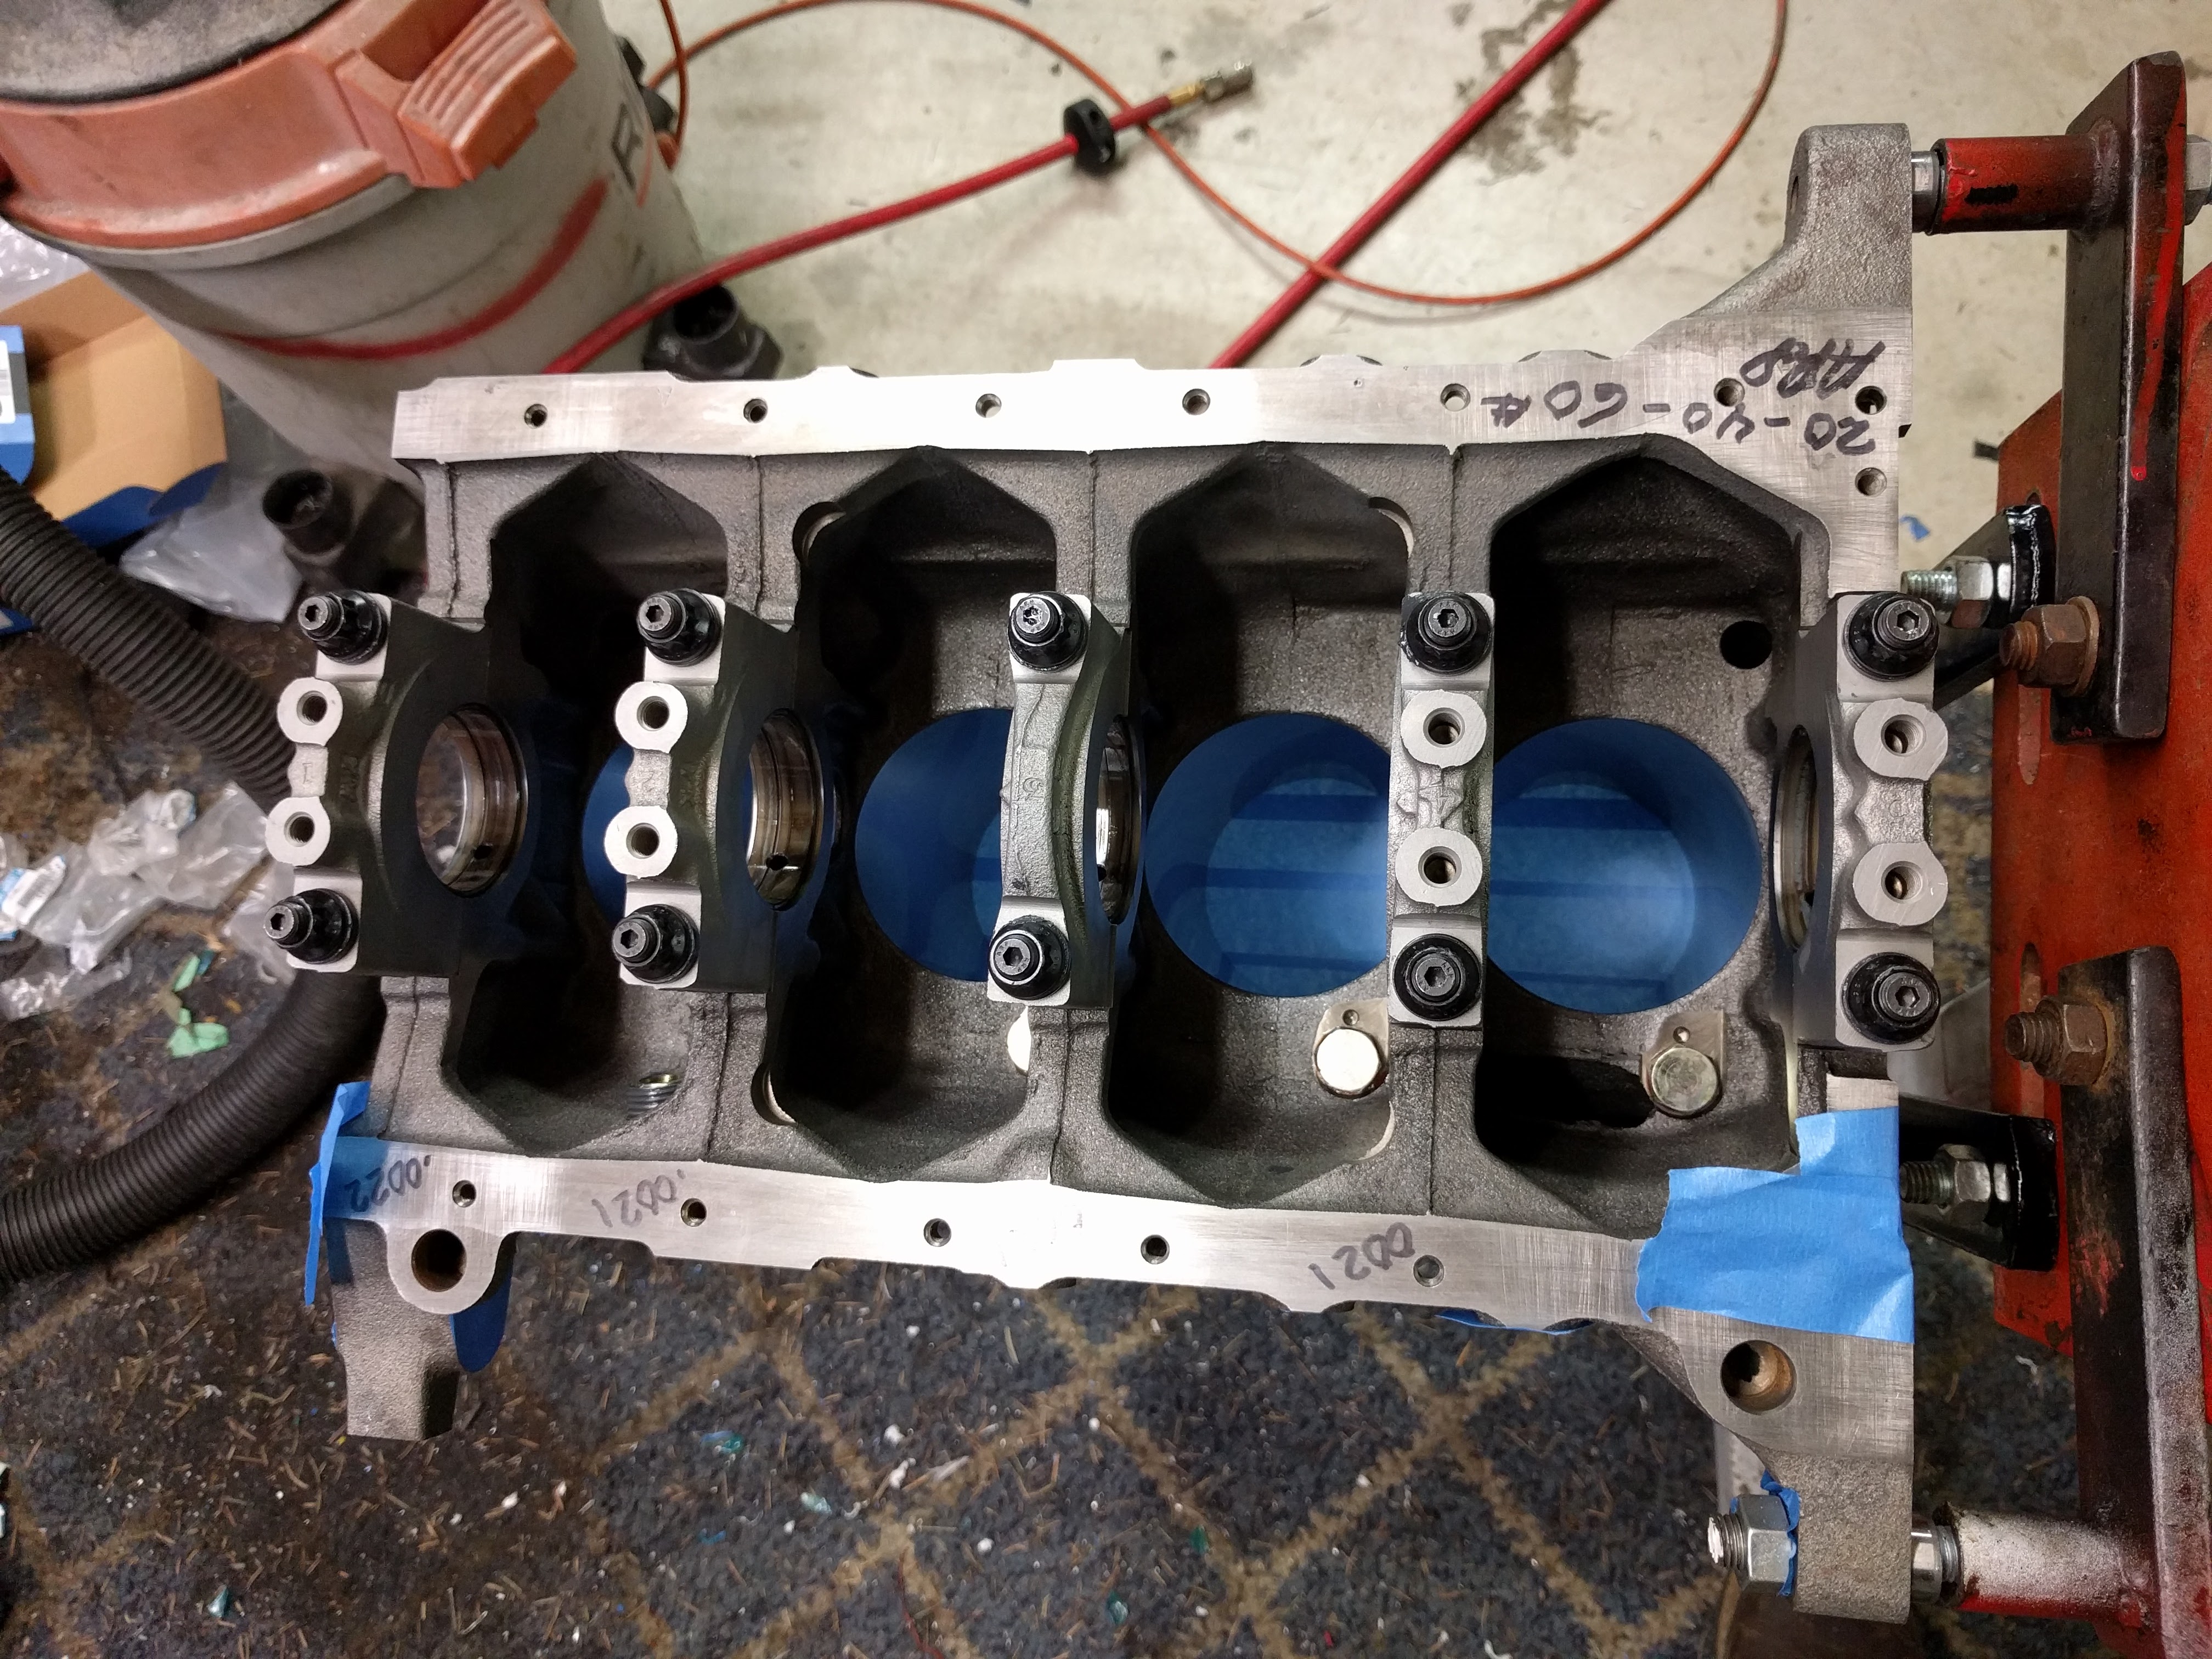
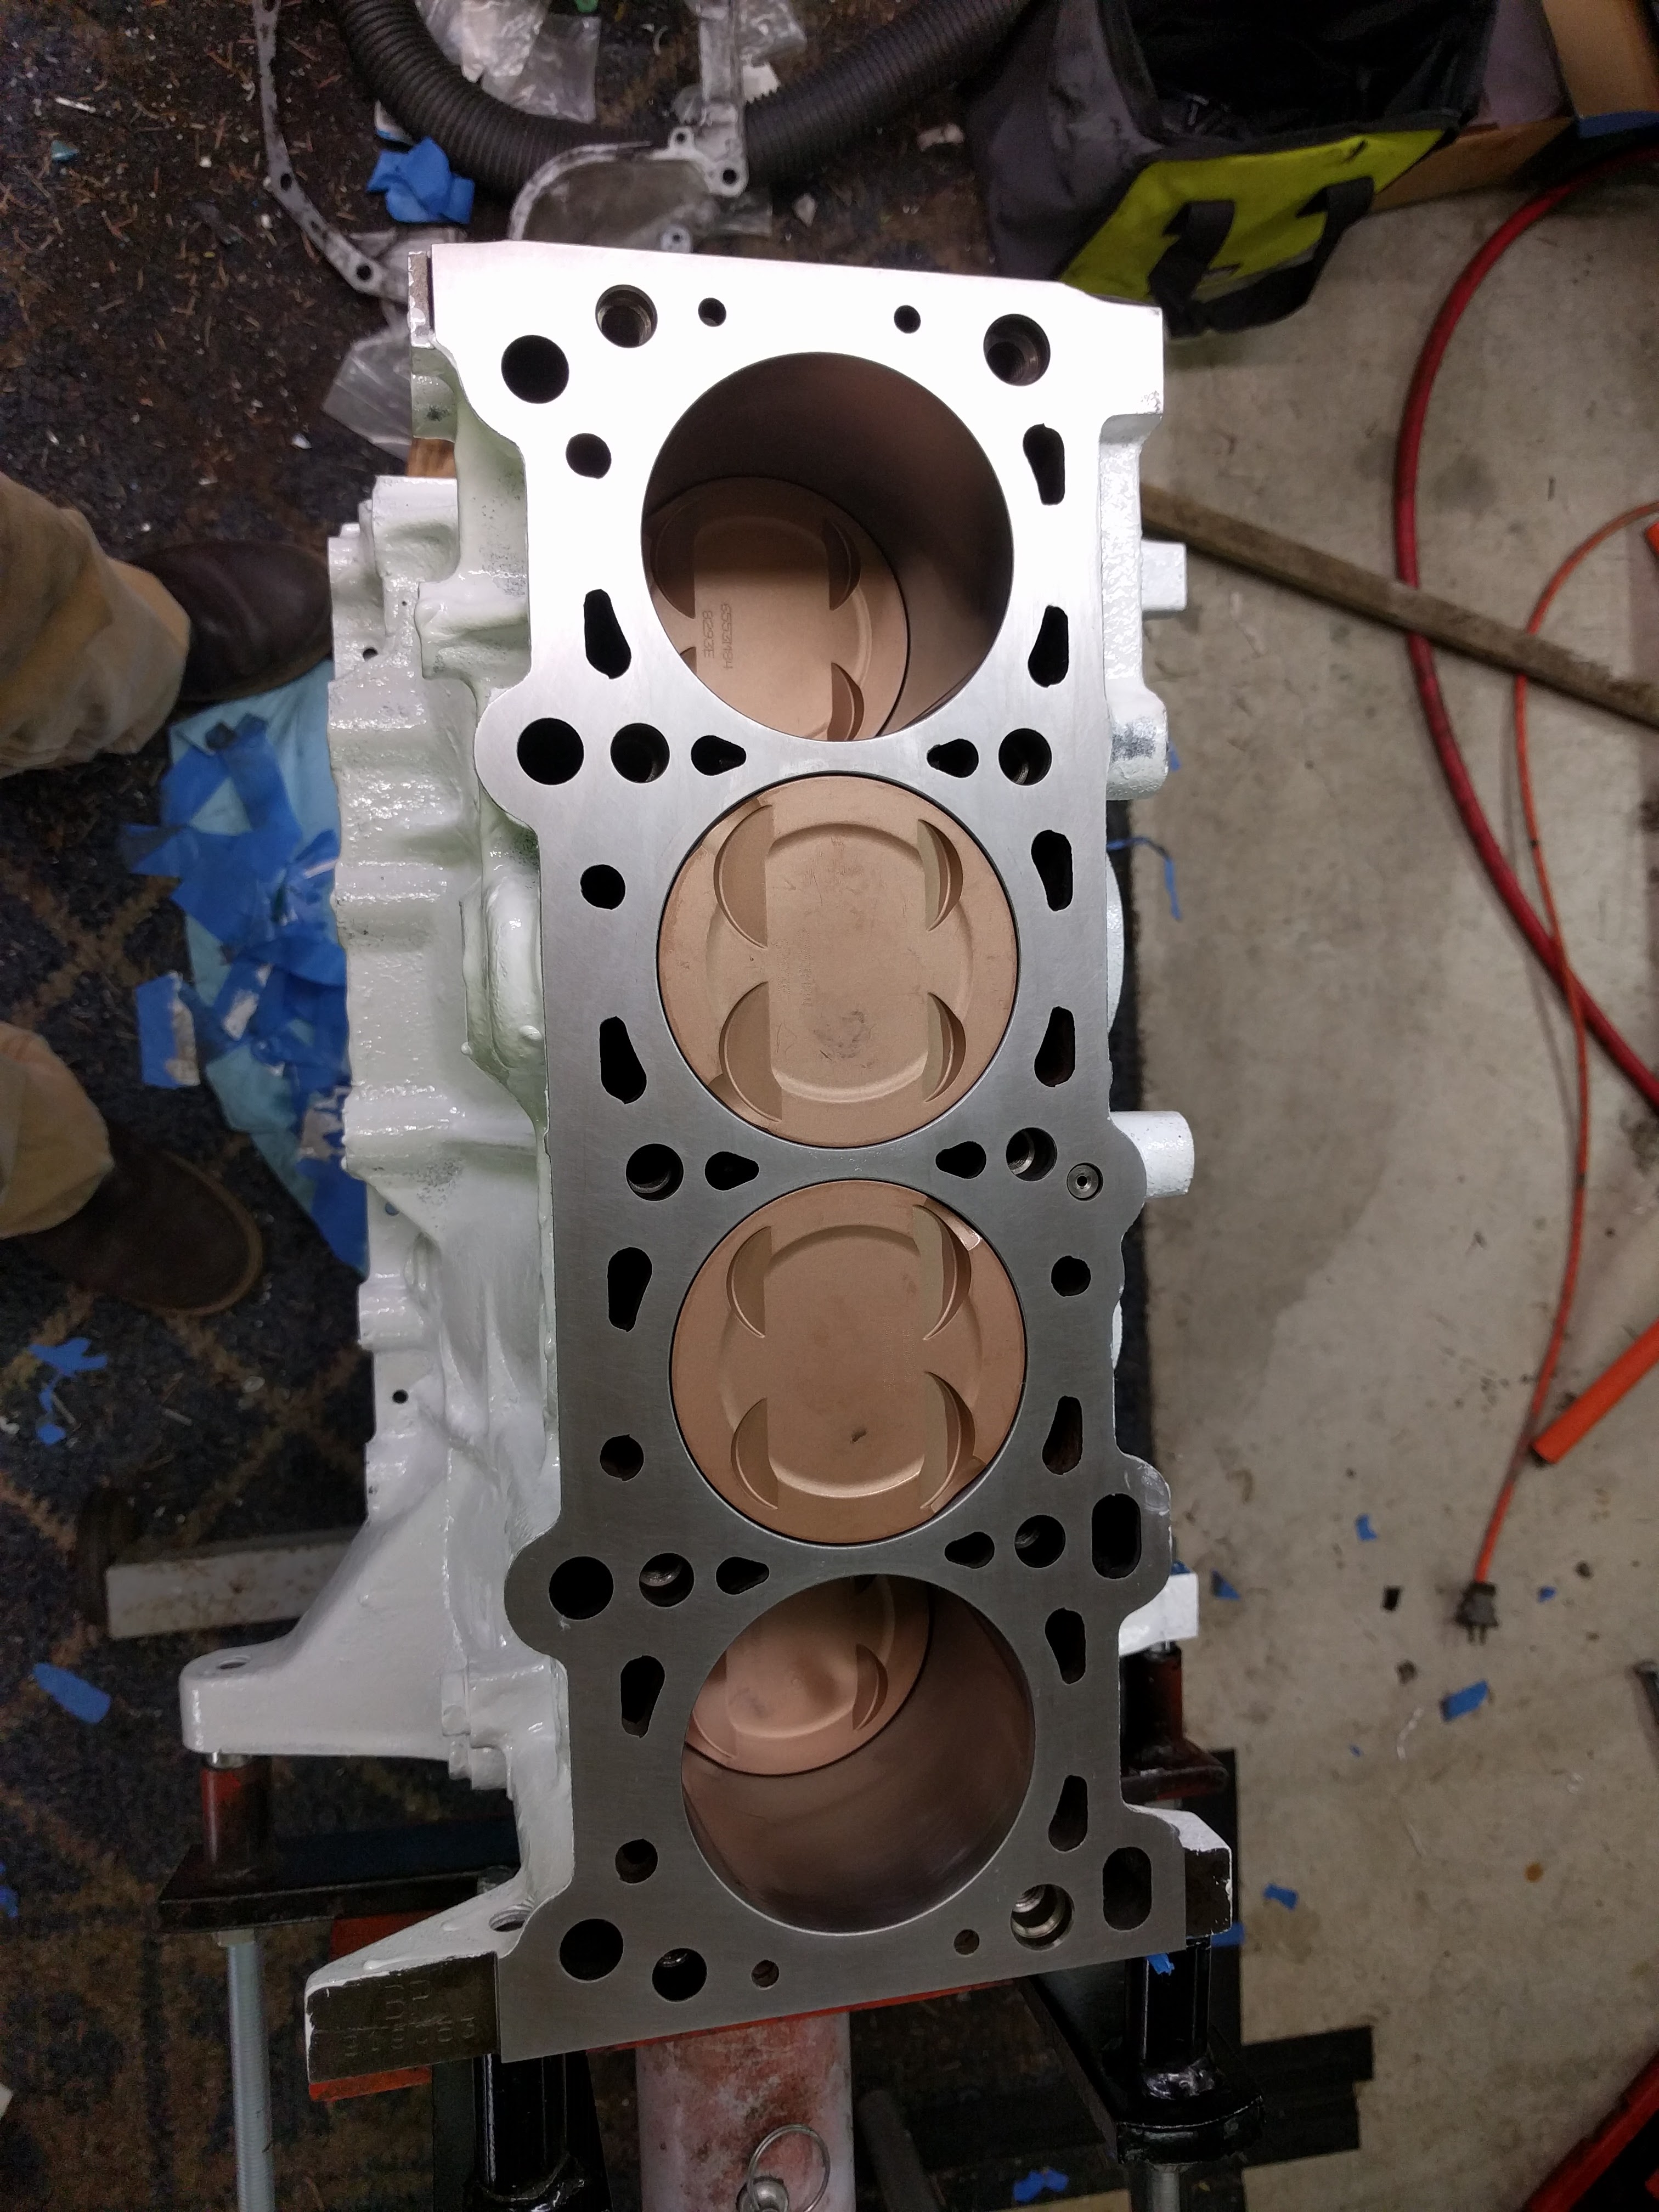
Speaking of rings. They were left at the machine shop. Just picked them up. Block has been painted. Going to go home, and bust out the bottom end. Still waiting on my pump from Travis, and finding out if supertech has the shims I need or if I'll be grinding shims.
Speaking of rings. They were left at the machine shop. Just picked them up. Block has been painted. Going to go home, and bust out the bottom end. Still waiting on my pump from Travis, and finding out if supertech has the shims I need or if I'll be grinding shims.
Reply
0
0

Nope. Through a local shop.
Speaking of rings. They were left at the machine shop. Just picked them up. Block has been painted. Going to go home, and bust out the bottom end. Still waiting on my pump from Travis, and finding out if supertech has the shims I need or if I'll be grinding shims.
Speaking of rings. They were left at the machine shop. Just picked them up. Block has been painted. Going to go home, and bust out the bottom end. Still waiting on my pump from Travis, and finding out if supertech has the shims I need or if I'll be grinding shims.
Reply
0
0
Thread Starter
Joined: Apr 2014
Posts: 18,643
Total Cats: 1,870
From: Beaverton, USA
Reply
0
0
Elite Member
Joined: Mar 2007
Posts: 5,306
Total Cats: 888
From: Santa Clara, CA
Reply
0
0


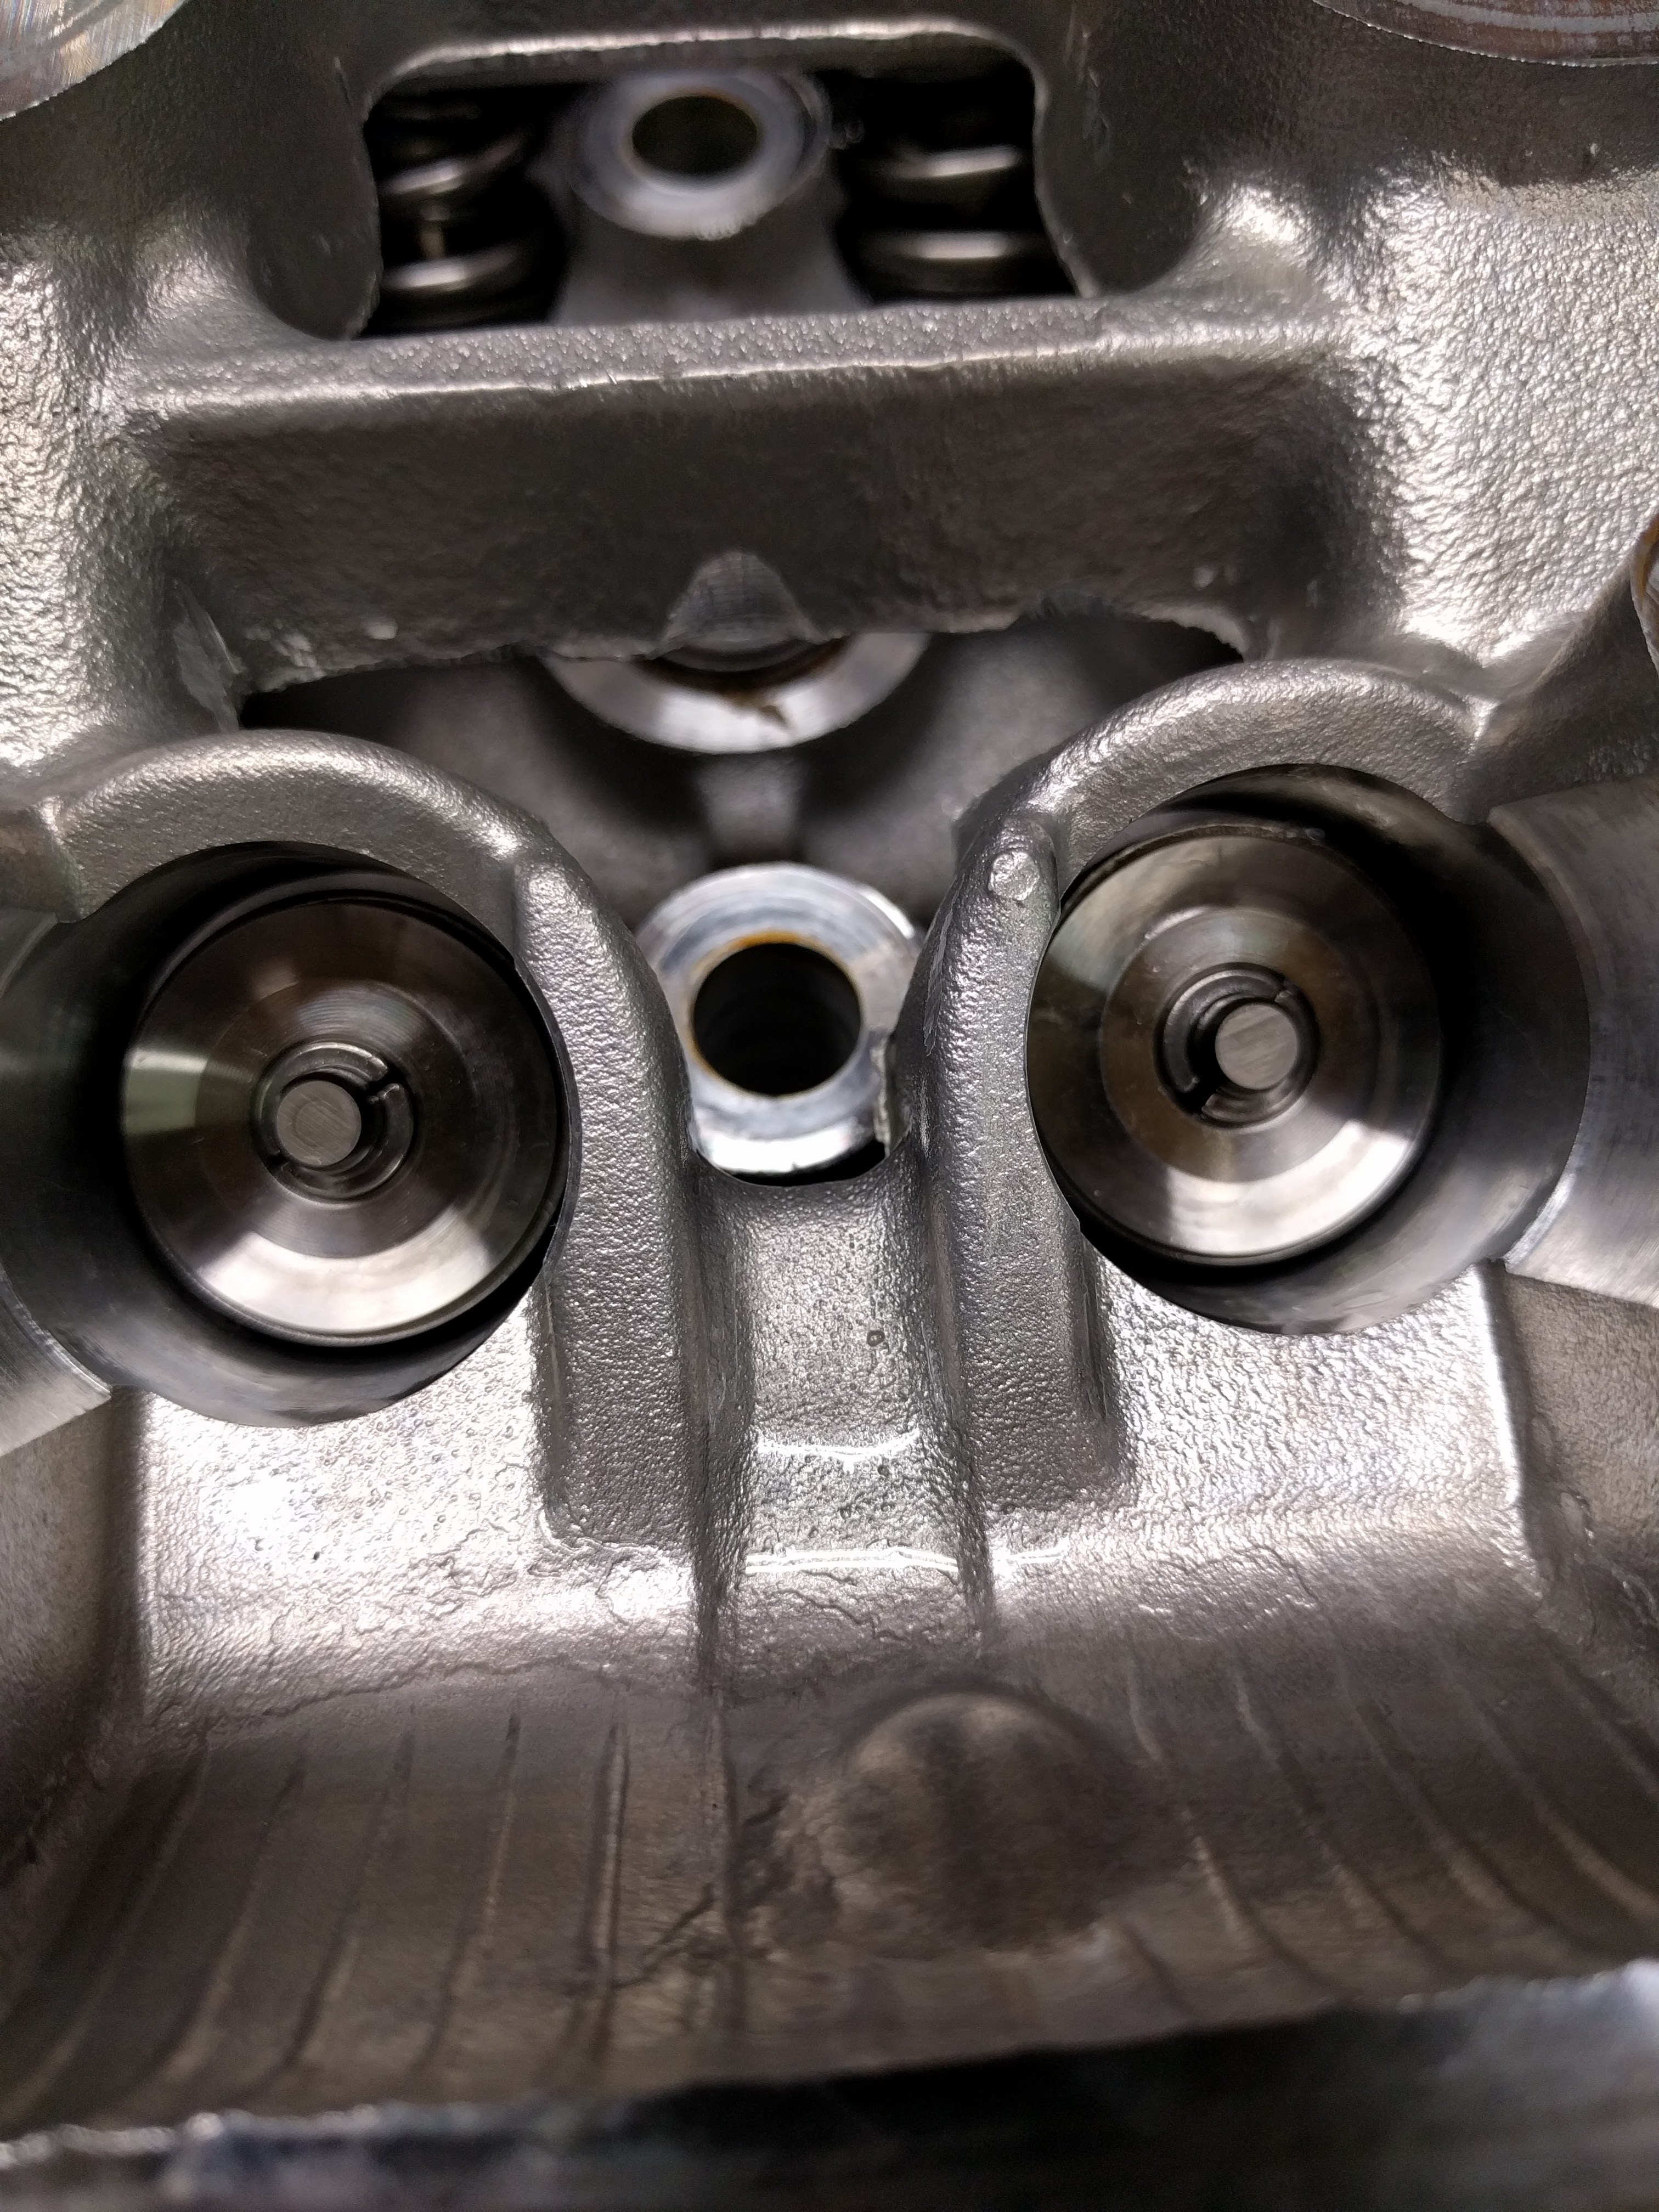
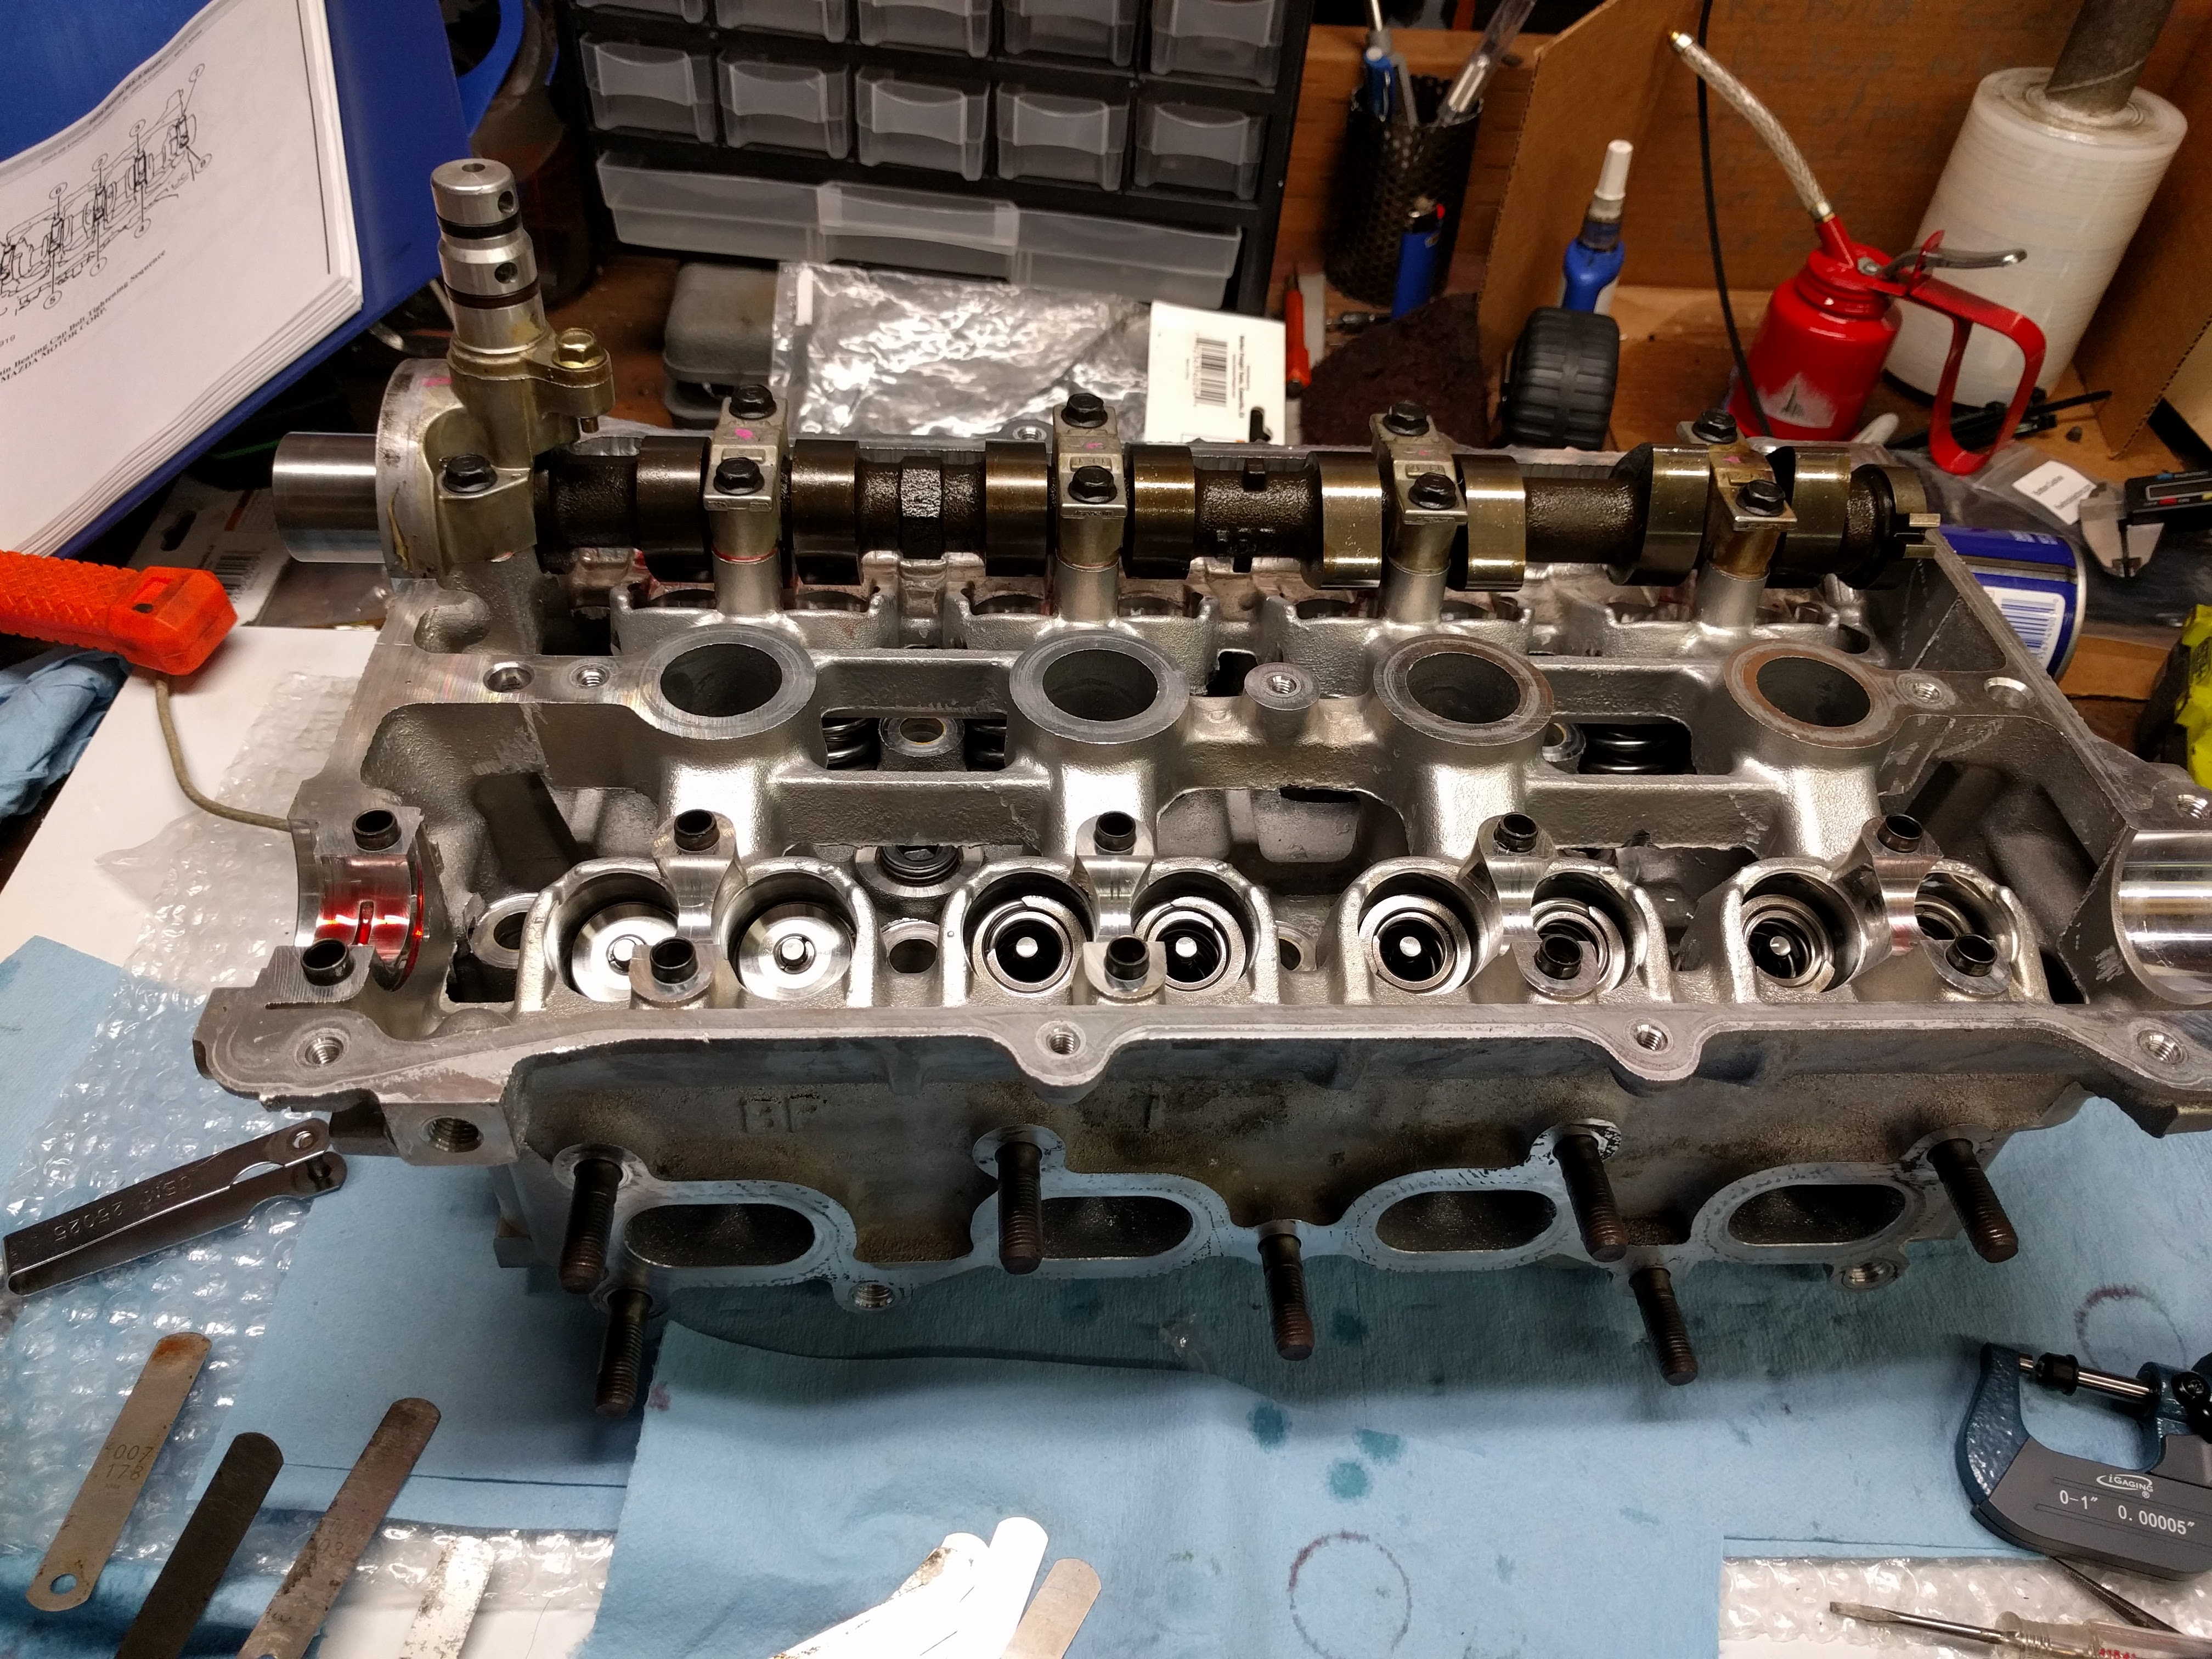
I built a machine a while back to tip valves. It holds the valves perfectly square with the grinder which is important (same way industrial valve grinding machines do it). If you tipped them by hand, it would not be flat, and the crown would cause the lash to loosen up as it smashes the tip of the valve in under load. I can't grind seats but with the ability to tip the valves right, I can buy new valves and install them and adjust them myself without messing with shims.
Reply
0
0
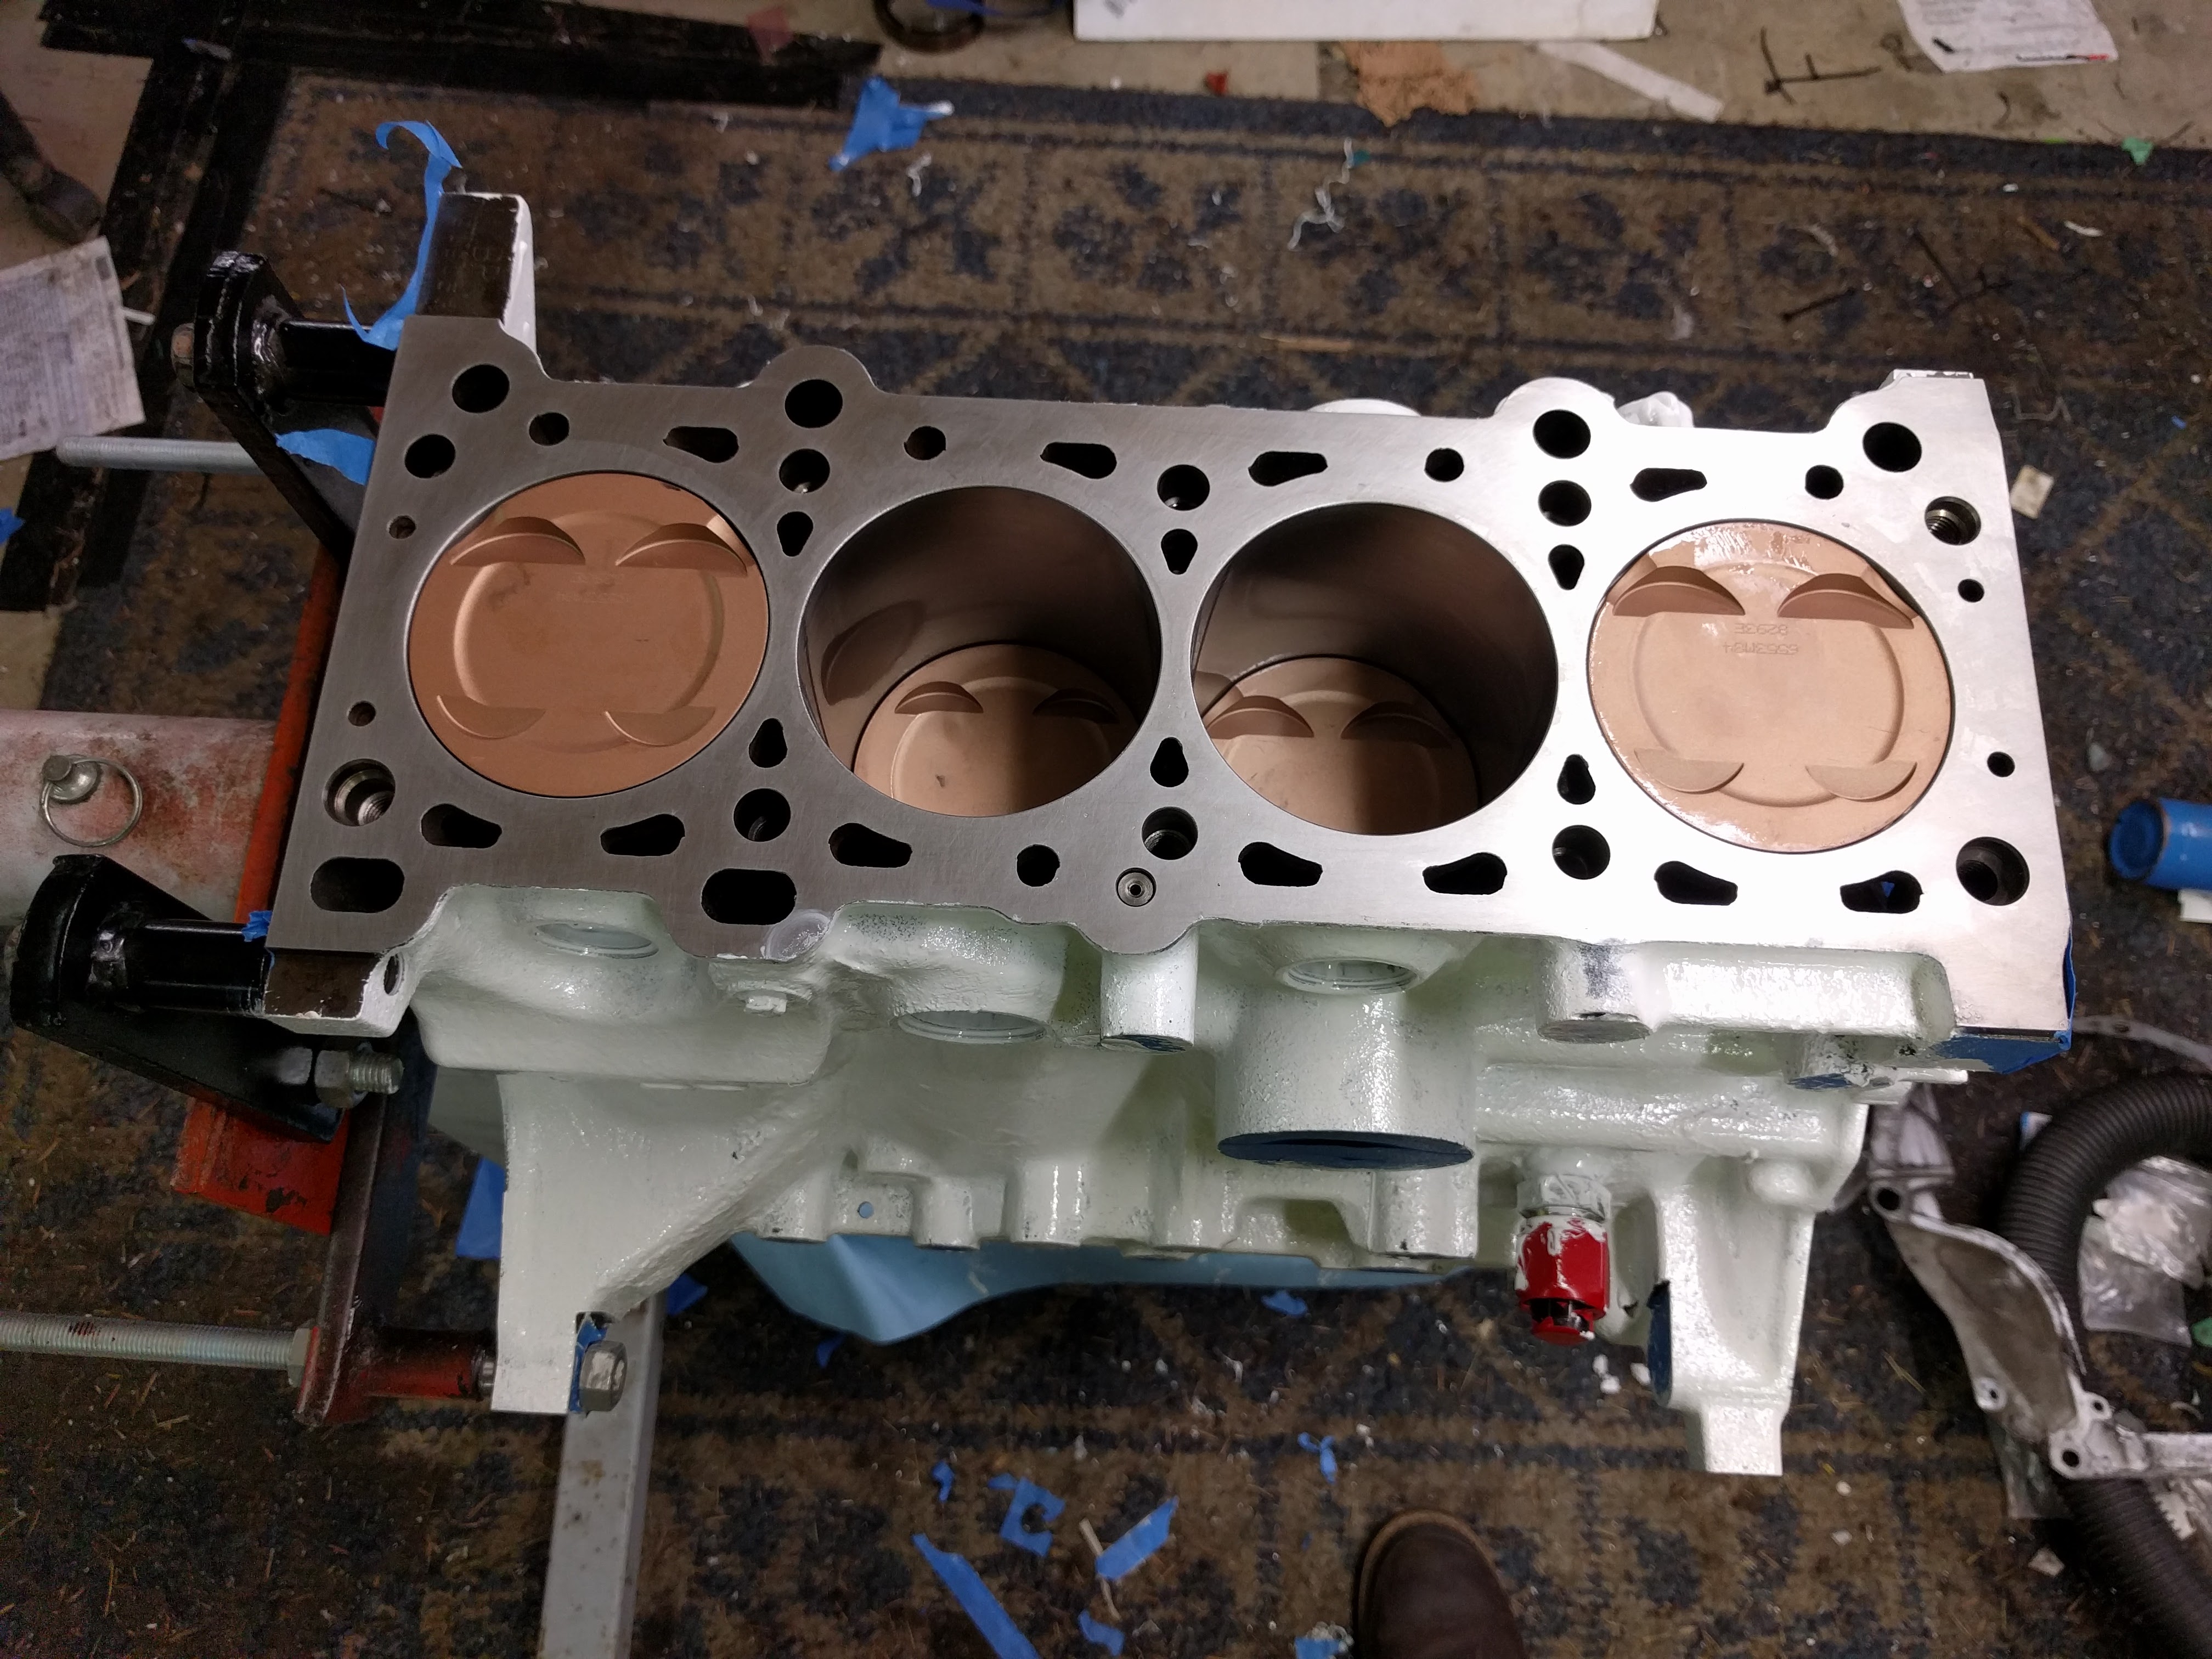
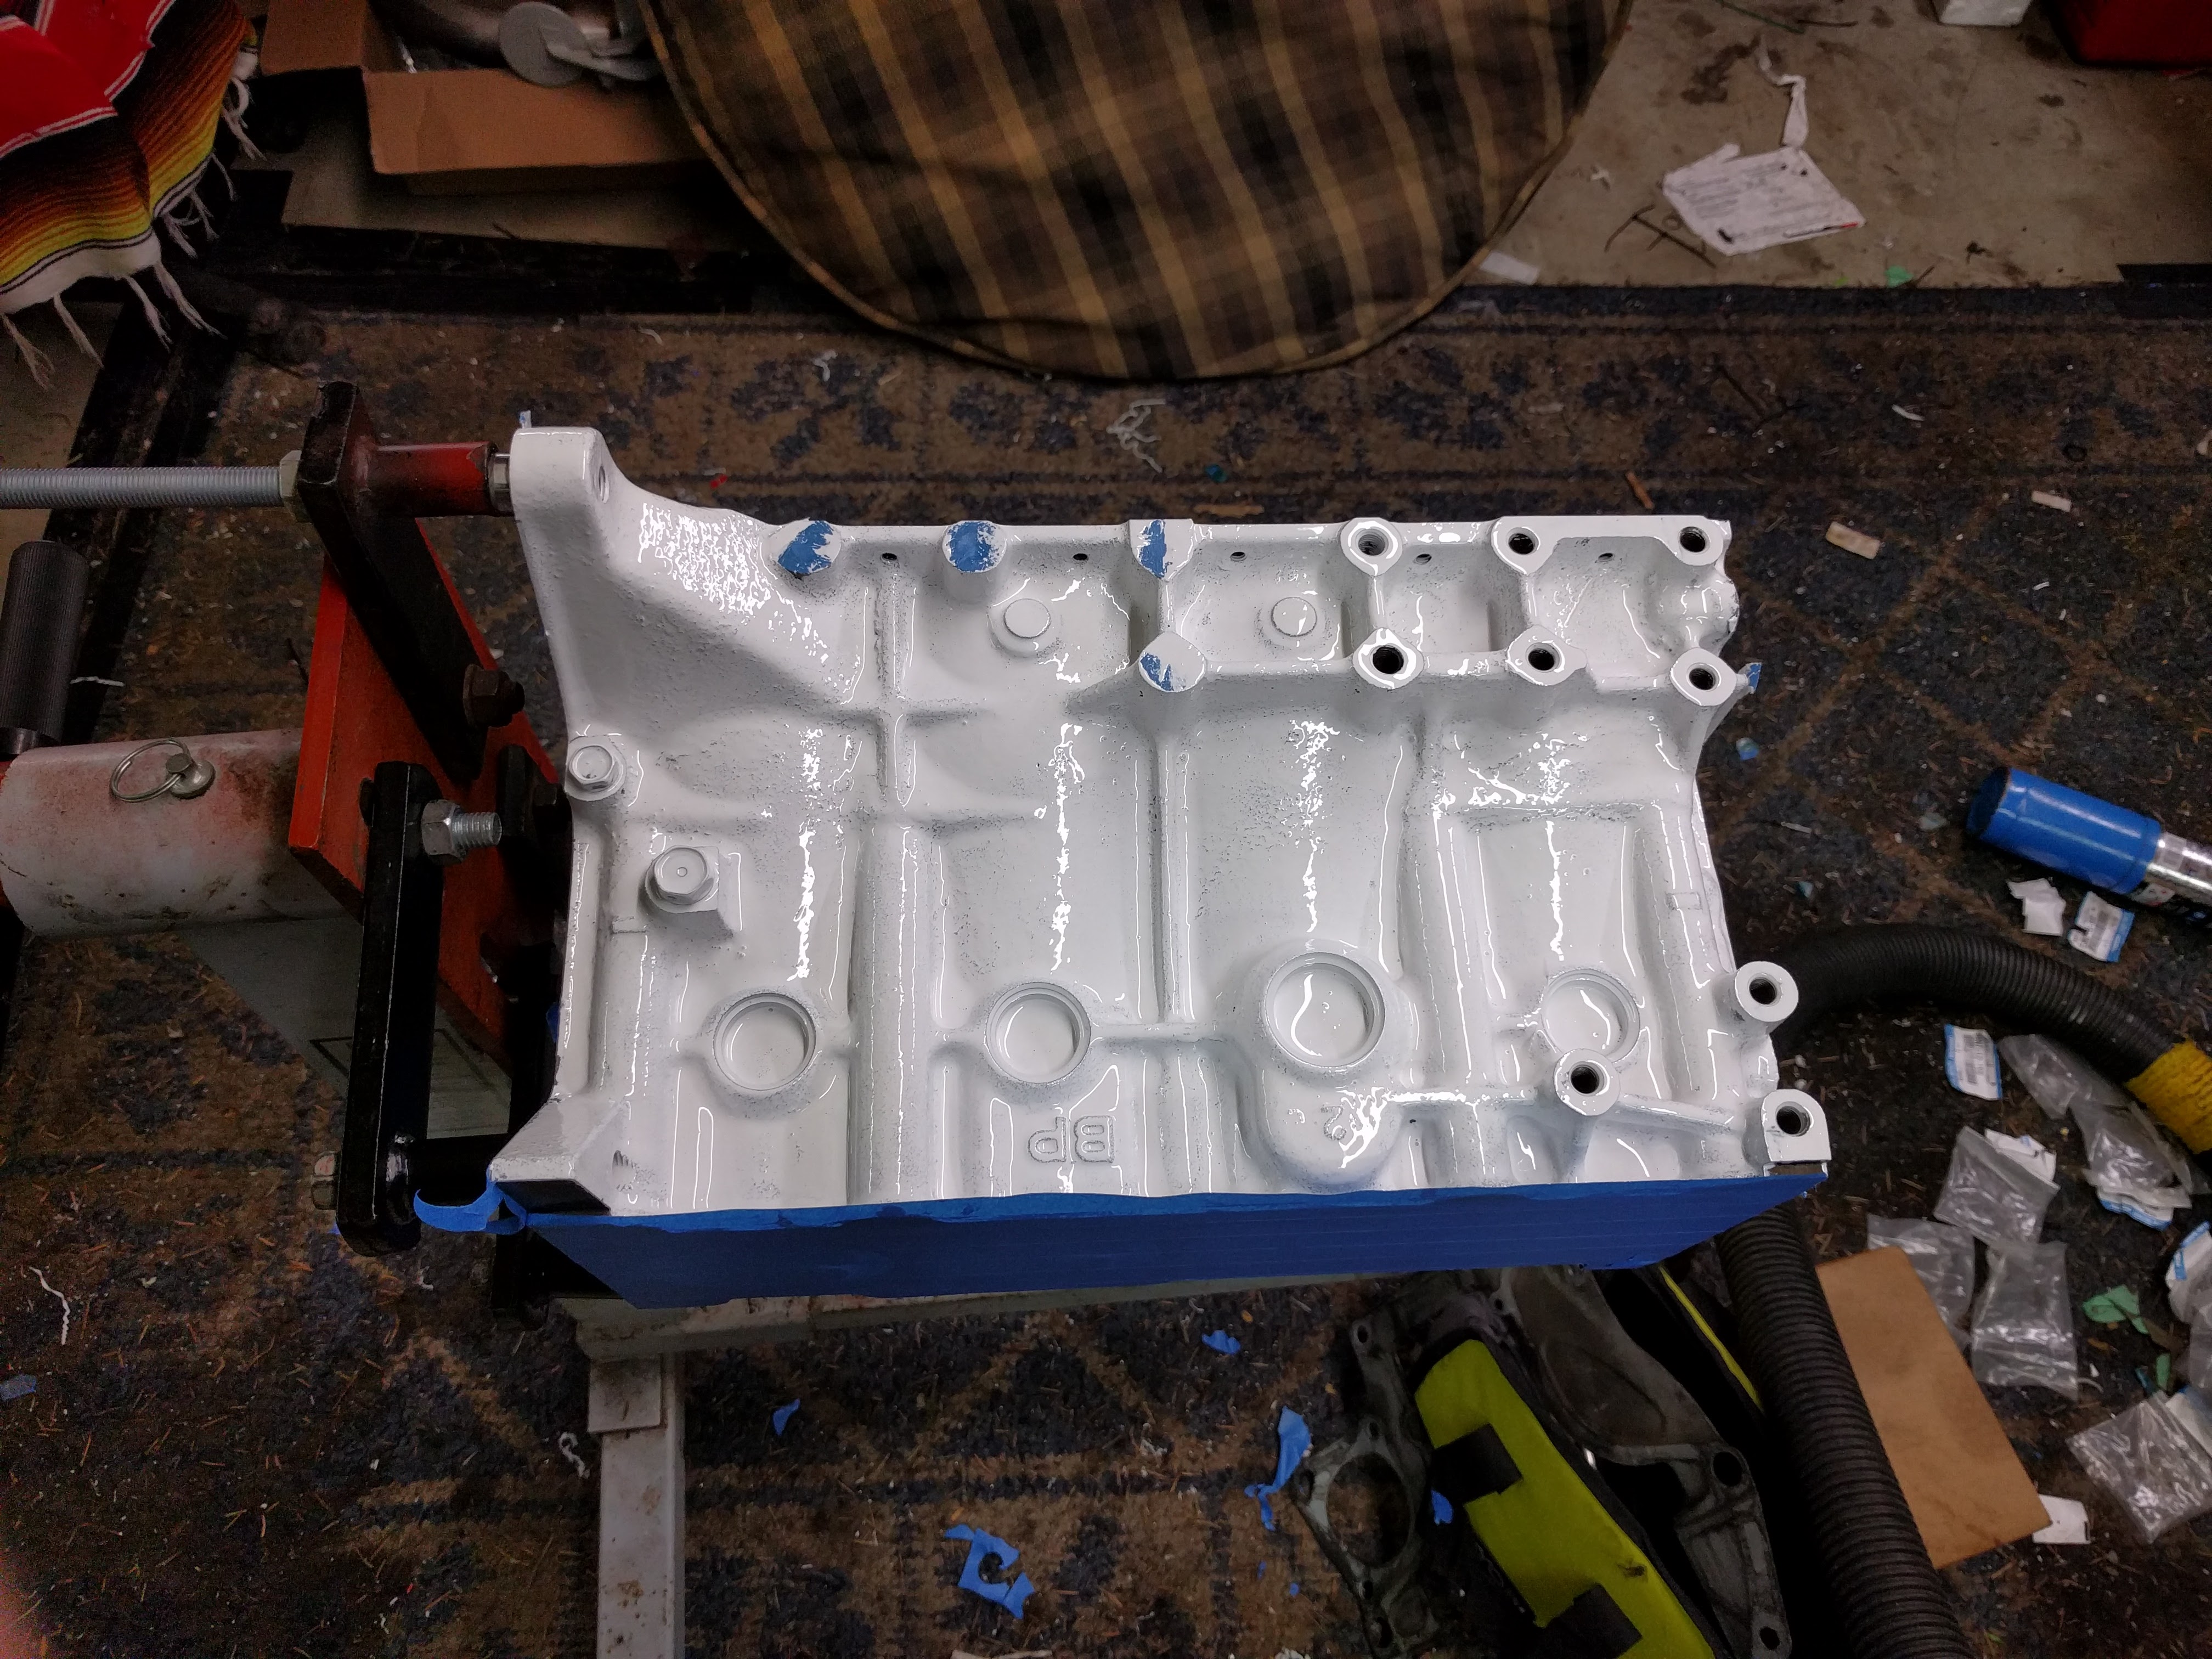

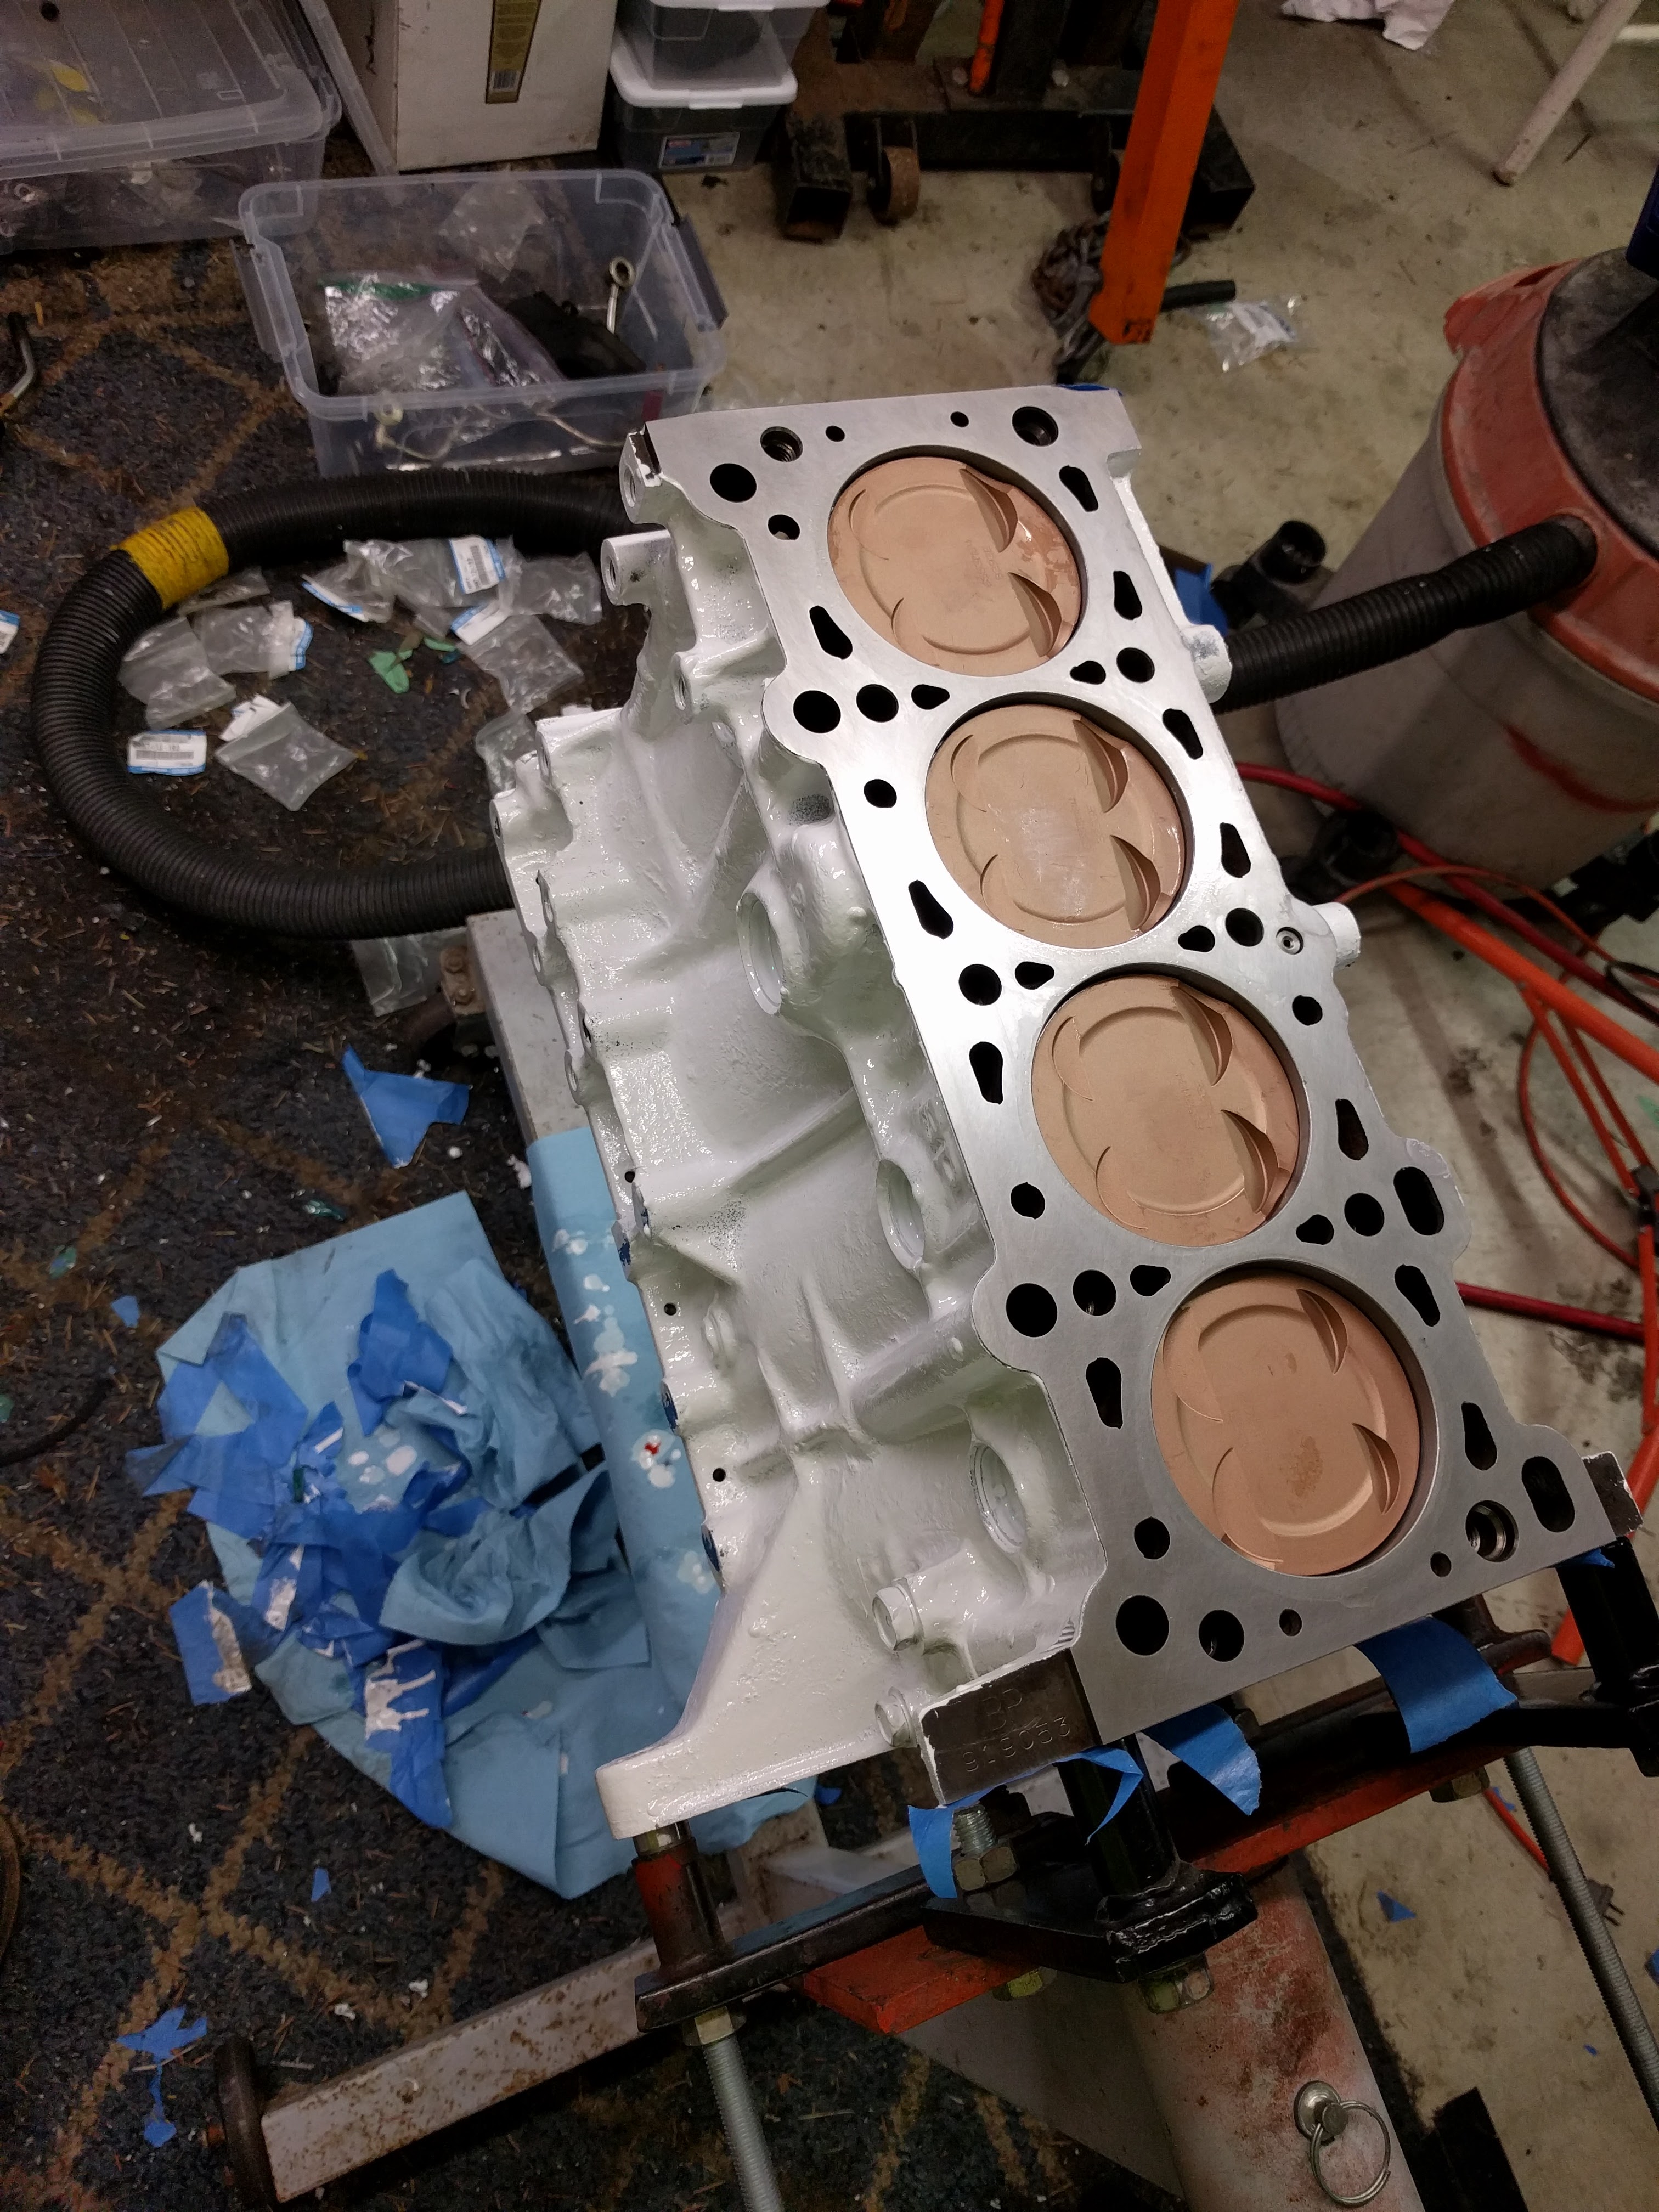

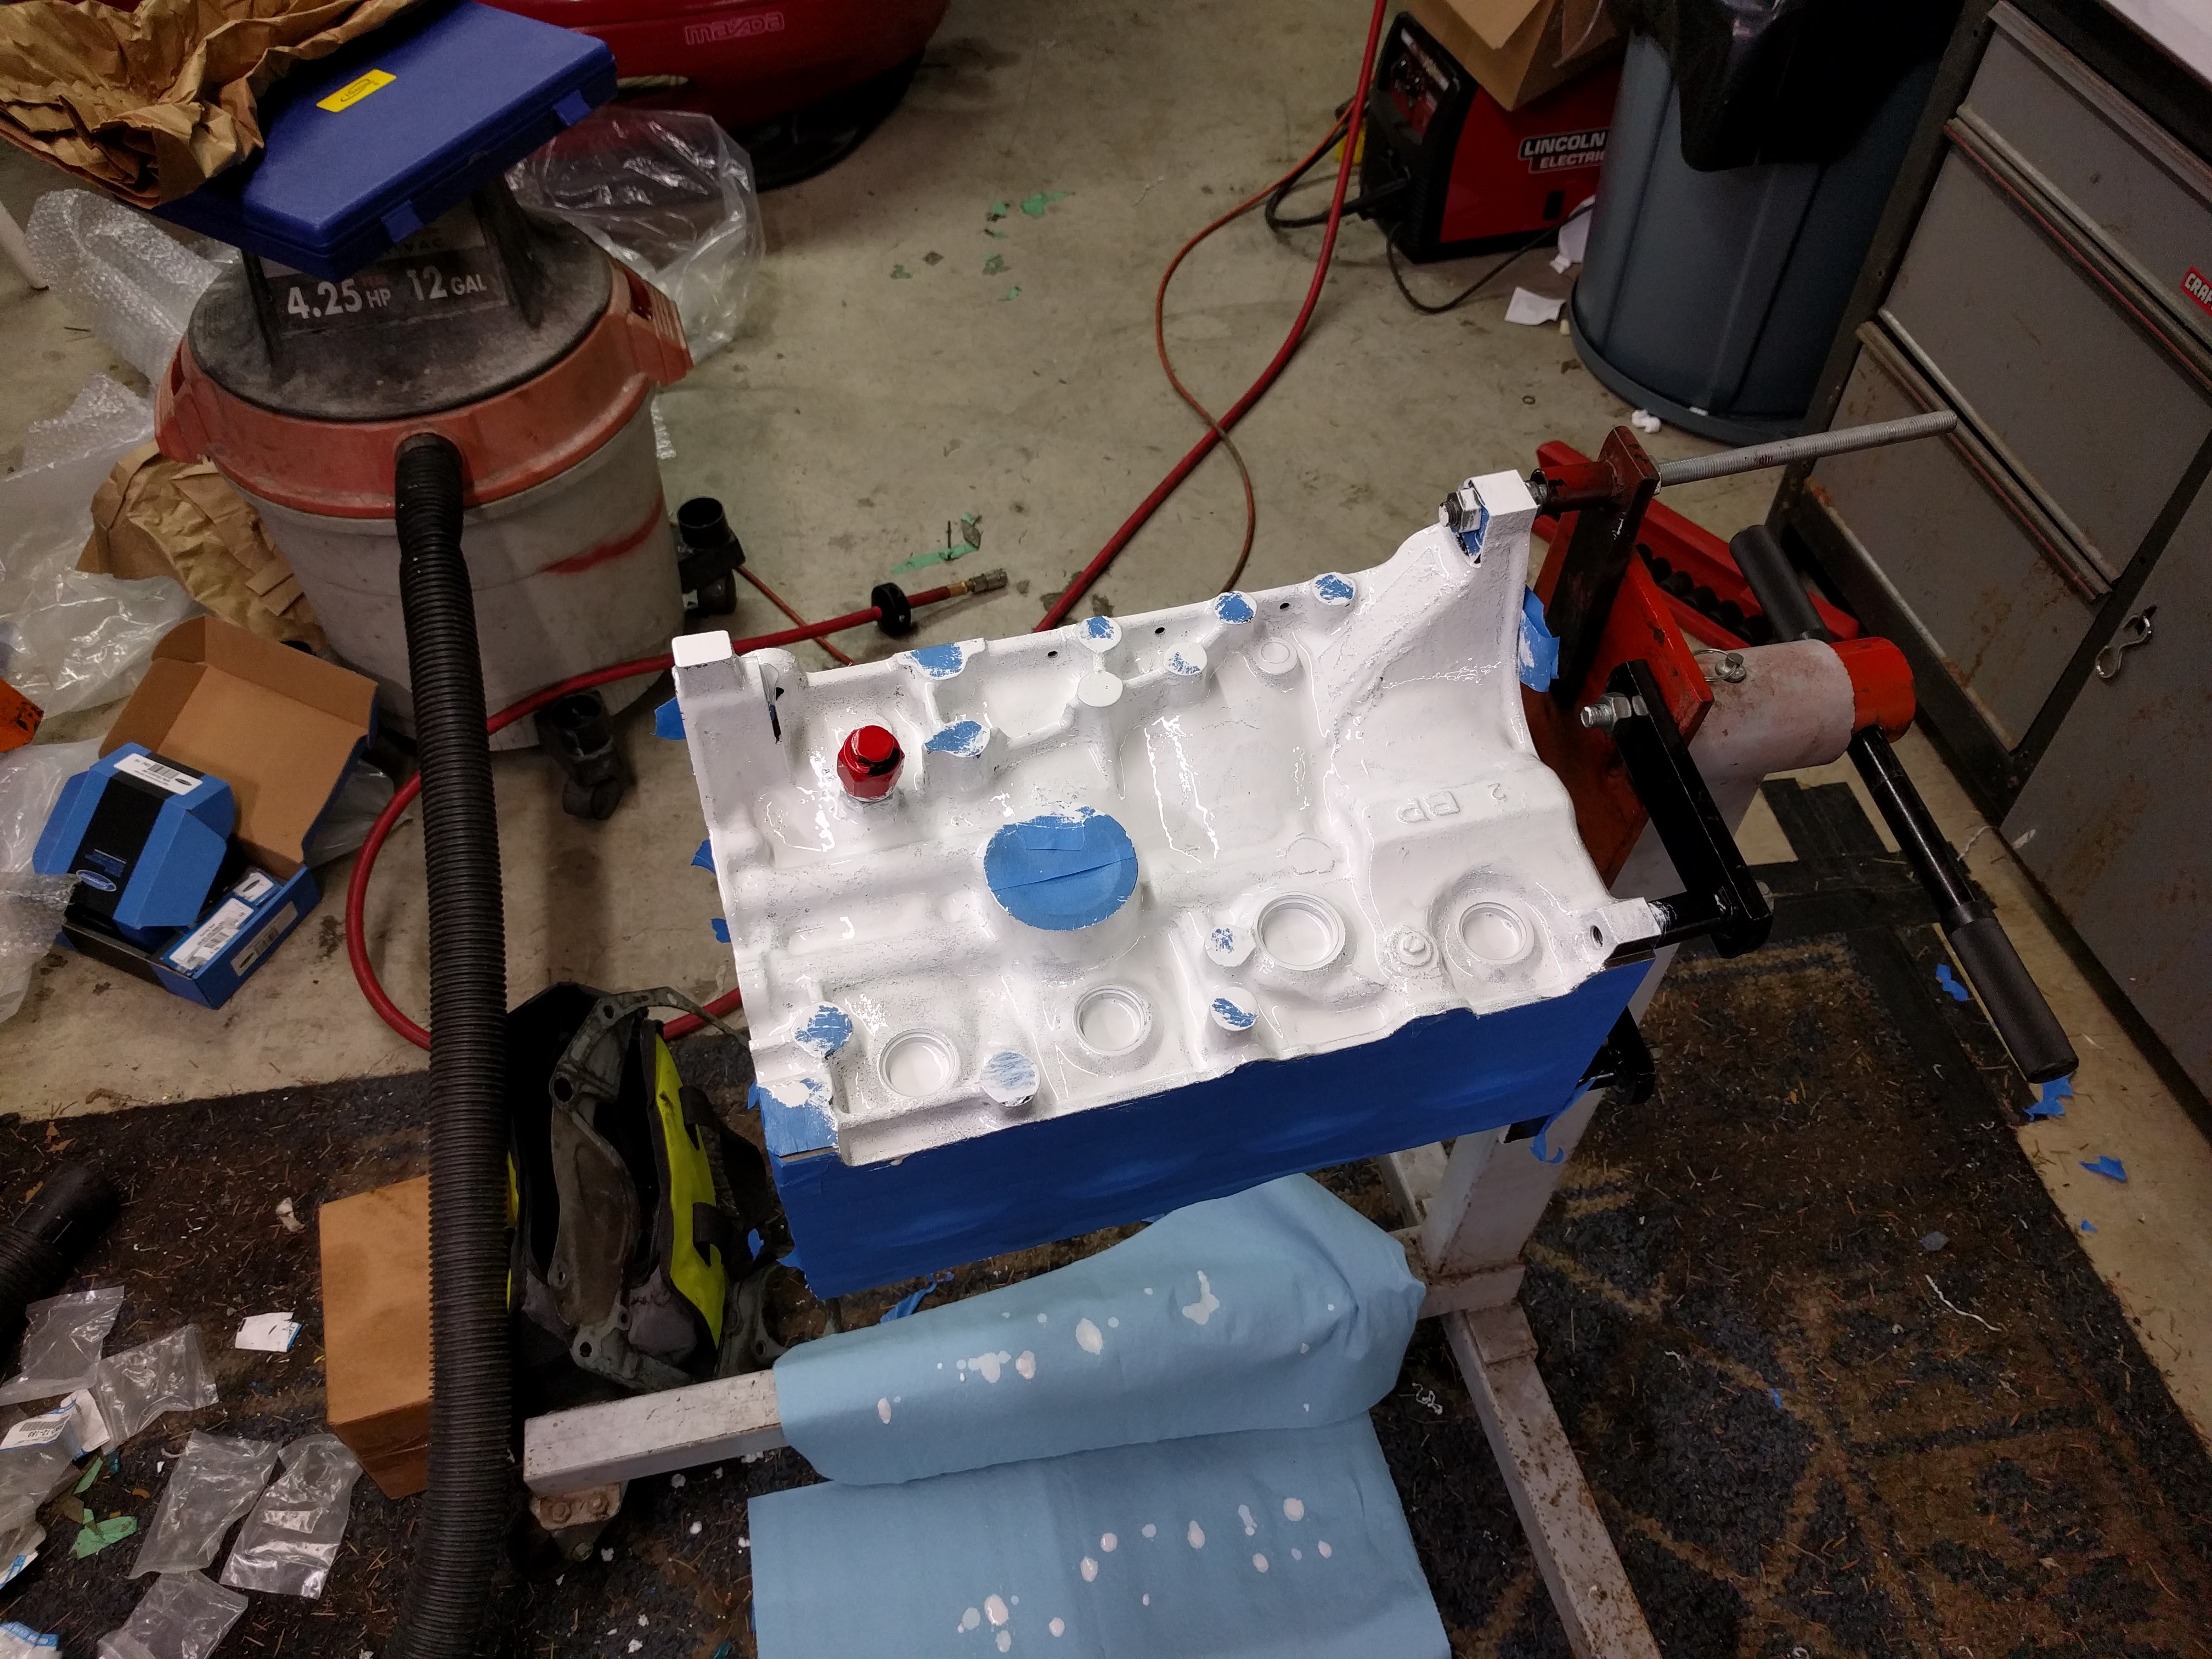
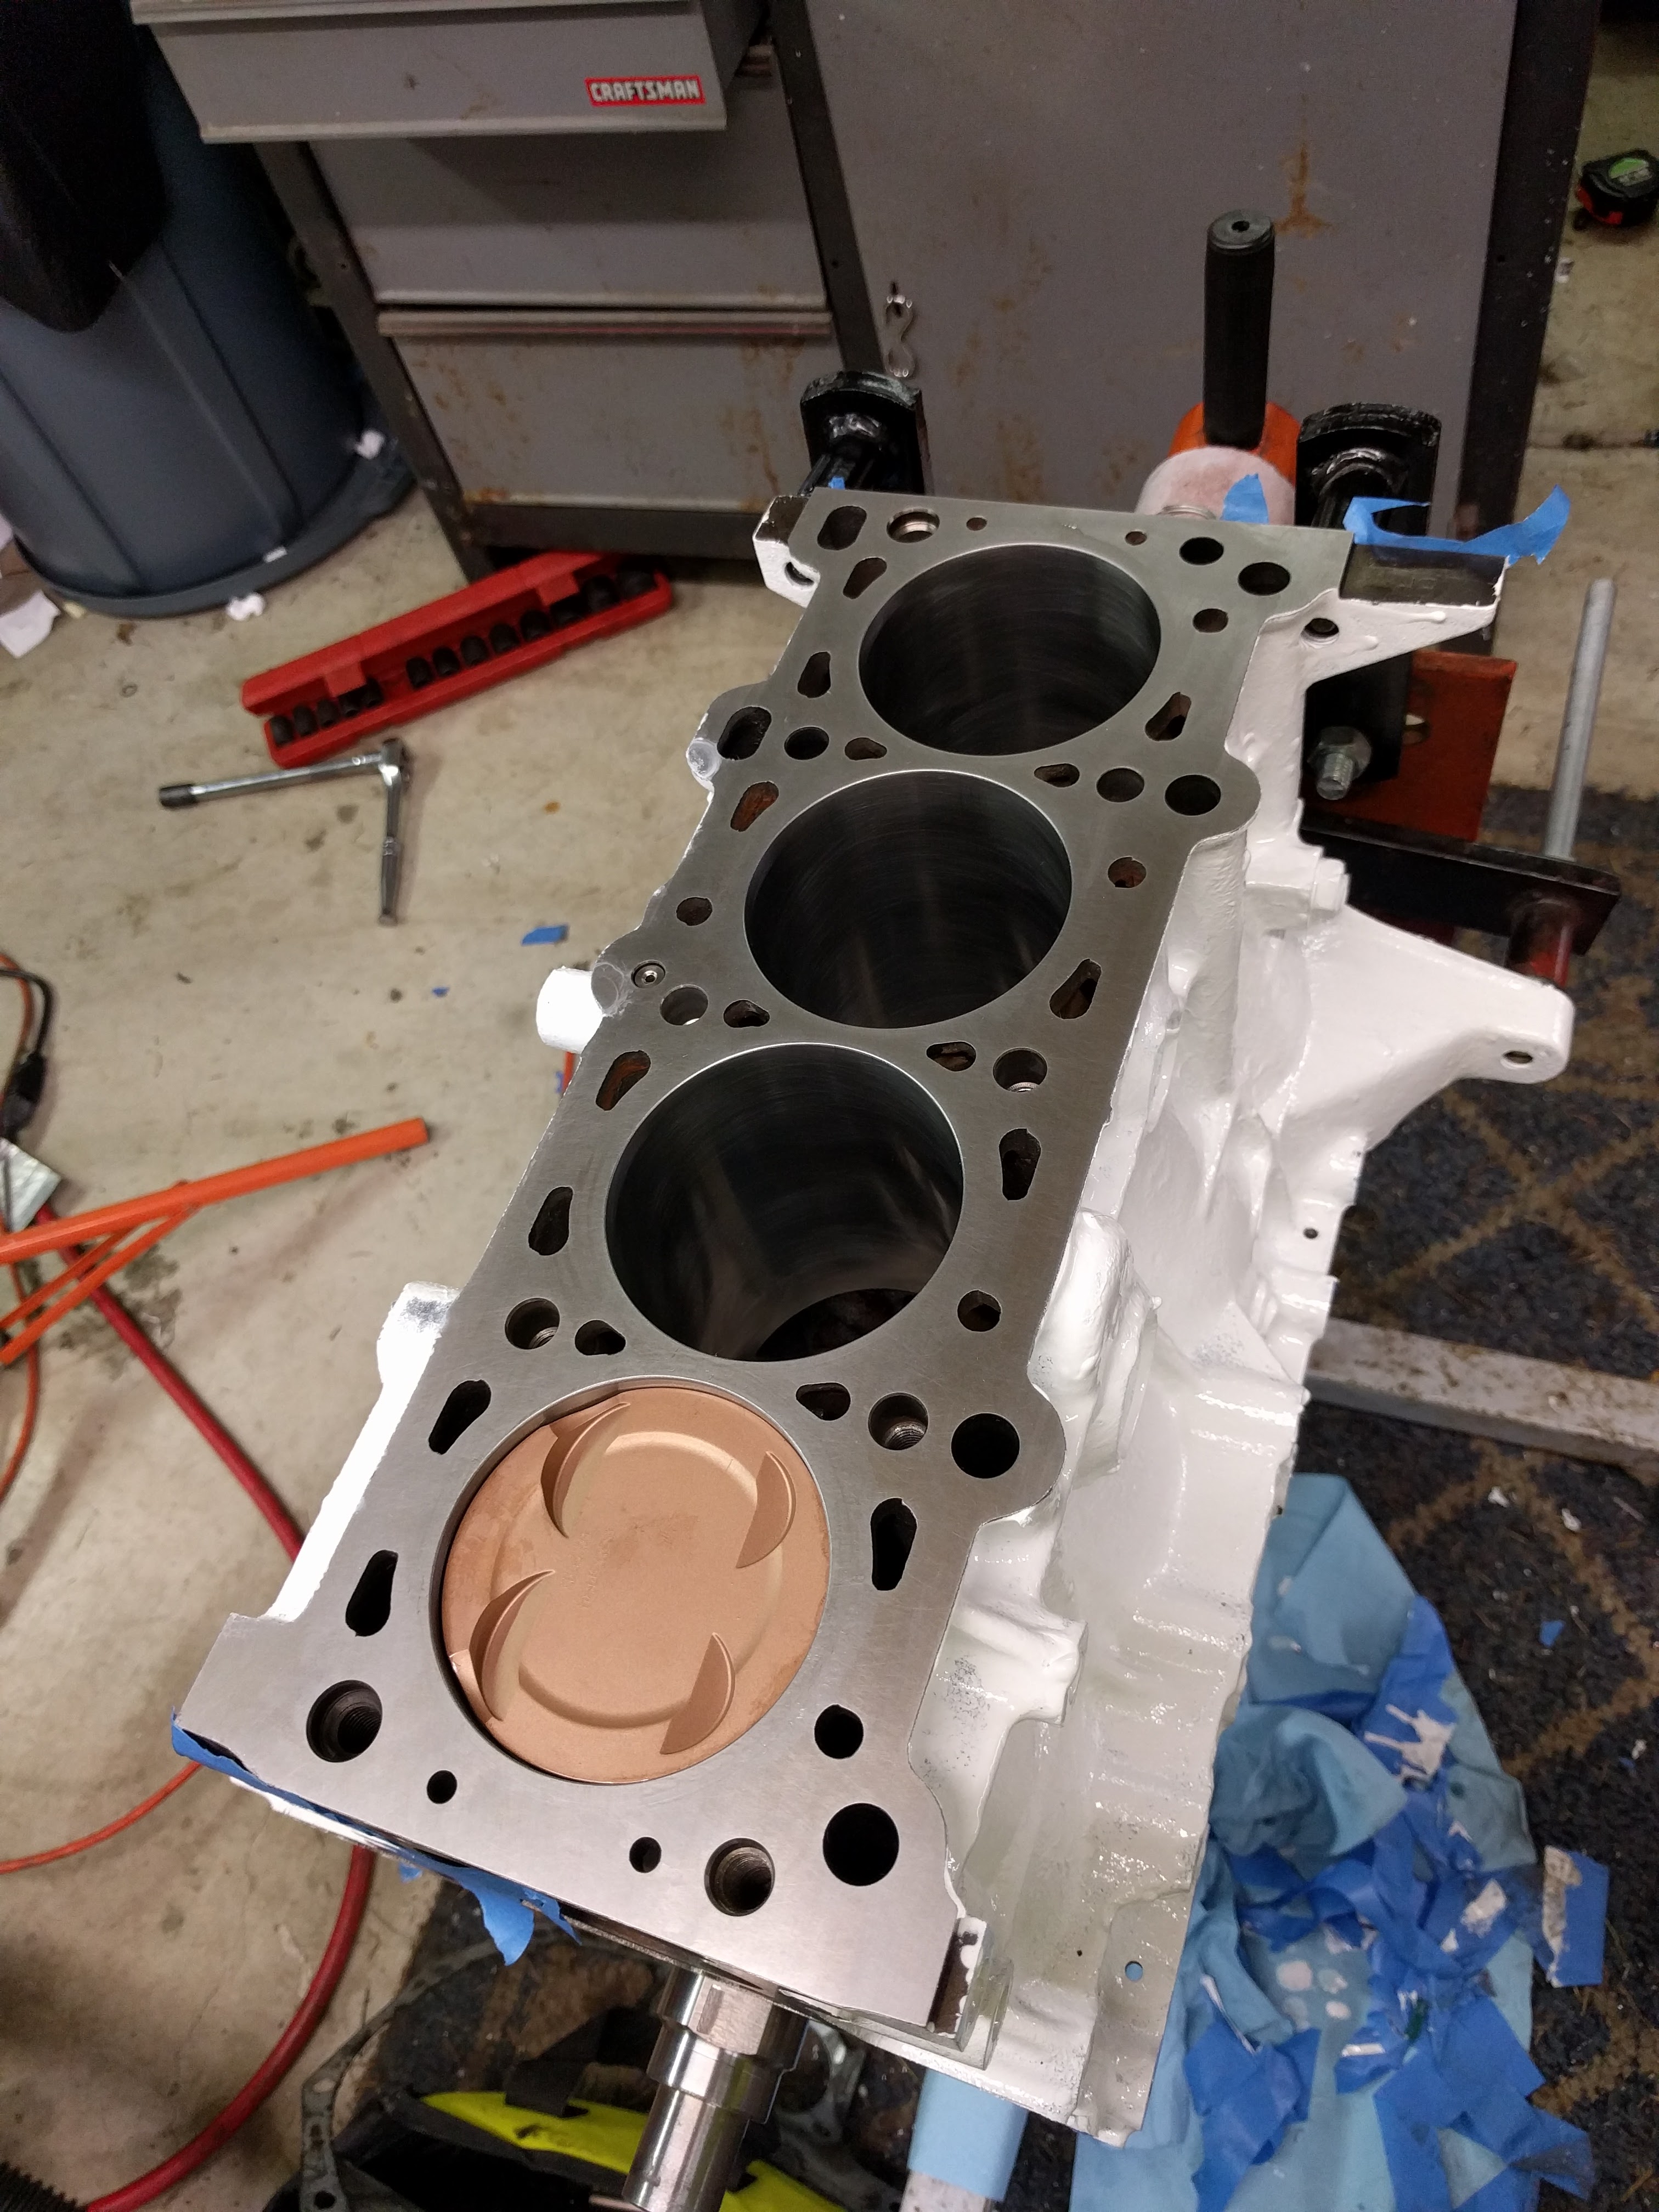
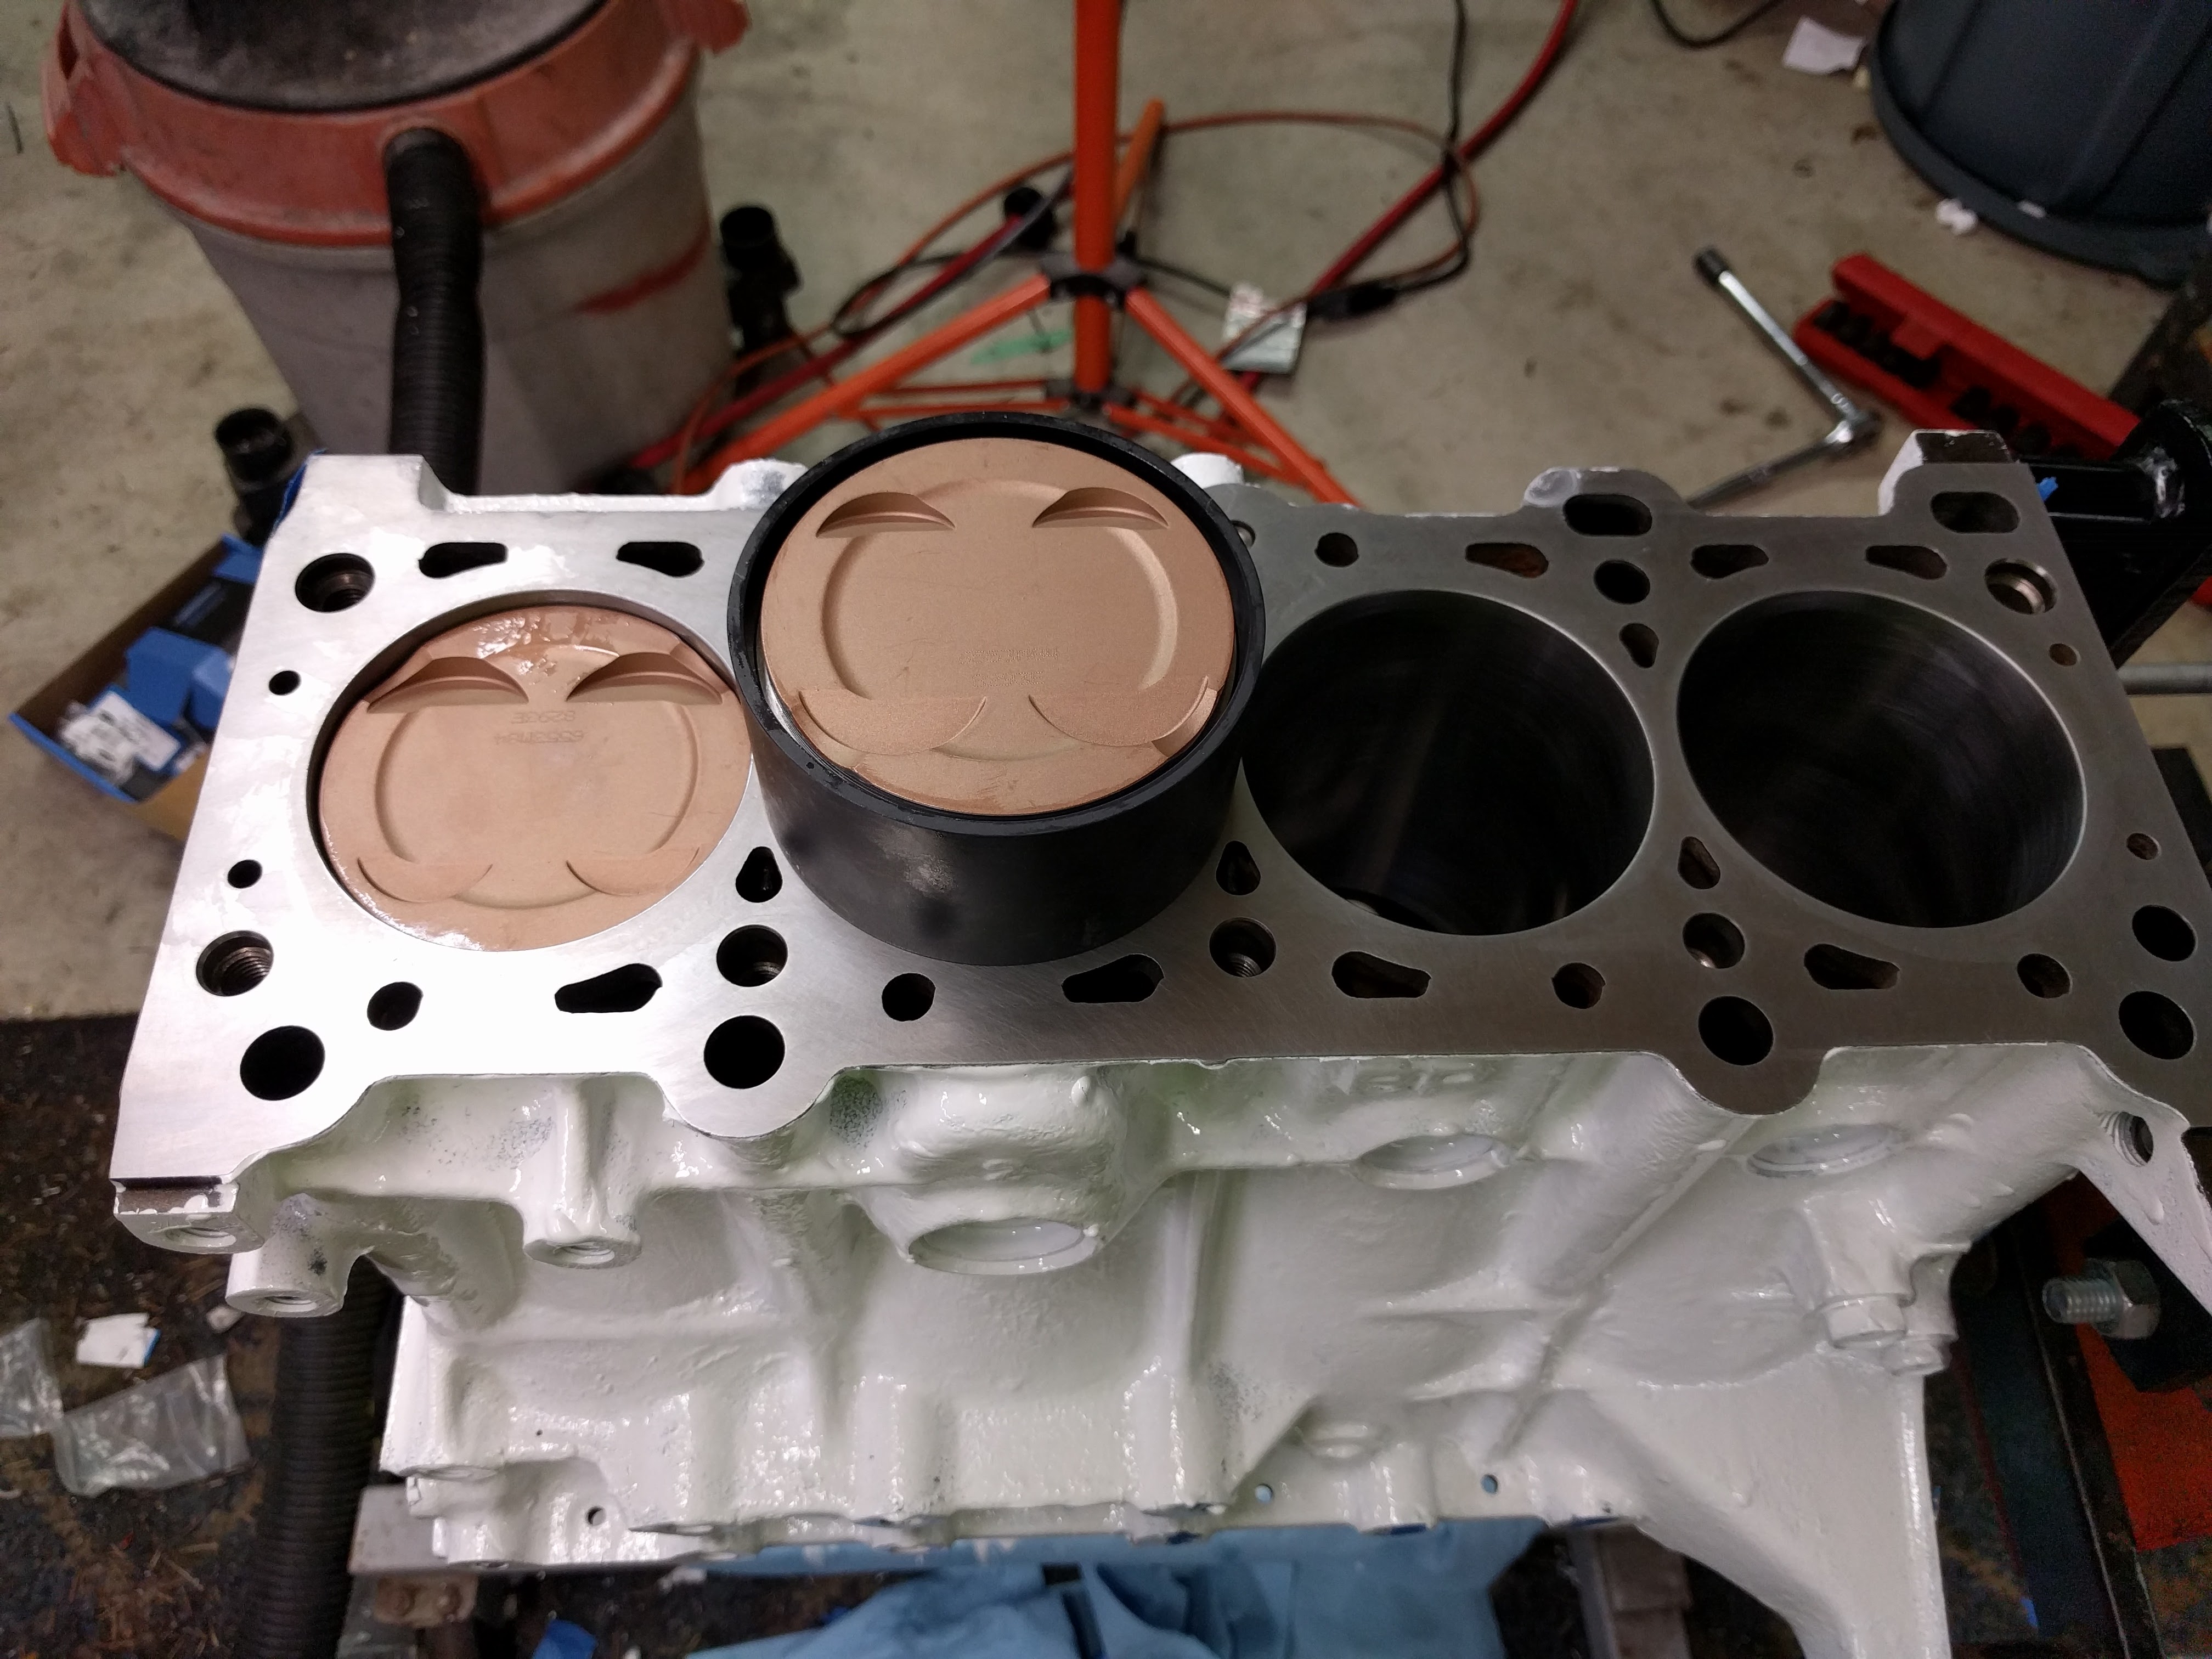
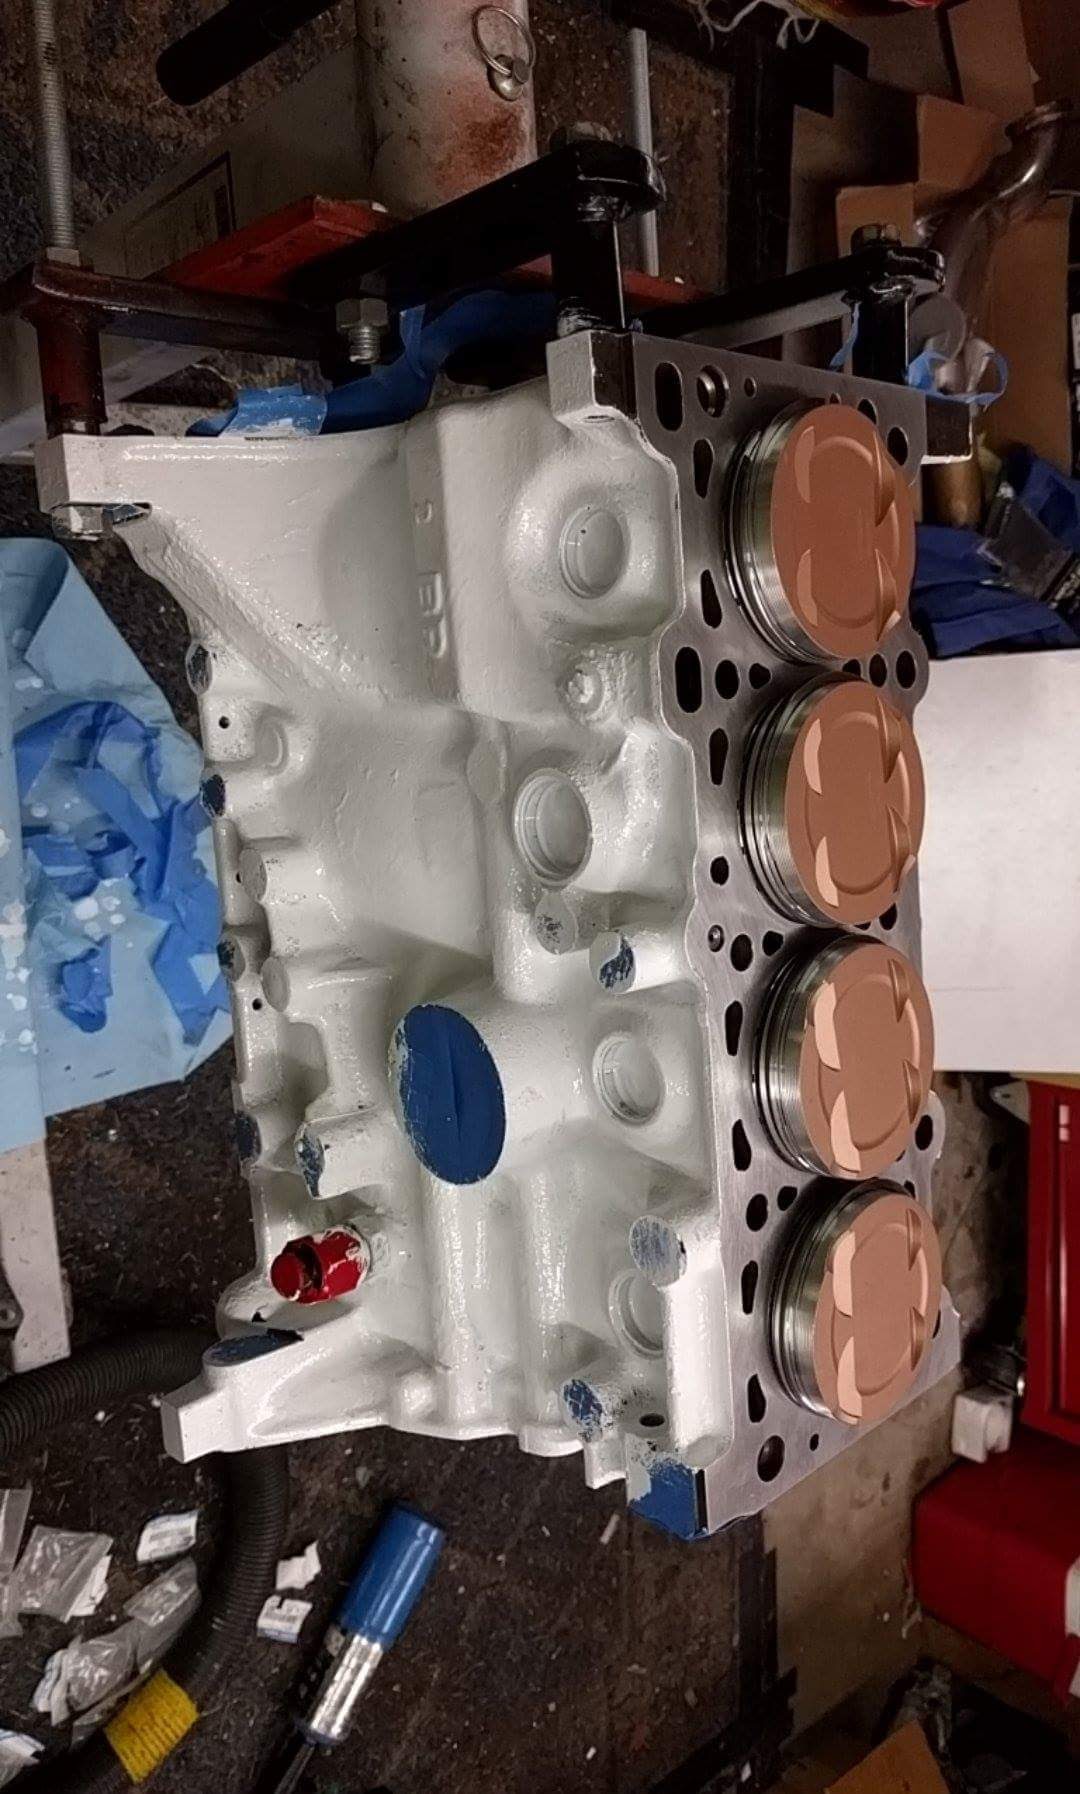

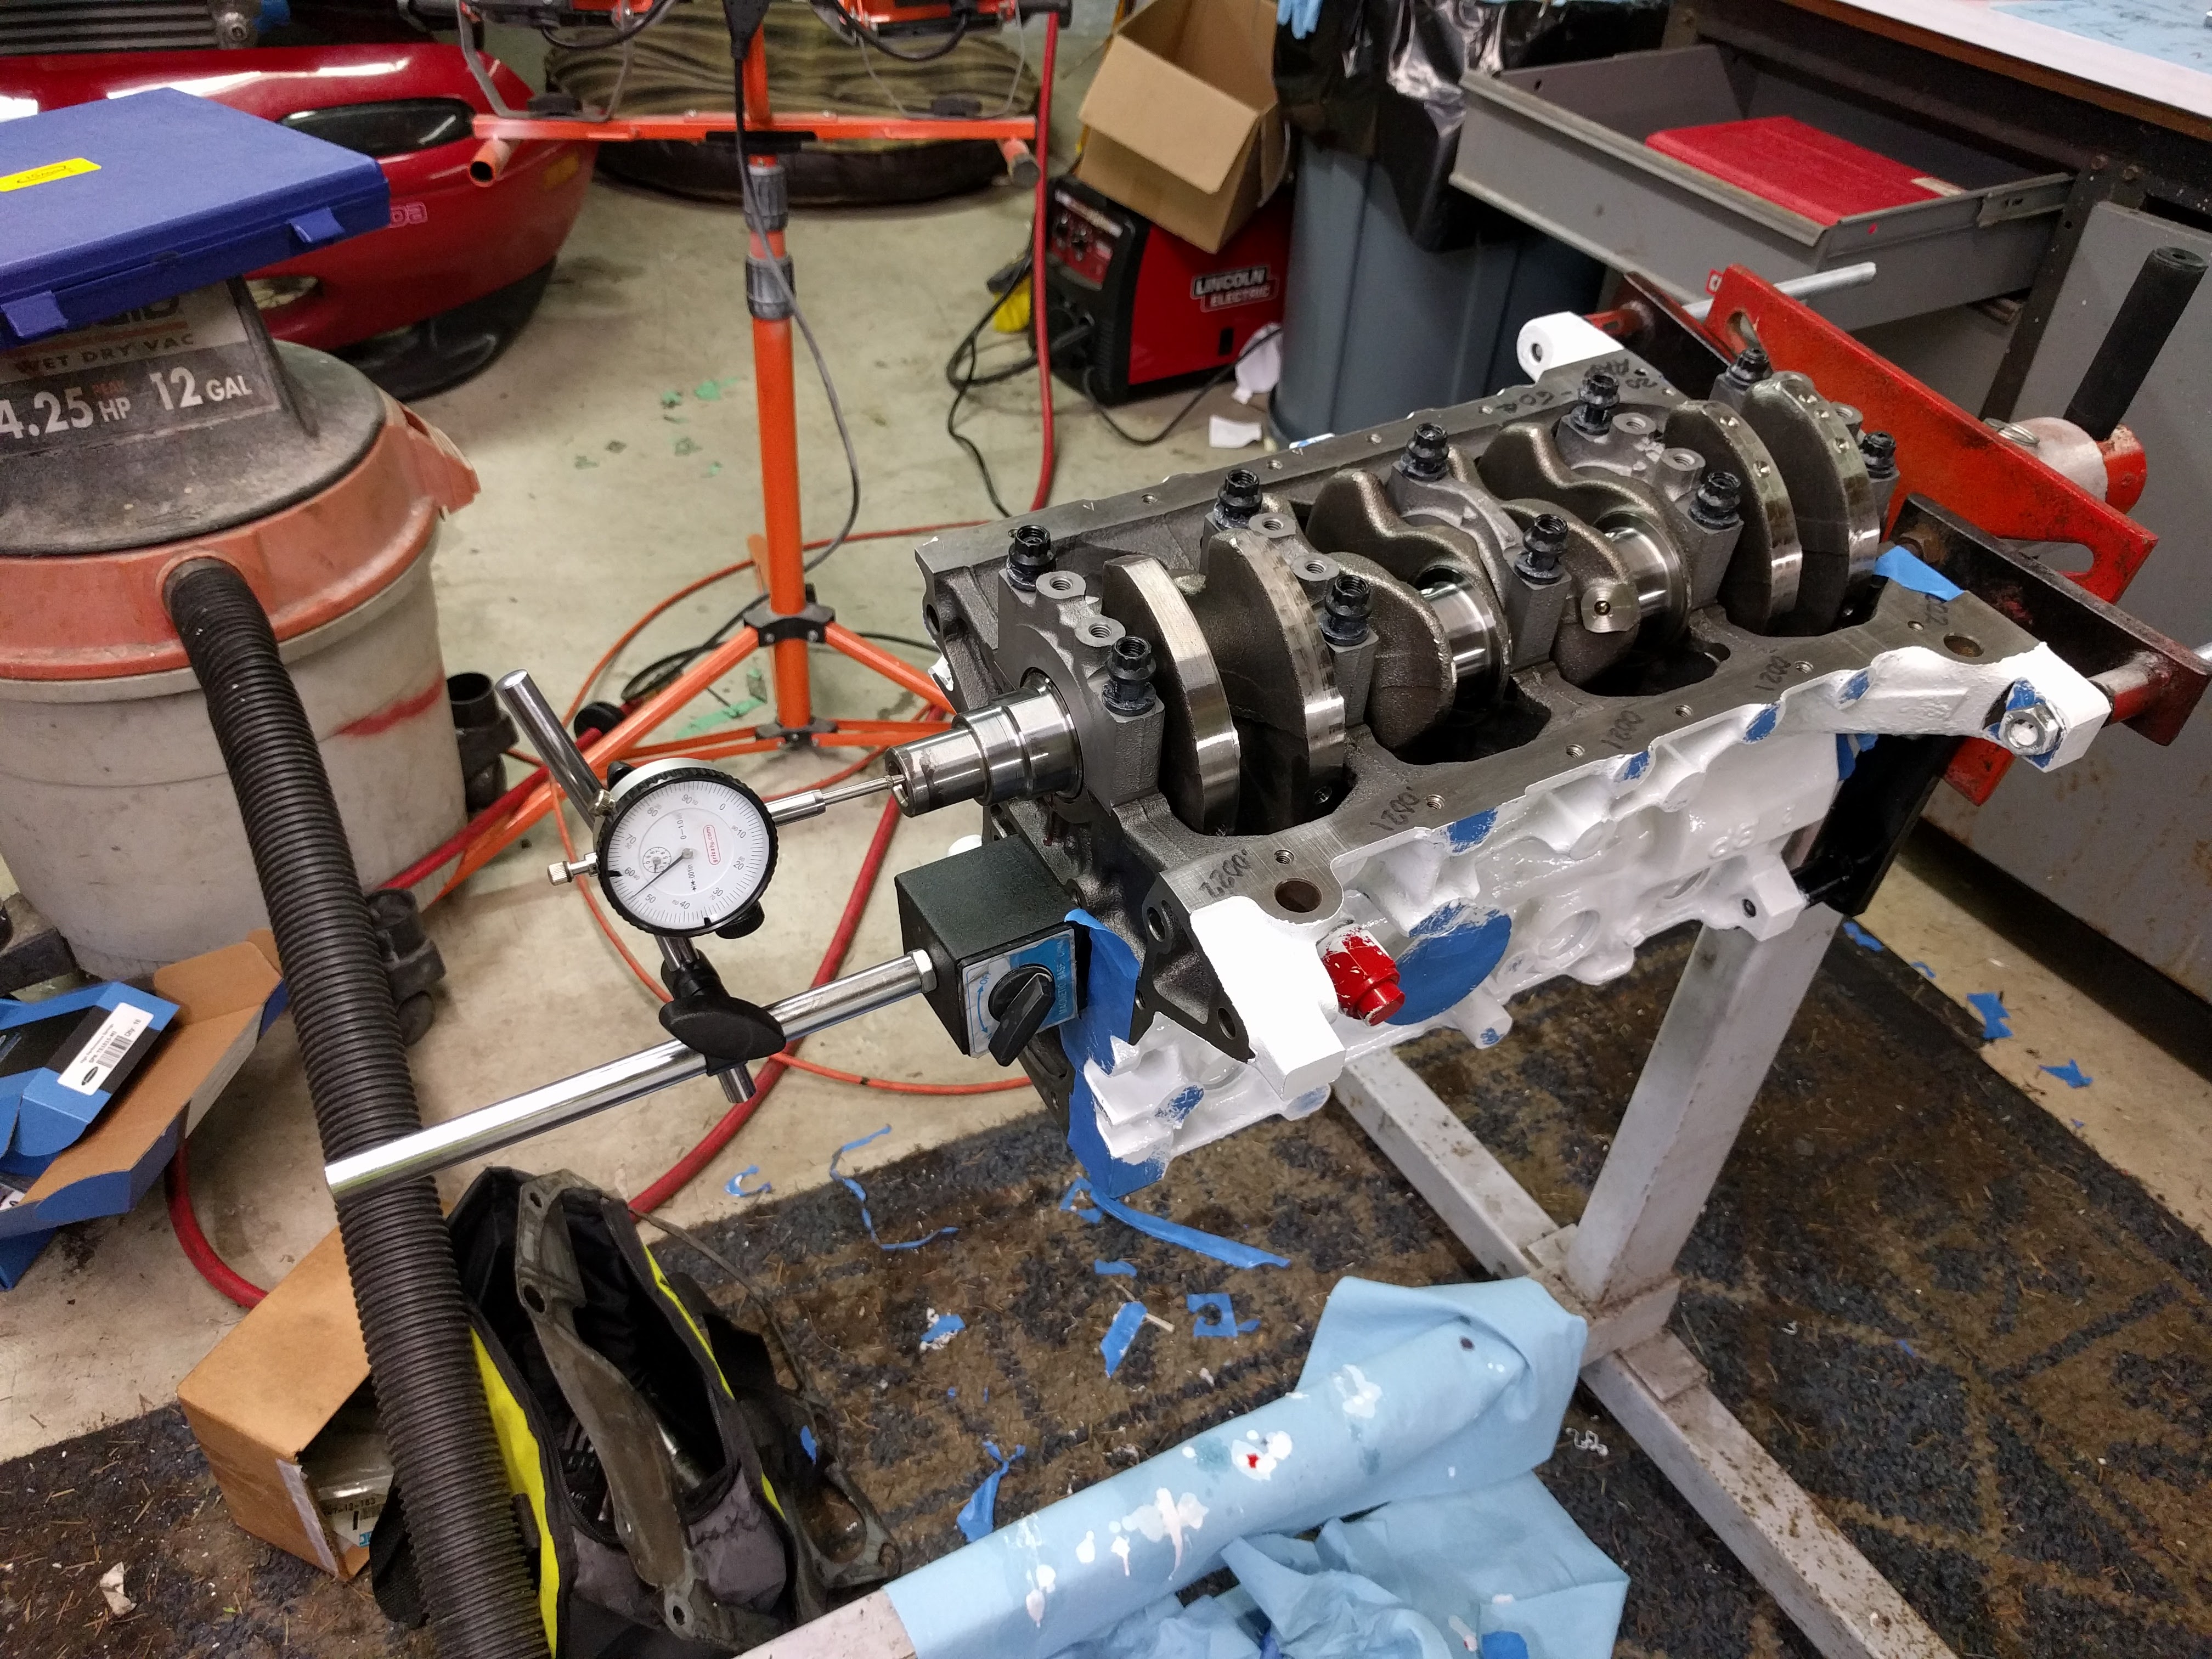
I love the white paint on the block. What paint did you use? I want to paint my block white next time the motor is out or apart. Can't wait to see this all back together, it's gonna look awesome.
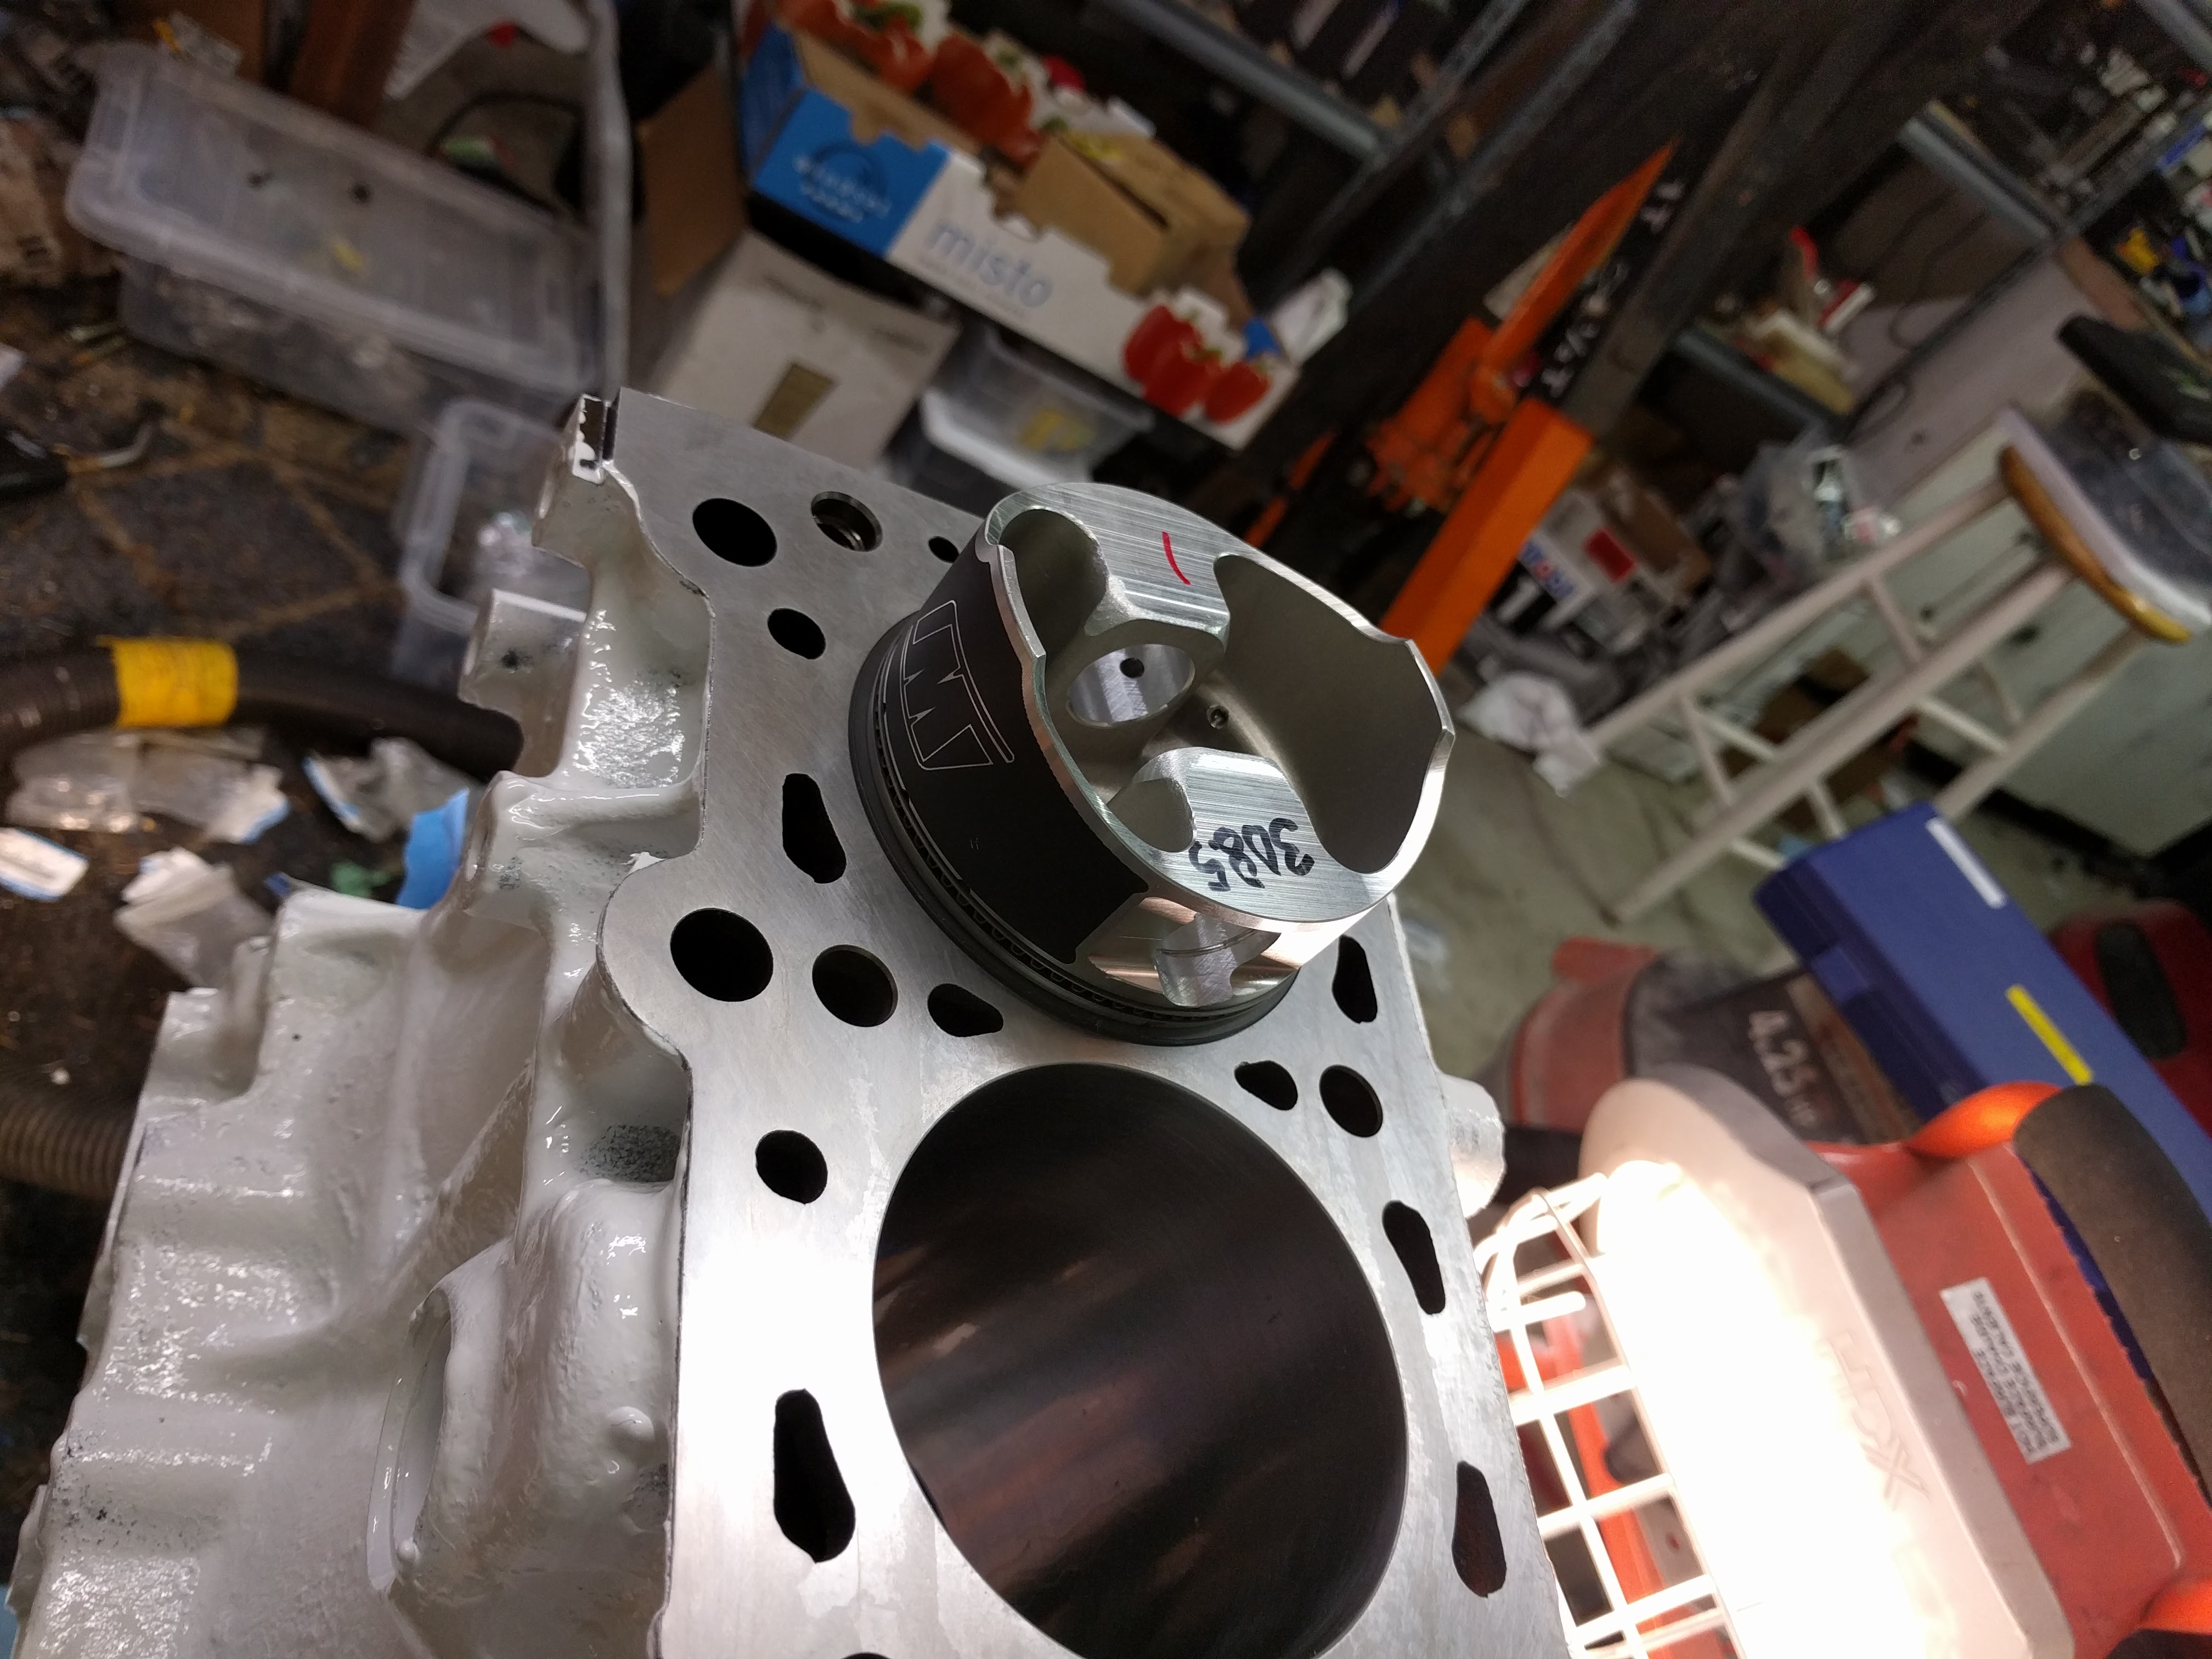
Also, what ring gap did you go with on the top and bottom compression rings?
Lots of cool pics, makes me want to go build an engine...
Also, what ring gap did you go with on the top and bottom compression rings?
Lots of cool pics, makes me want to go build an engine...
Reply
0
0


