

3d printed intake for N/A NA miatas


Thread Starter

Joined: Jul 2012
Posts: 792
Total Cats: 143
From: durham NC
Laying up over a dissolvable part 3d printed with HIPS would be totally possible but it would add a lot to consumables cost. There are also some dissolvable casting materials you can buy (aquapour) but the documentation on them is pretty poor and last I looked I would need to commit to buying a huge volume of materials. It certainly seems like there should be a super low cost material I could cast mandrels of, lay up carbon over, and then dissolve out, but I haven't found it yet.
Reply
 0
0

0
Thread Starter
Joined: Jul 2012
Posts: 792
Total Cats: 143
From: durham NC
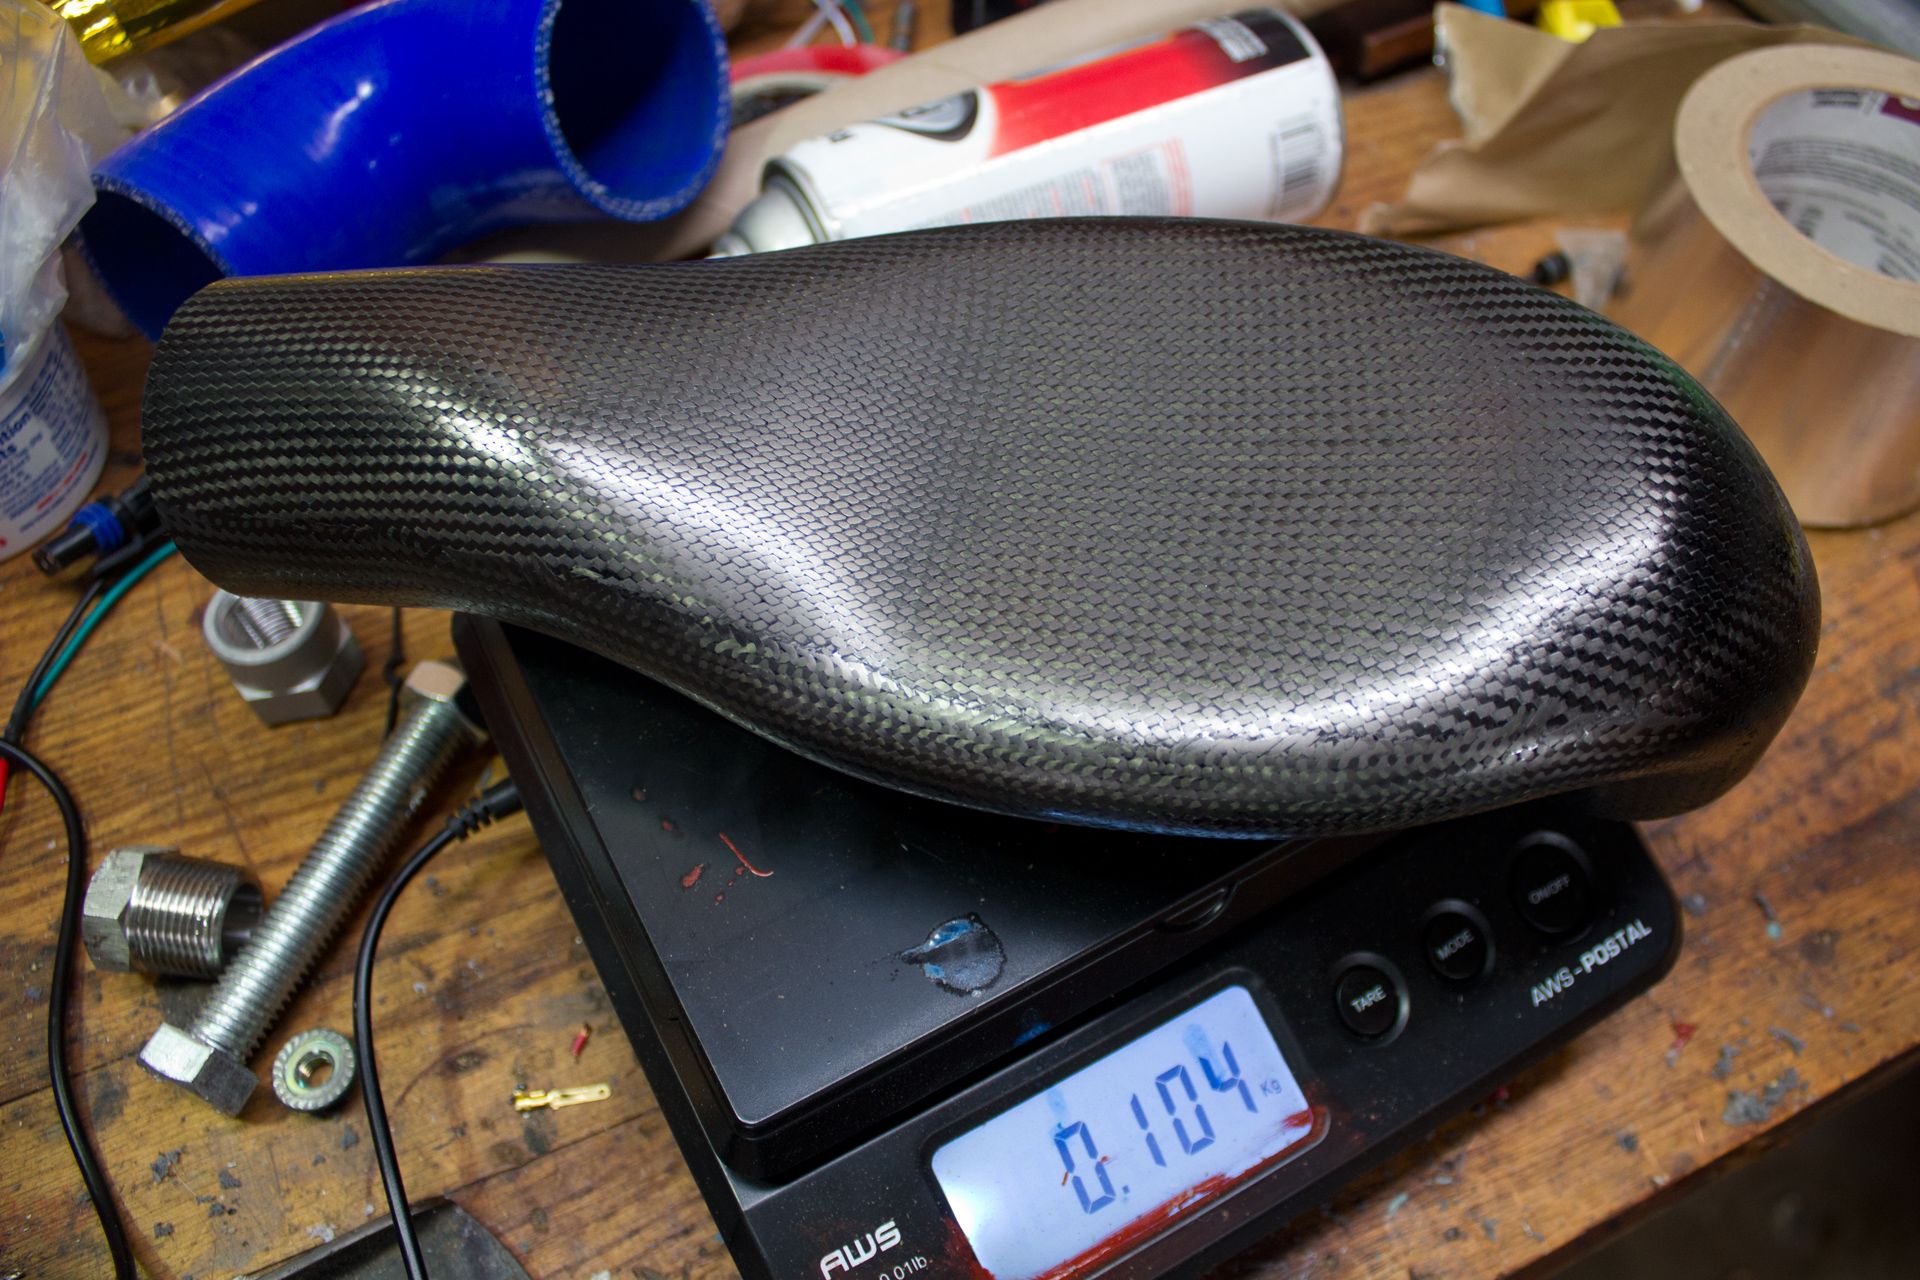
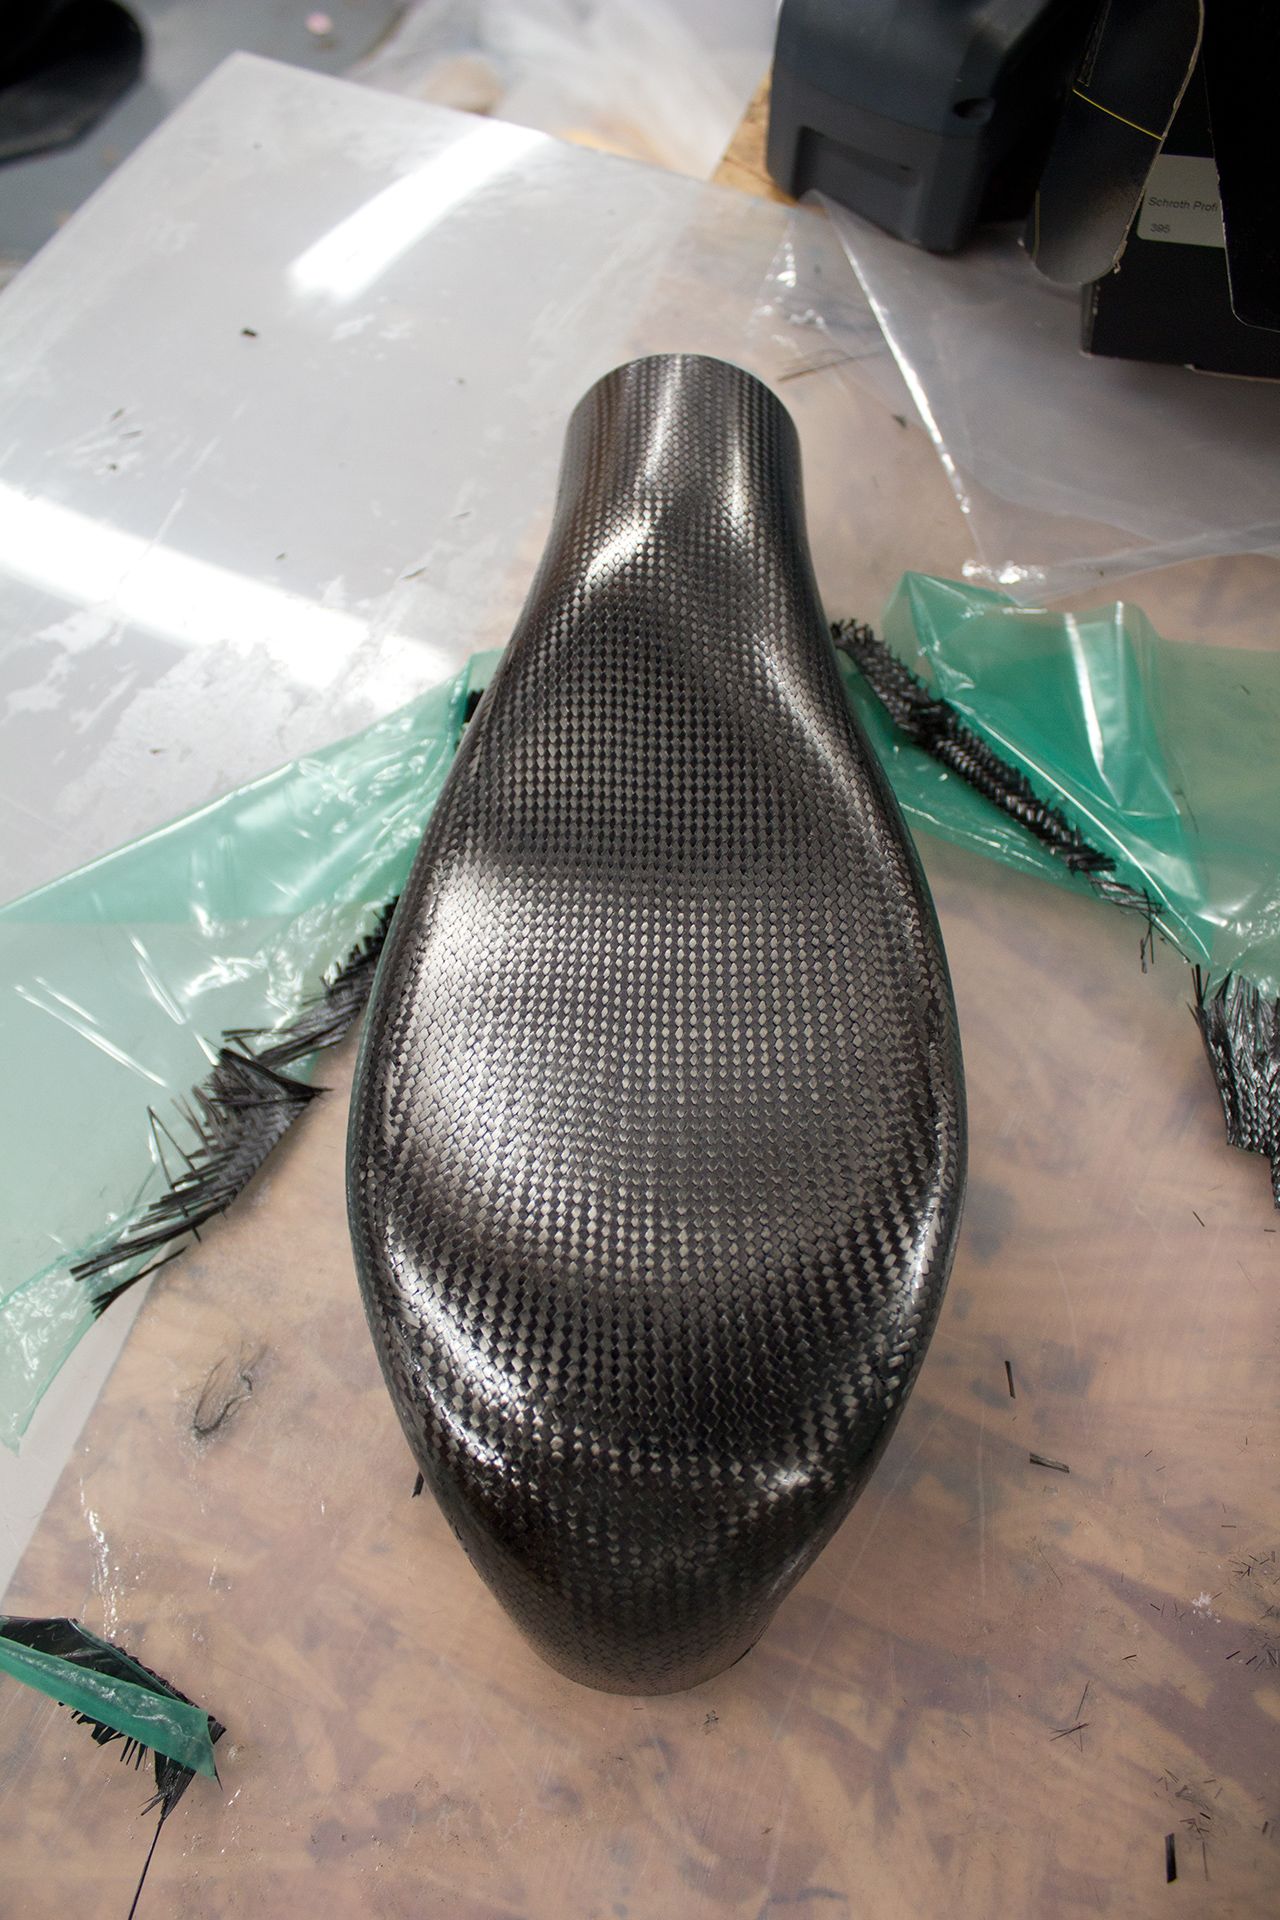
#2 out of the molds. The first intake had minor wrinkle/void from bridging at the very end near where the filter mounts. Knowing it was a possibility this time around I was more careful to position things tightly in that area and it didn't happen again:

Last edited by asmasm; Dec 6, 2015 at 03:56 PM.
Reply
0
0
I tested that idea with a super soft and stretchy silicone rubber and there was no way to get the rubber part back out. The flat section is a very different shape then the round areas, and if you imagine how far it would need to collapse to come back out, it would have to be hollow with a max wall thickness of maybe 3mm. Even a solid piece of wouldn't hold its shape well enough to make a reliable part.
Also how about using the sandy material?
Reply
0
0
Thread Starter
Joined: Jul 2012
Posts: 792
Total Cats: 143
From: durham NC
I have actually been thinking about if I could find a strong enough binder for fine salt I could dissolve it back out with water. It would need to be a reliable process and less work than trimming. Also, a biaxial sleeve won't actually fully conform to this shape so there would need to be a certain amount of slicing and overlapping.
My current workflow is to squeegee resin into precut carbon on a sheet of glass before laying them into the mold. This is good for making sure resin gets everywhere and my bagging stack does and adequate job pulling excess back out to get a decent resin to fiber ratio. It also helps a lot with getting the carbon positioned well and not distorting the weave. My actual layup time for both halves is down to about 1.5 hours and that includes cutting materials, making the vac bag, and tracking down all the serious vacuum leaks.
My current workflow is to squeegee resin into precut carbon on a sheet of glass before laying them into the mold. This is good for making sure resin gets everywhere and my bagging stack does and adequate job pulling excess back out to get a decent resin to fiber ratio. It also helps a lot with getting the carbon positioned well and not distorting the weave. My actual layup time for both halves is down to about 1.5 hours and that includes cutting materials, making the vac bag, and tracking down all the serious vacuum leaks.
Reply
0
0
Thread Starter
Joined: Jul 2012
Posts: 792
Total Cats: 143
From: durham NC
This is what it looks like when you bulk order the wrong size t-bolt clamps:
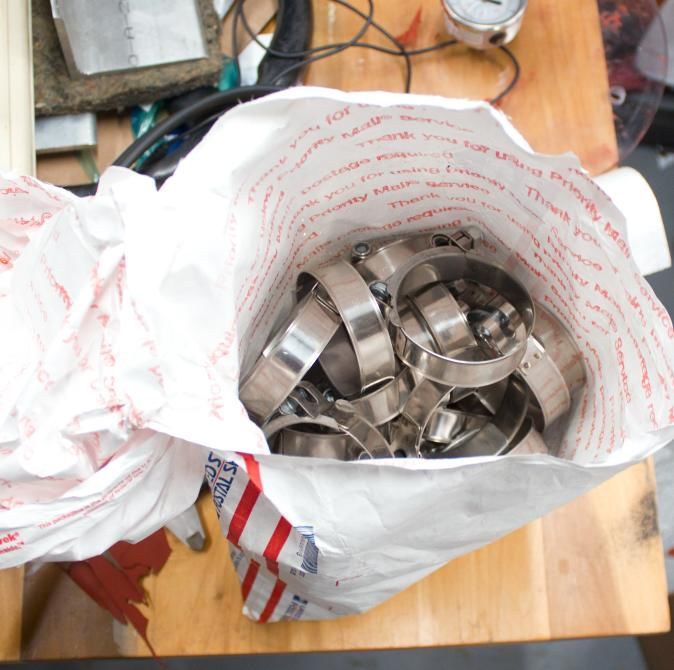
Is there a use for 60-68mm tbolt clamps? Does anyone want them at a huge discount?
Is there a use for 60-68mm tbolt clamps? Does anyone want them at a huge discount?
Last edited by asmasm; Dec 7, 2015 at 07:40 PM.
Reply
0
0
Thread Starter
Joined: Jul 2012
Posts: 792
Total Cats: 143
From: durham NC
For an unrelated project I have been kicking around in my head (and starting some napkin math on) does anyone know of some good measurements for the intake ports in a VVT head? Specifically, length to the valve and area of a cross section?
Reply
0
0

Newb
Joined: Apr 2012
Posts: 30
Total Cats: 2
For trimming composite tooling flanges at work we use carbide grit jig saw blades. They have them at home depot nothing special. Then you can just use a die grinder with sanding disc. Just do it outside with a respirator on. Also if you are planning on many a bunch of these I get your master/plug thing and make the same split mold in fiberglass. The silicone mold is gonna get torn up fast every time you de mold. Or if you want to get fancy and match the thermal expansion during the cure cycle use a carbon mold.
Reply
0
0

Junior Member
Joined: Jul 2015
Posts: 440
Total Cats: 34
From: Bremerton, WA

Reply
0
0
Thread Starter
Joined: Jul 2012
Posts: 792
Total Cats: 143
From: durham NC
For trimming composite tooling flanges at work we use carbide grit jig saw blades. They have them at home depot nothing special. Then you can just use a die grinder with sanding disc. Just do it outside with a respirator on. Also if you are planning on many a bunch of these I get your master/plug thing and make the same split mold in fiberglass. The silicone mold is gonna get torn up fast every time you de mold. Or if you want to get fancy and match the thermal expansion during the cure cycle use a carbon mold.
Reply
0
0
Newb
Joined: Apr 2012
Posts: 30
Total Cats: 2
Yeah that makes sense with the size of the part. If you start to make a lot of these a fiber glass mold with face coat is the way to go. Its not gonna be hard to do and use a high temp resin and face coat system. Plus when you build a flange all the way around it gives you a nice surface to put the bag tape on. Thats just my experience use the silicone mold tell its too beat up though.
Reply
0
0
Thread Starter
Joined: Jul 2012
Posts: 792
Total Cats: 143
From: durham NC
I was going to do a fiberglass mold. I have a bunch of chop strand, tooling resin, and gelcoat here. The only issue I ran into is that getting the parting line correct on this is a bitch. Technically it does a small zigzag in one section. The carbon is layed up thin enough (just over 1mm wall thickness) that I might be able to demold it from a rigid mold as long as it was close. I ordered a sample of some 80A urethane rubber to test out to see if it is more durable than this 60a silicone.
I also don't have a compressor, spray gun, or the ability to use aerosols or sprays of any kind indoors (my garage is attached and directly under my living room). I am getting around that issue with the rolling work bench/oven. Roll it out into the driveway for lay up, seal the oven up, then roll it back in for curing. So far, no epoxy smell inside at all. Polyester and vinylester resins make me a little more nervous than epoxy.
I also don't have a compressor, spray gun, or the ability to use aerosols or sprays of any kind indoors (my garage is attached and directly under my living room). I am getting around that issue with the rolling work bench/oven. Roll it out into the driveway for lay up, seal the oven up, then roll it back in for curing. So far, no epoxy smell inside at all. Polyester and vinylester resins make me a little more nervous than epoxy.
Reply
0
0
Newb
Joined: Apr 2012
Posts: 30
Total Cats: 2
I was going to do a fiberglass mold. I have a bunch of chop strand, tooling resin, and gelcoat here. The only issue I ran into is that getting the parting line correct on this is a bitch. Technically it does a small zigzag in one section. The carbon is layed up thin enough (just over 1mm wall thickness) that I might be able to demold it from a rigid mold as long as it was close. I ordered a sample of some 80A urethane rubber to test out to see if it is more durable than this 60a silicone.
I also don't have a compressor, spray gun, or the ability to use aerosols or sprays of any kind indoors (my garage is attached and directly under my living room). I am getting around that issue with the rolling work bench/oven. Roll it out into the driveway for lay up, seal the oven up, then roll it back in for curing. So far, no epoxy smell inside at all. Polyester and vinylester resins make me a little more nervous than epoxy.
I also don't have a compressor, spray gun, or the ability to use aerosols or sprays of any kind indoors (my garage is attached and directly under my living room). I am getting around that issue with the rolling work bench/oven. Roll it out into the driveway for lay up, seal the oven up, then roll it back in for curing. So far, no epoxy smell inside at all. Polyester and vinylester resins make me a little more nervous than epoxy.
You can definitely de mold from a glass mold. You said you don't have a compressor but if you can get a cheap one can help with de molding. You take the carbon part in the mold and stick something under it and pry it up a bit and put a blow gun under the crack and pop the part with air. I wouldn't bother with the urethane. Make sure the gel coat and resin system can take the oven temps. If you can afford epoxy resin and face coat do it. Polyester and vinylester are fume heavy not as fun to work with.
Reply
0
0
Thread Starter
Joined: Jul 2012
Posts: 792
Total Cats: 143
From: durham NC
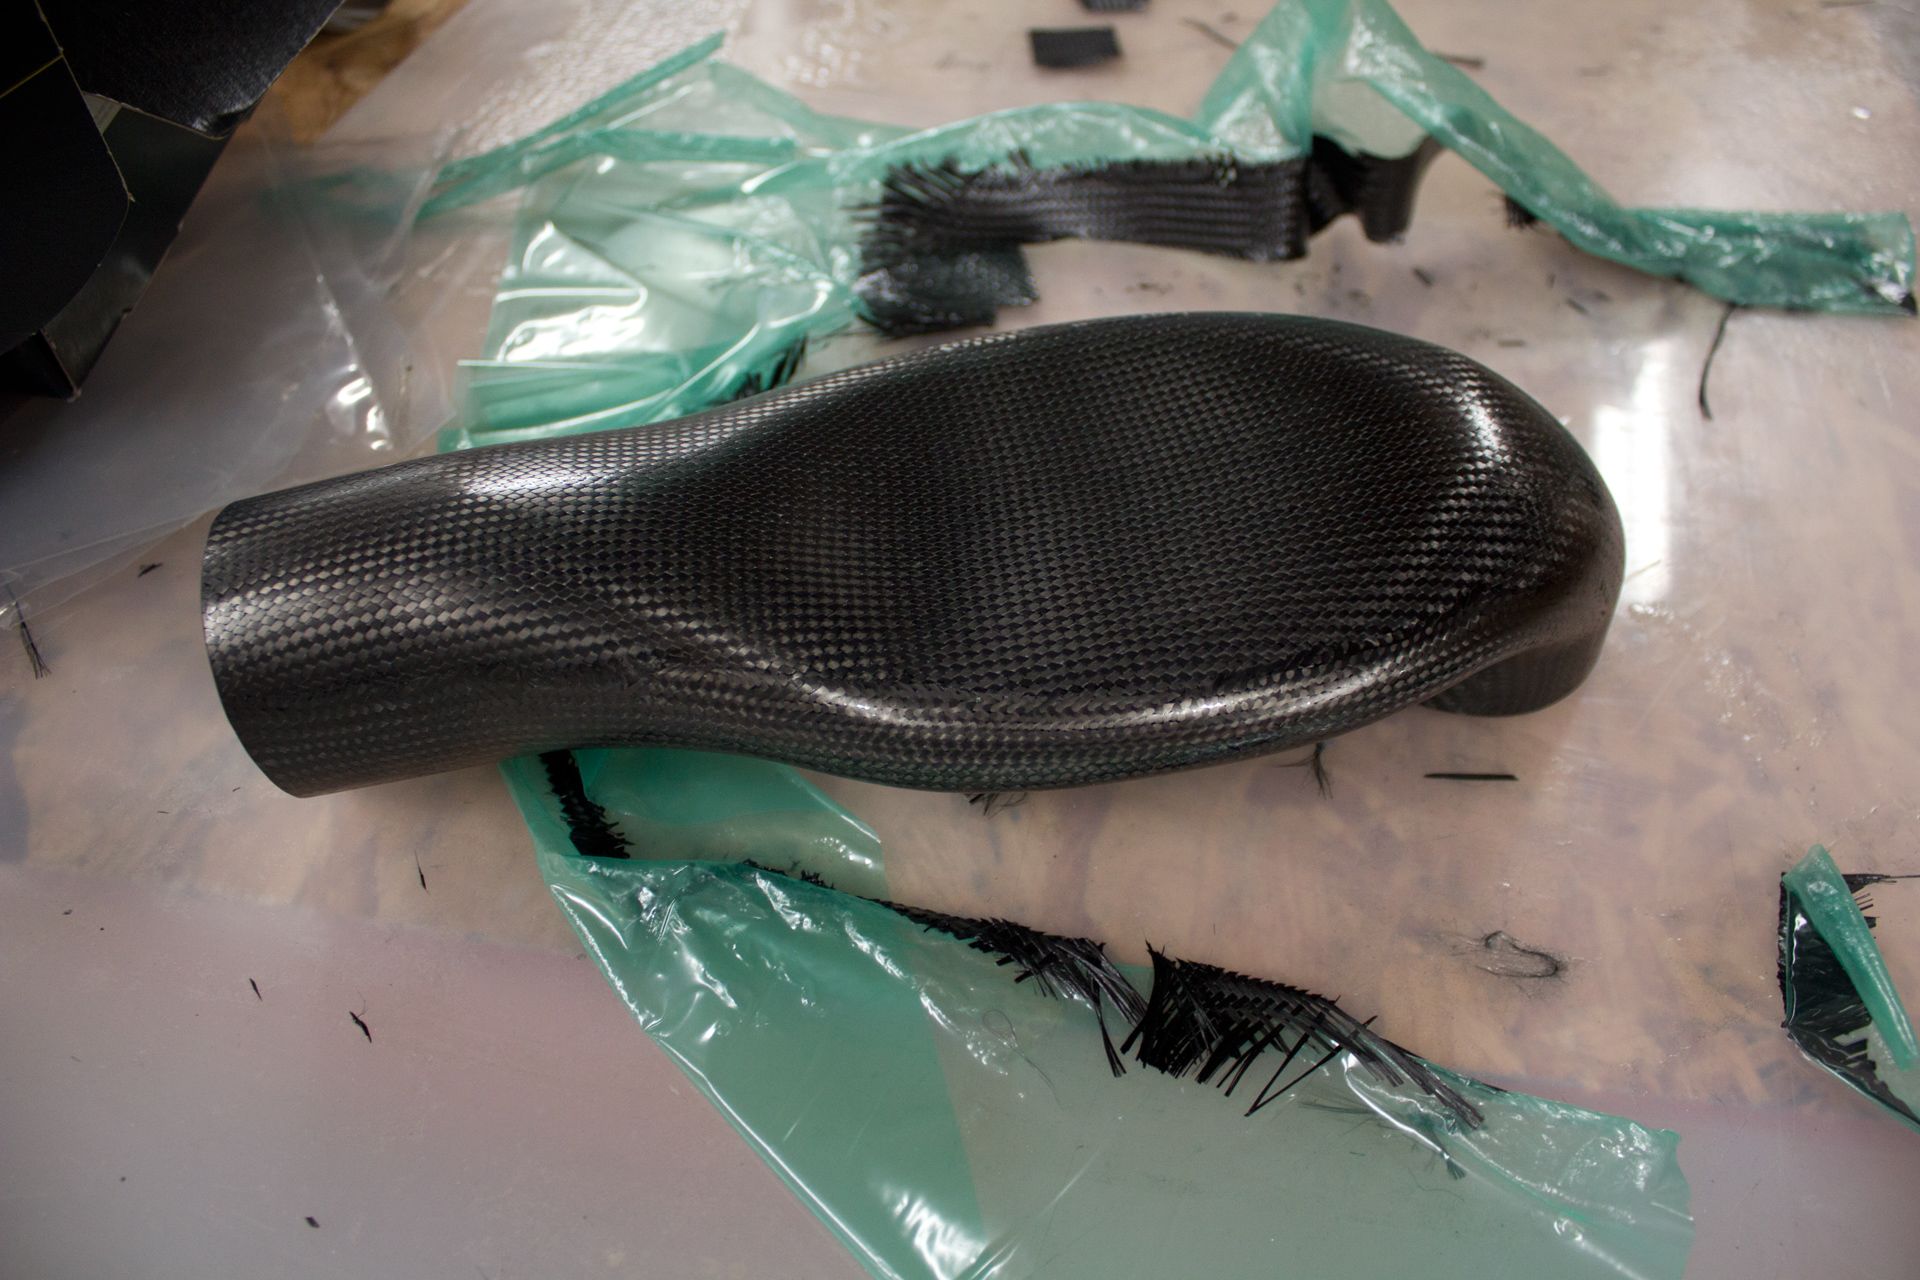
I am getting better at this but trimming, joining, finishing take way longer than I had hoped. It goes in the oven 3 times. First to laminate the halves, then I throw it in at 140F to cure the structural epoxy faster, and then again when I laminate the carbon strips over the joints. This one came out looking nice.
Reply
0
0
Thread Starter
Joined: Jul 2012
Posts: 792
Total Cats: 143
From: durham NC
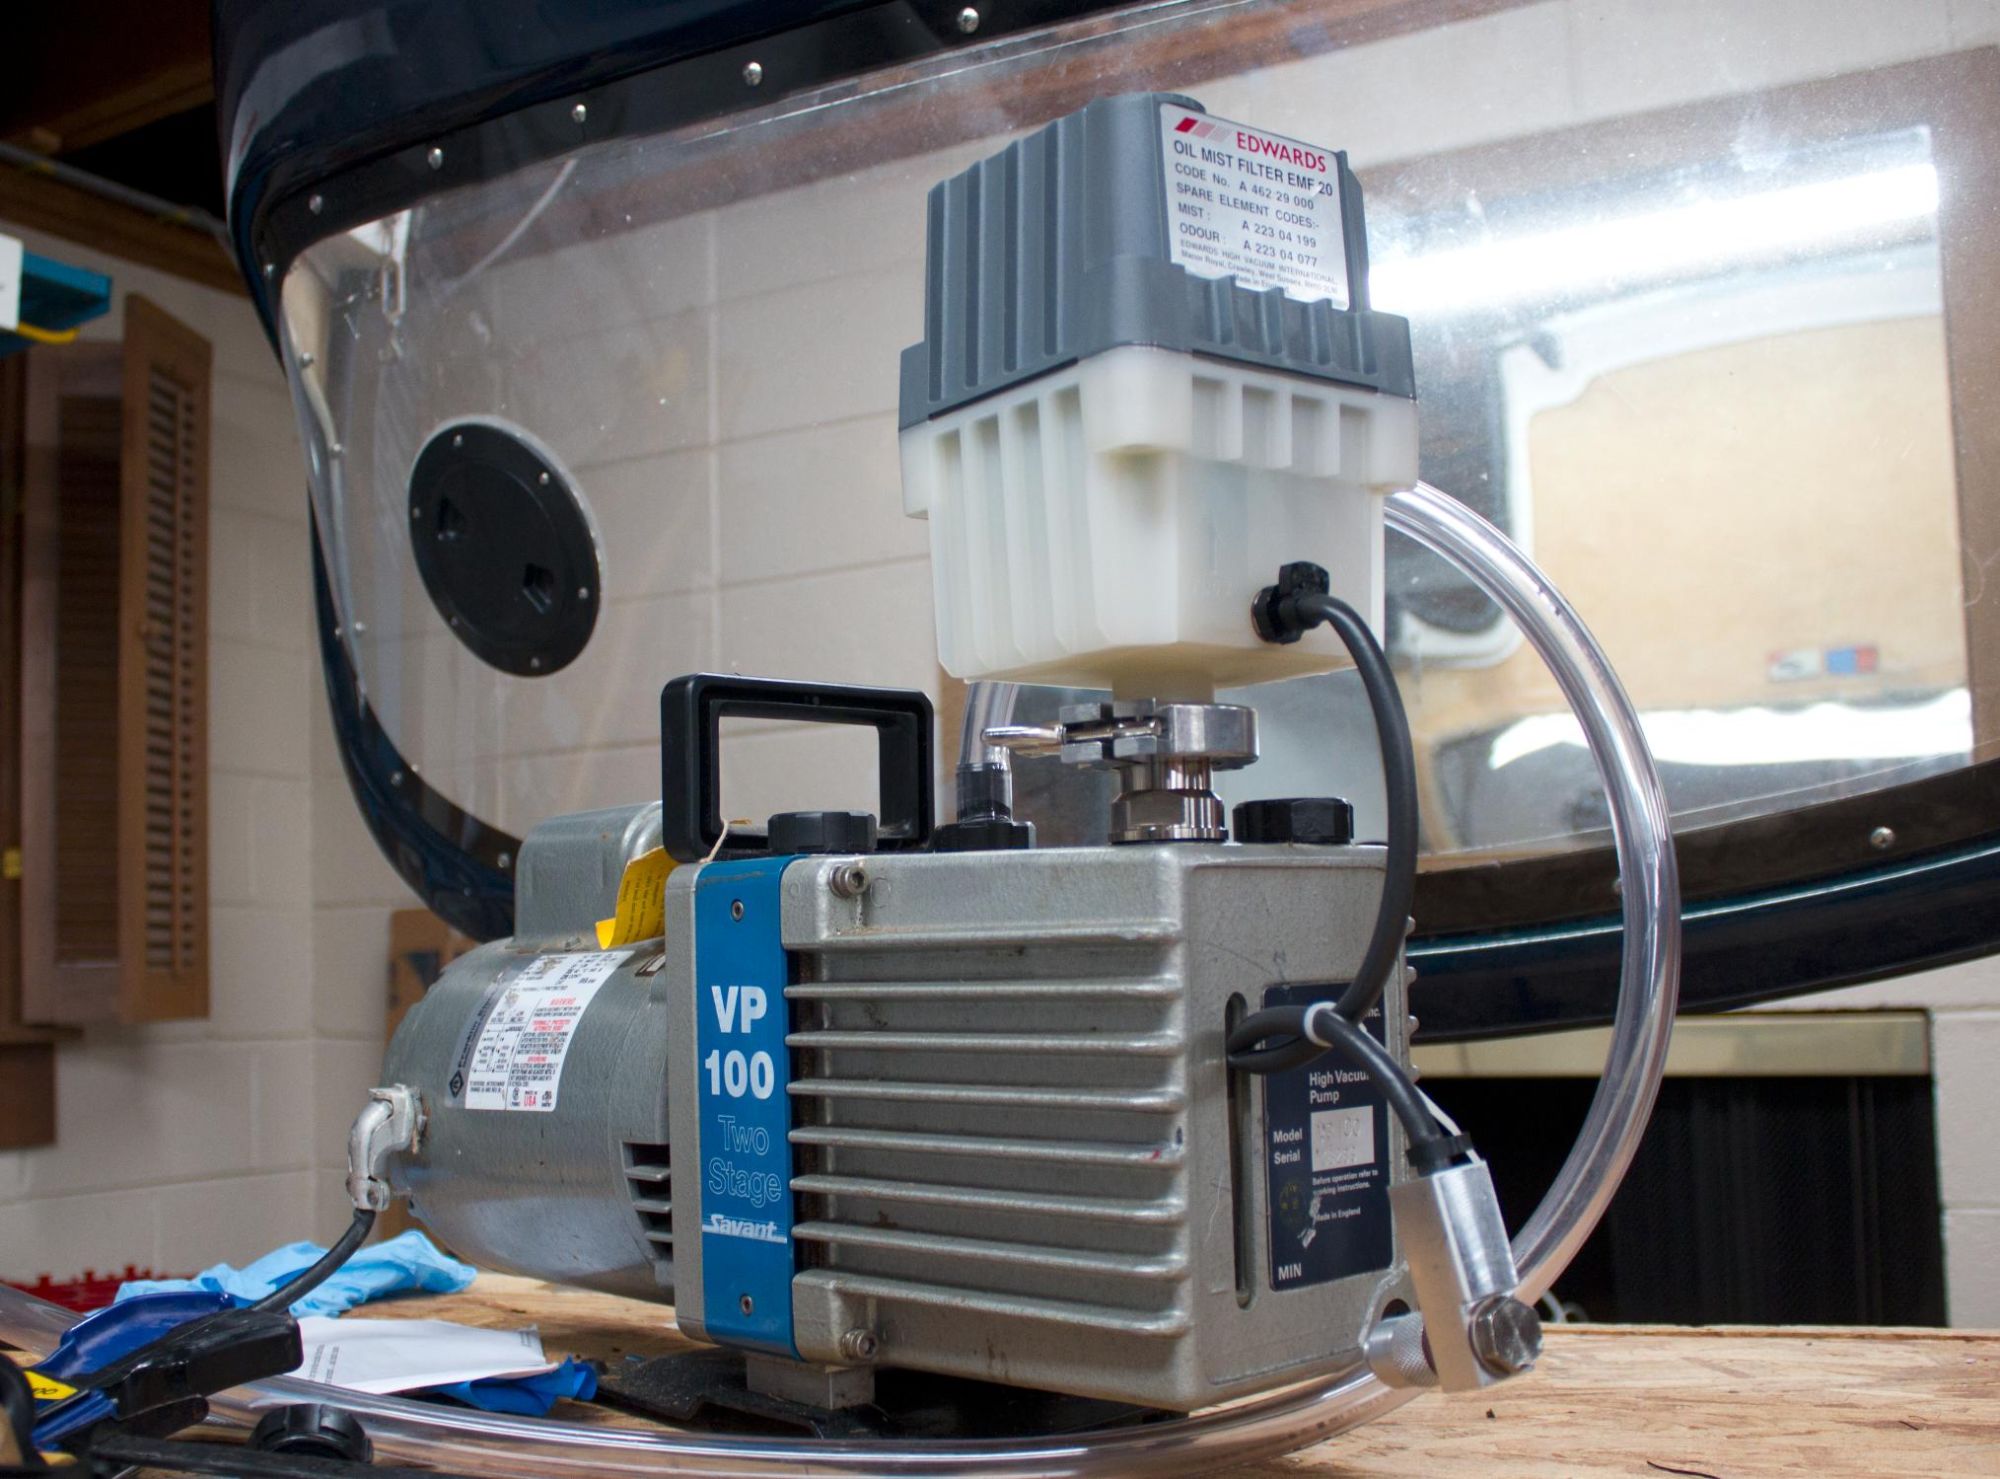
Also, I finally got my hands on all the parts for this oil mist filter. I can now run my vacuum pump indoors on continuous duty without spraying a fine mist of oil into the air.
Reply
0
0

Thread Starter
Joined: Jul 2012
Posts: 792
Total Cats: 143
From: durham NC
I got the filter with new elements on ebay for cheap, however they neglected to tell me it didn't include the BSP to NW25 adapter need to make it fit the pump and I had to source one with the right dimensions for $$$.
Also, if anyone ever has a need for a lab quality deep vacuum pump, this model is the best deal I have found. It is the same as an edwards e2m5 but it's re-branded for a french company. It is obscure enough that there is way less competition for them at auction. Example: cheapest e2m5 on ebay is $430 shipped, I got my vp100 for like $100 shipped. They retail for something like 3k.
Also, if anyone ever has a need for a lab quality deep vacuum pump, this model is the best deal I have found. It is the same as an edwards e2m5 but it's re-branded for a french company. It is obscure enough that there is way less competition for them at auction. Example: cheapest e2m5 on ebay is $430 shipped, I got my vp100 for like $100 shipped. They retail for something like 3k.
Last edited by asmasm; Dec 23, 2015 at 07:55 PM.
Reply
0
0

Junior Member
Joined: Jul 2009
Posts: 422
Total Cats: 45
From: Orange County, CA
Just wanted to post up that my 3d printed intake cracked on the first track day. I didn't get it vapor polished (the service I used didn't offer it) and it cracked along one of the grooves. So I used some reflective hvac tape to cover the whole thing and it's been running that way for a couple months now 
Reply
0
0

Austin Floyd the recommended 3d printer seems to be in Europe, I emailed a few people in xyz but not a lot of them do acetone vapor finishing. Can you recommend another printer to use?
Reply
0
0


