

The custom fabrication thread! (Post pics of stuff you have made)


Joined: Sep 2005
Posts: 34,402
Total Cats: 7,523
From: Chicago. (The less-murder part.)
I approve of this sort of thinking.
(Nice looking boards, BTW. Who did the fab?)
I'm curious- it looks like an entirely passive R/C circuit, which wouldn't have been my first guess for solving a VR-based problem. Care to share the Theory of Operation?
And now, some ghetto engineering.
Here is WPIX studio camera #7, also known as the FlashCam. It's a Sony EX3 mounted on a 20 year old robotic pan/tilt head in the area between the newsroom and the production control room:
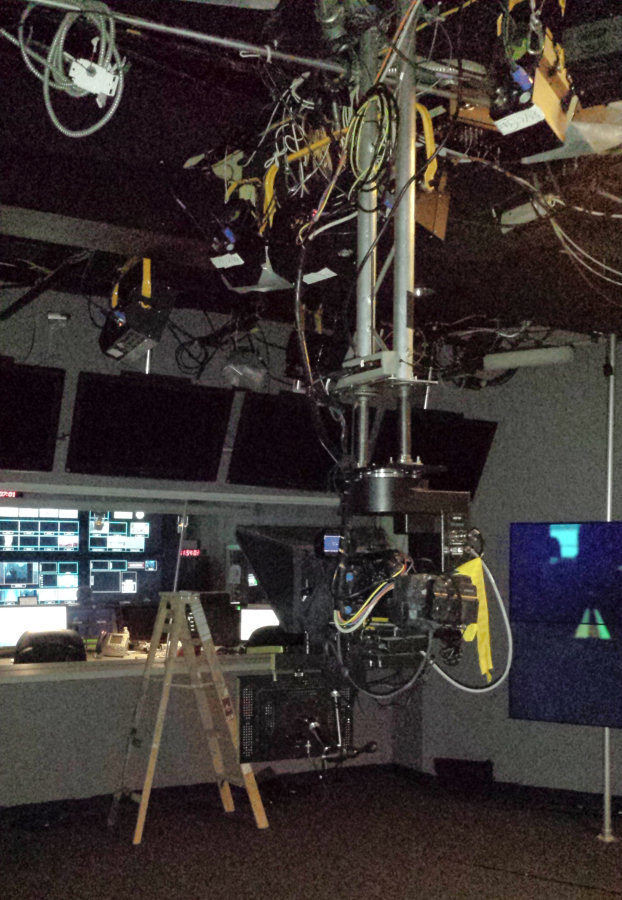
We hired a new traffic anchor who is short, and the ND decided to create a new shot of the traffic position, which I have very roughly modeled here:
By "short" I mean that she's damn near a midget. And so even with high-heels, she looks kind of weird when framed in the old setup. Thus, the ND has requested that we lower the entire 150 lb robot by 8", in order to get the lens down to her eye level.
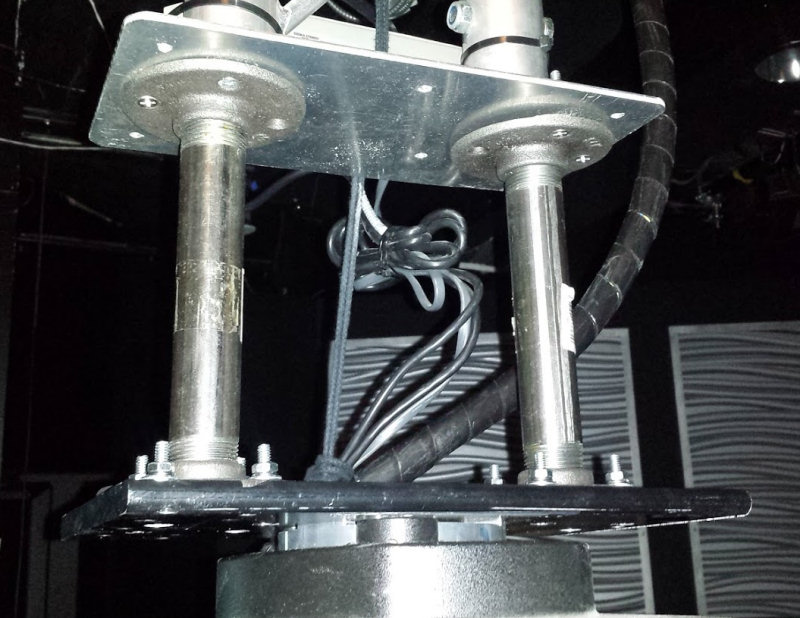
Since it was already at the extreme bottom end of travel, this presented a problem. Vinten (the manufacturer) sells a spacer plate for $900. As it turns out, the Home Depot on E. 59th St sells a functionally comparable spacer plate kit for only $32, which is mysteriously labeled as "plumbing supplies."
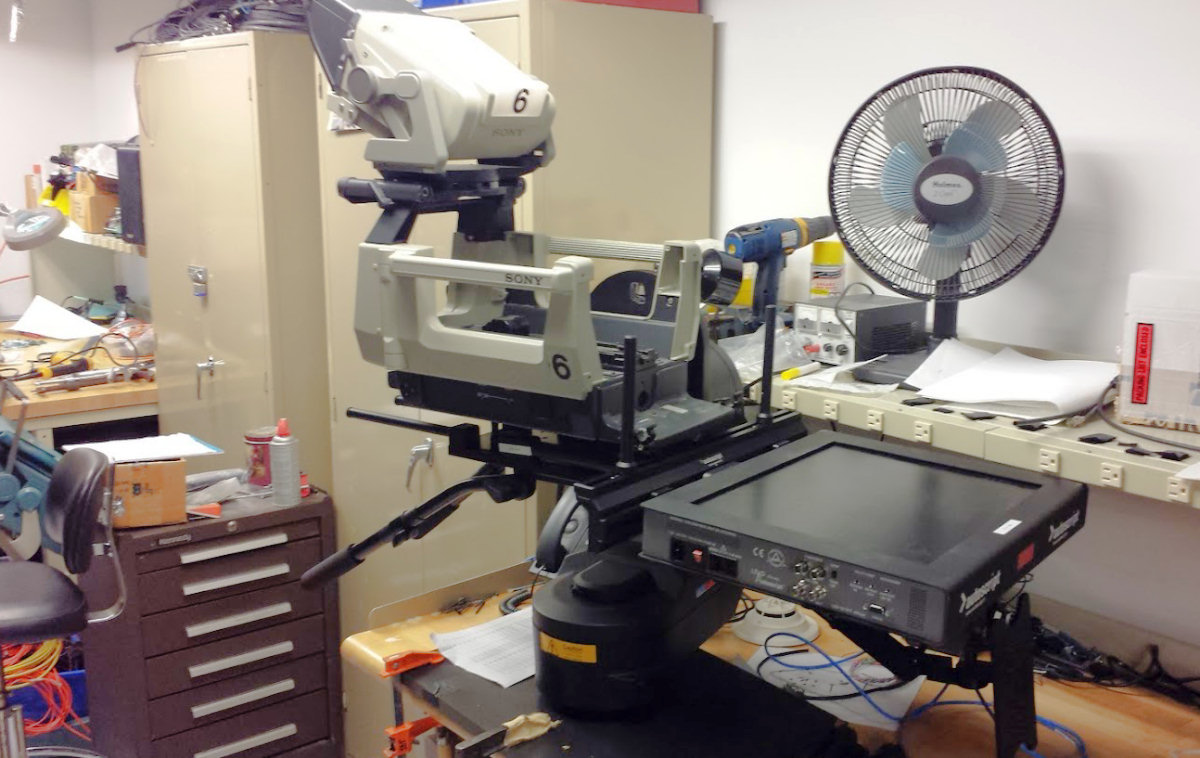
Unrelated: the new #6 studio robot is coming together nicely on the bench up on the 10th floor workshop. Once complete, we will duplicate it to build the new #4, and that will complete the rebuild of the studio robot system.
(Nice looking boards, BTW. Who did the fab?)
I'm curious- it looks like an entirely passive R/C circuit, which wouldn't have been my first guess for solving a VR-based problem. Care to share the Theory of Operation?
And now, some ghetto engineering.
Here is WPIX studio camera #7, also known as the FlashCam. It's a Sony EX3 mounted on a 20 year old robotic pan/tilt head in the area between the newsroom and the production control room:
We hired a new traffic anchor who is short, and the ND decided to create a new shot of the traffic position, which I have very roughly modeled here:
By "short" I mean that she's damn near a midget. And so even with high-heels, she looks kind of weird when framed in the old setup. Thus, the ND has requested that we lower the entire 150 lb robot by 8", in order to get the lens down to her eye level.
Since it was already at the extreme bottom end of travel, this presented a problem. Vinten (the manufacturer) sells a spacer plate for $900. As it turns out, the Home Depot on E. 59th St sells a functionally comparable spacer plate kit for only $32, which is mysteriously labeled as "plumbing supplies."
Unrelated: the new #6 studio robot is coming together nicely on the bench up on the 10th floor workshop. Once complete, we will duplicate it to build the new #4, and that will complete the rebuild of the studio robot system.
Reply
 2
2

2
Joined: Sep 2012
Posts: 4,560
Total Cats: 1,143
From: your mom's house phoenix, AZ
shift **** and pedal extensions
emergency brake adapters for chevy s10 rear disc swaps
various awesome looking chips from the machine shop at work
ive always wanted to encapsulate these in acrylic for a nice paperweight
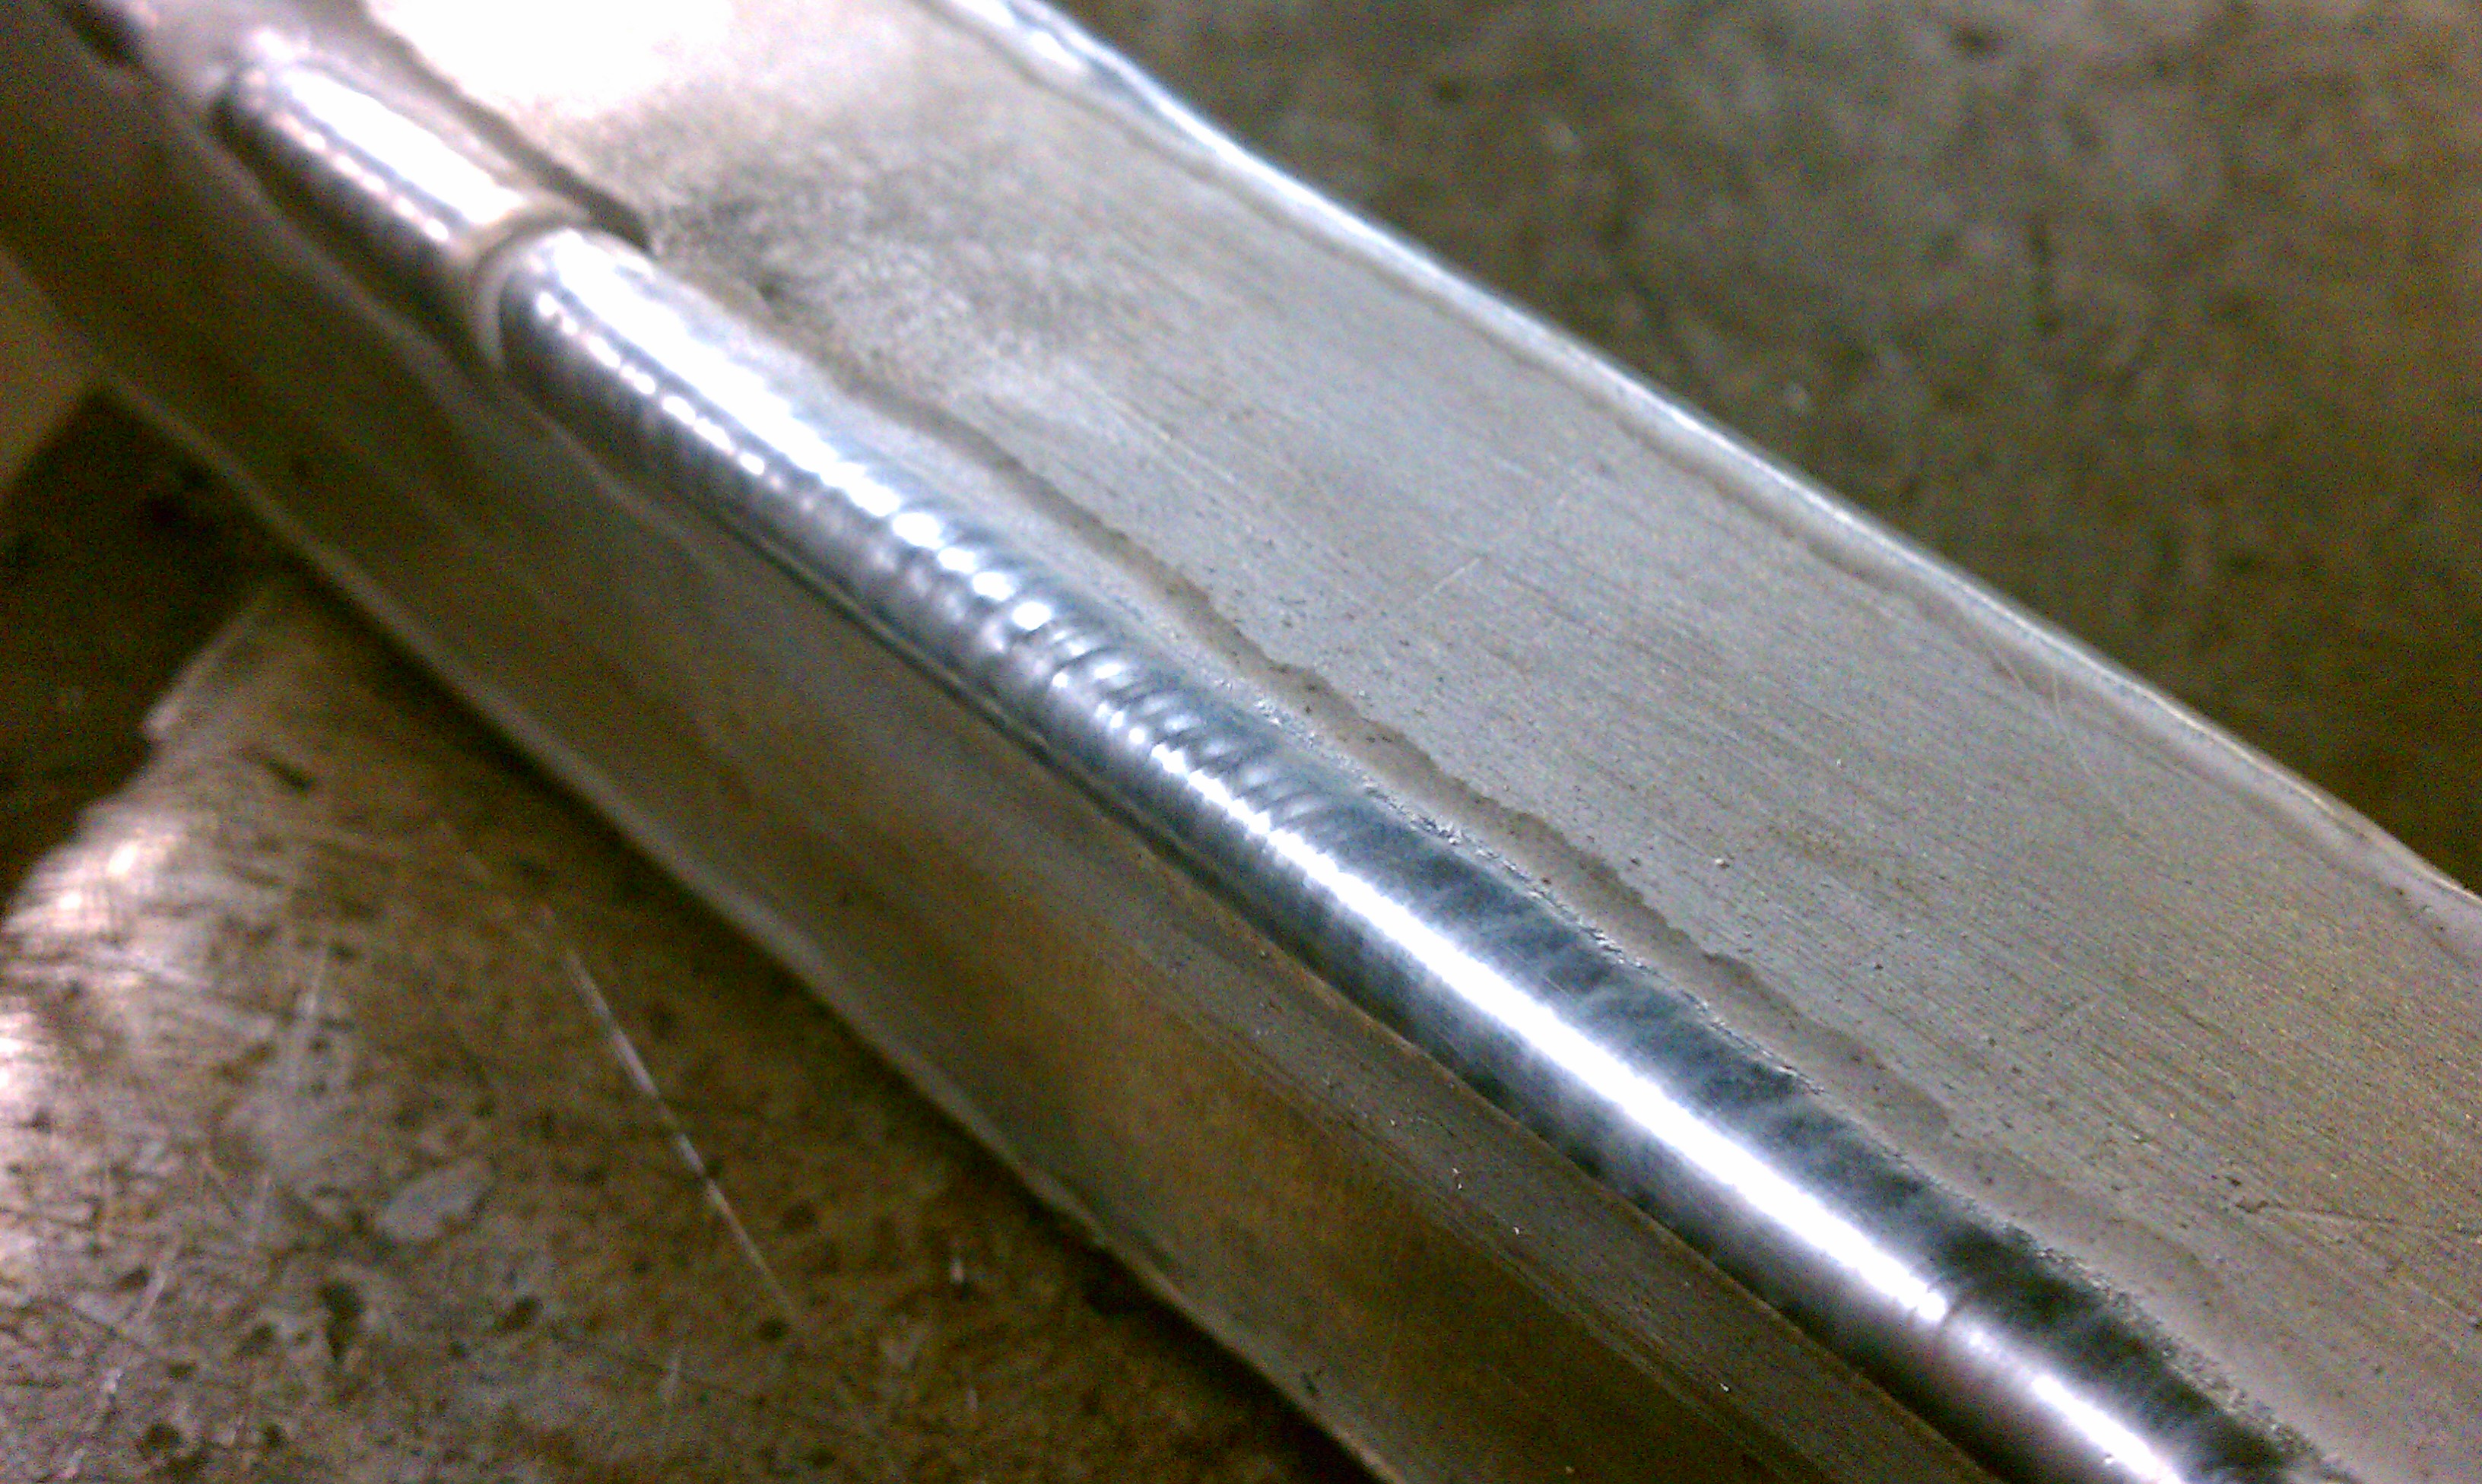
my fist day tig welding. best joint after about 2 hours of learing
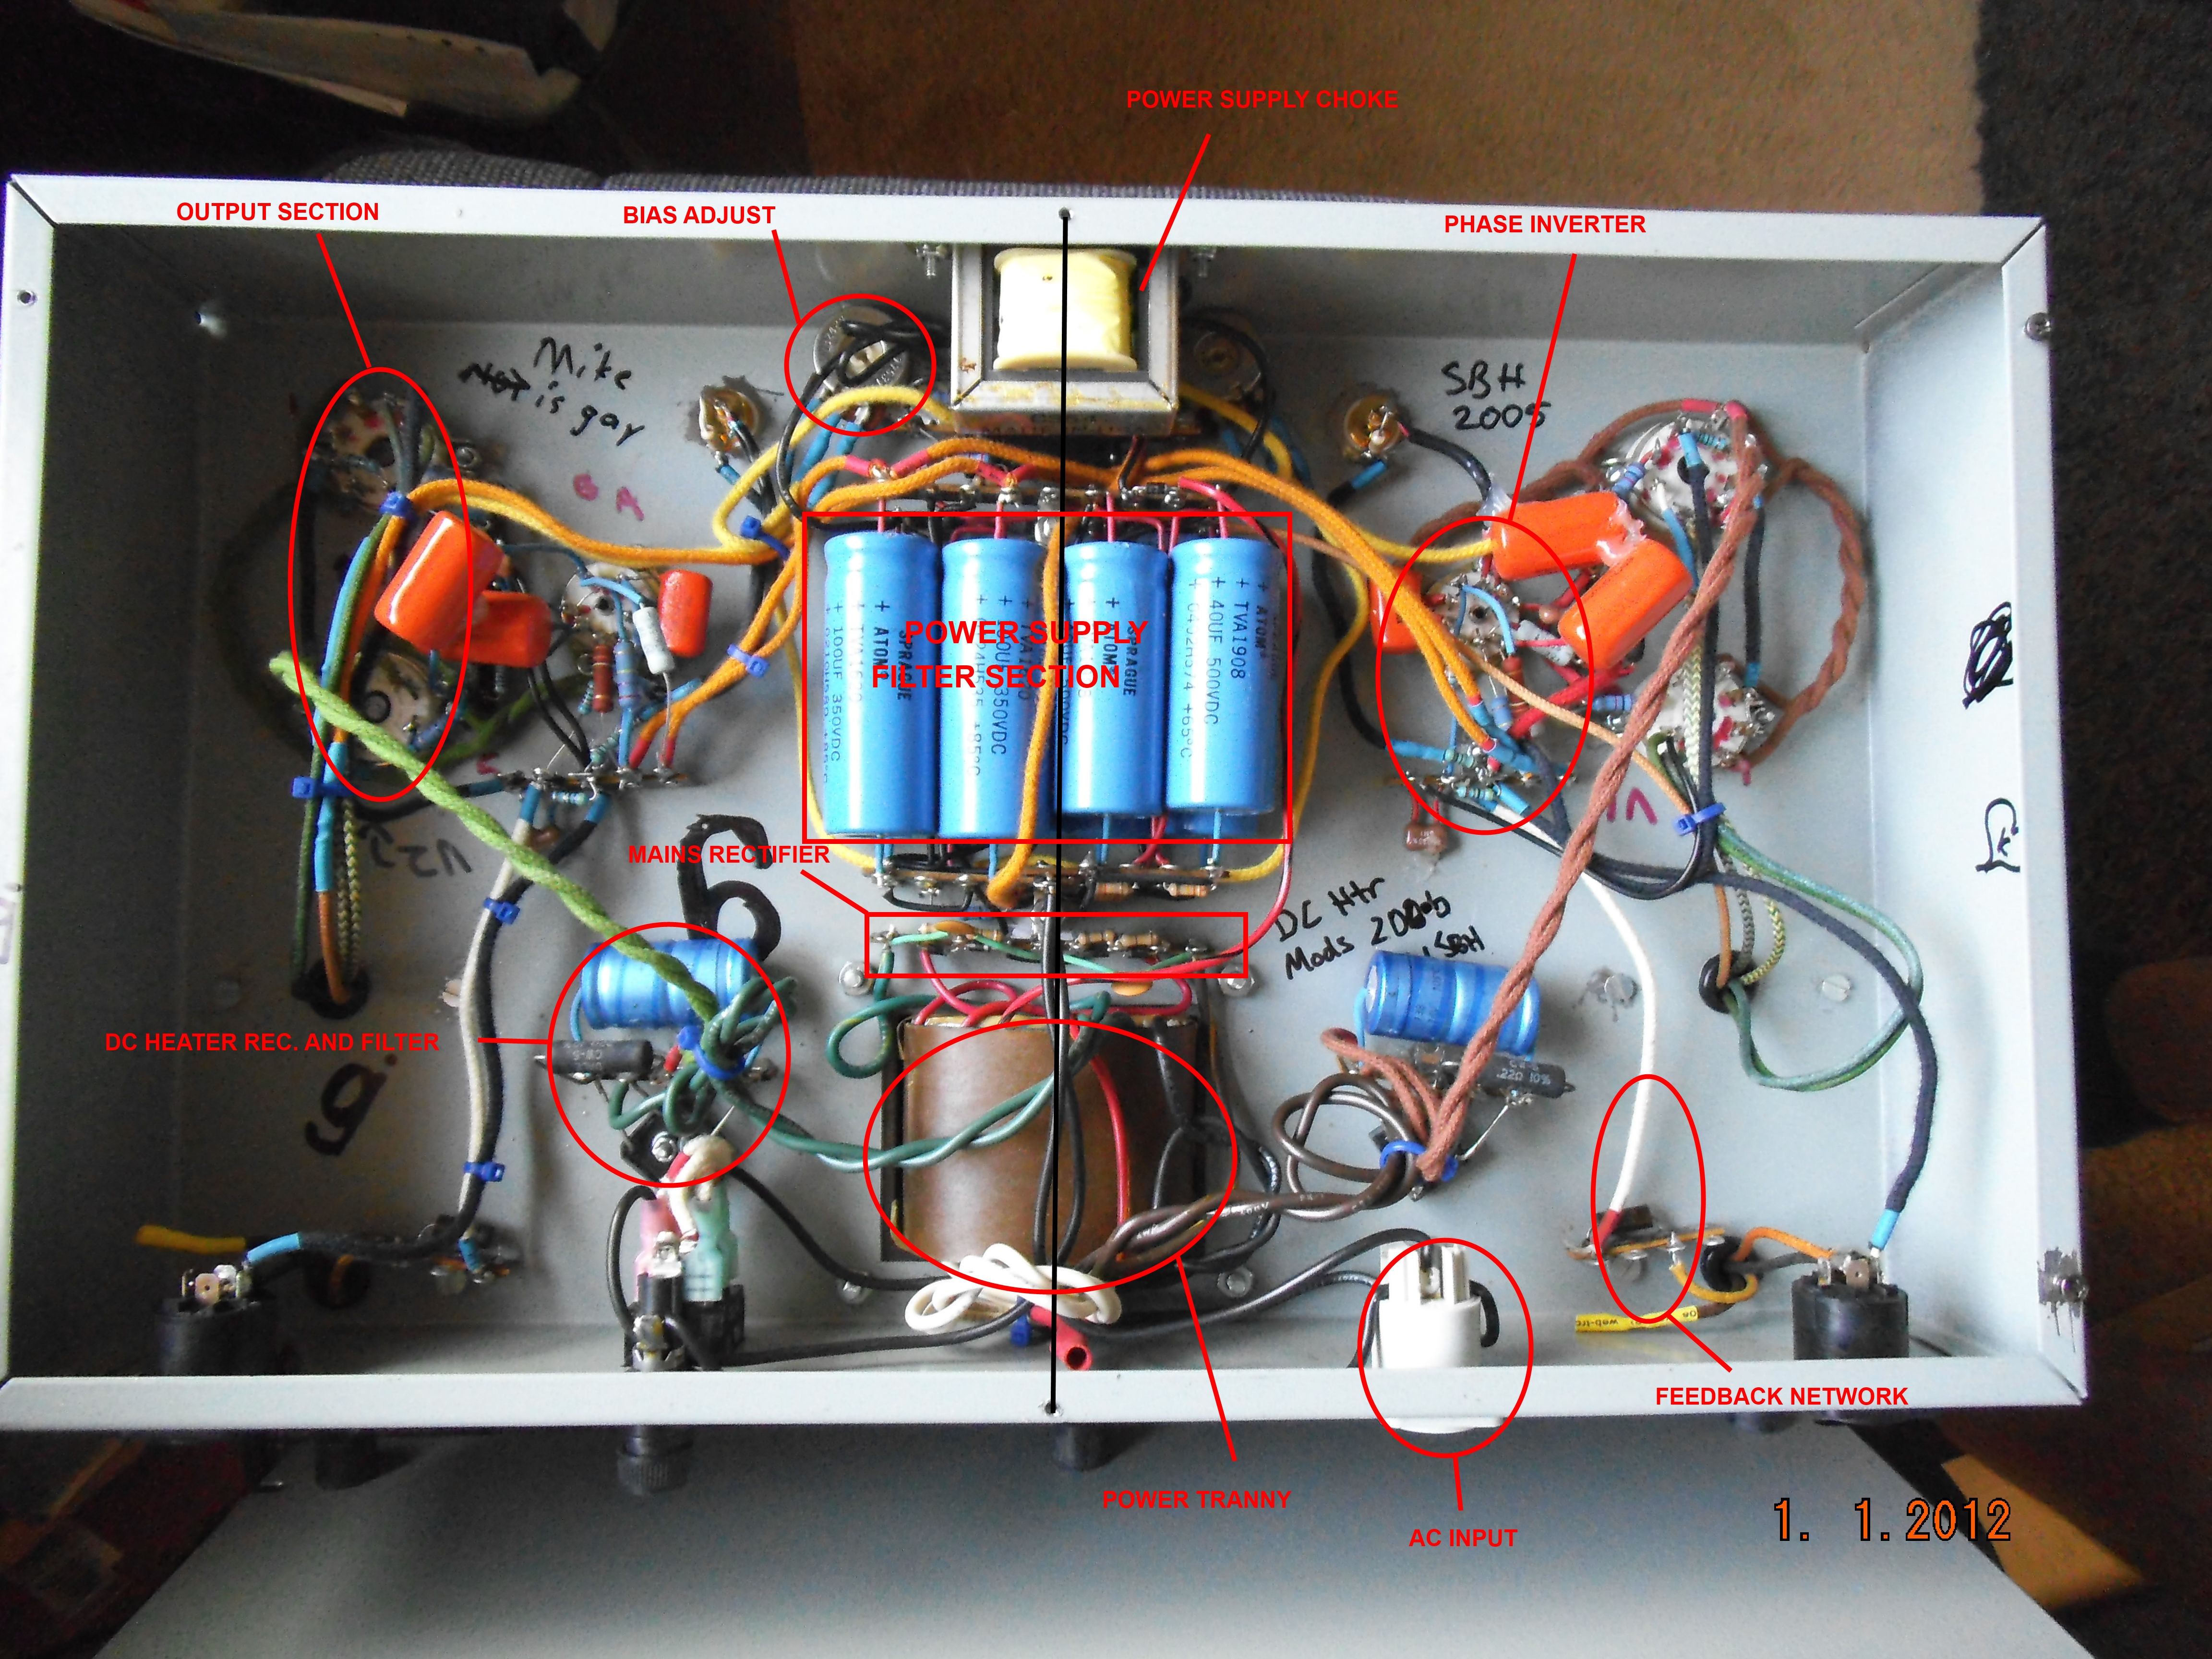
one of the many tube amps ive built. this one is my personal hifi stereo amp

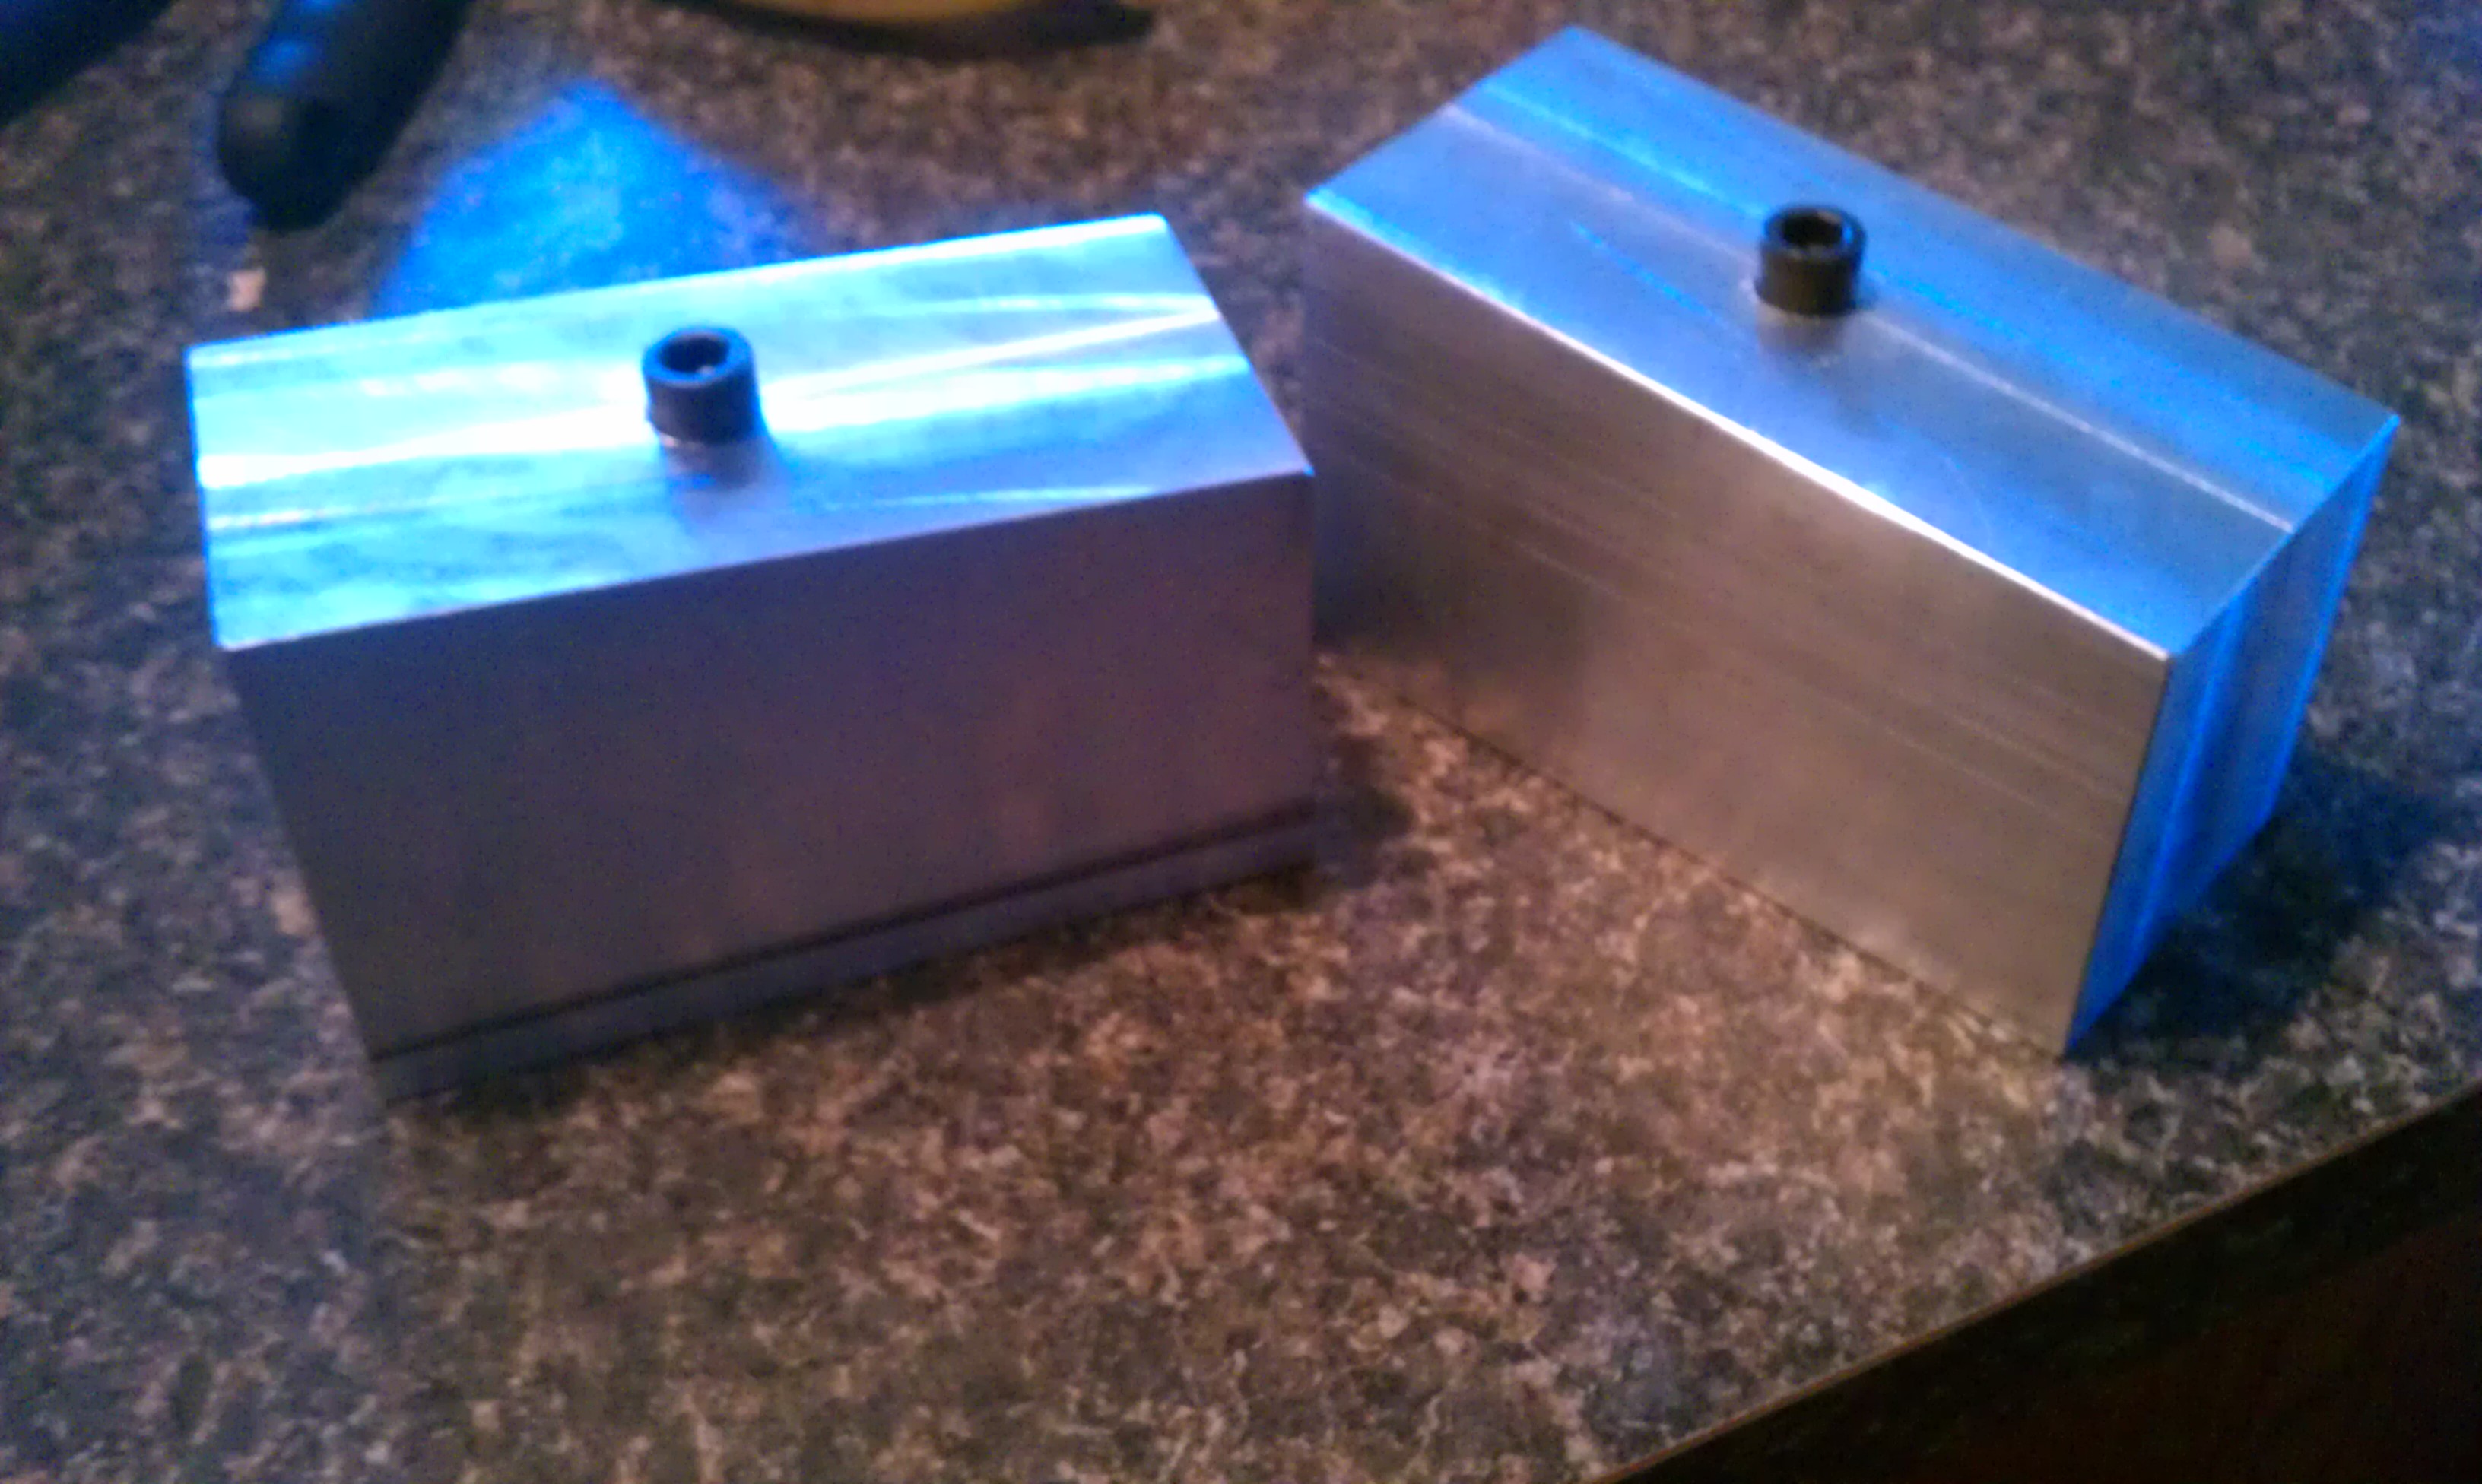
3", setback, angle drop blocks for s10 stance crowd who care about their drive line angles
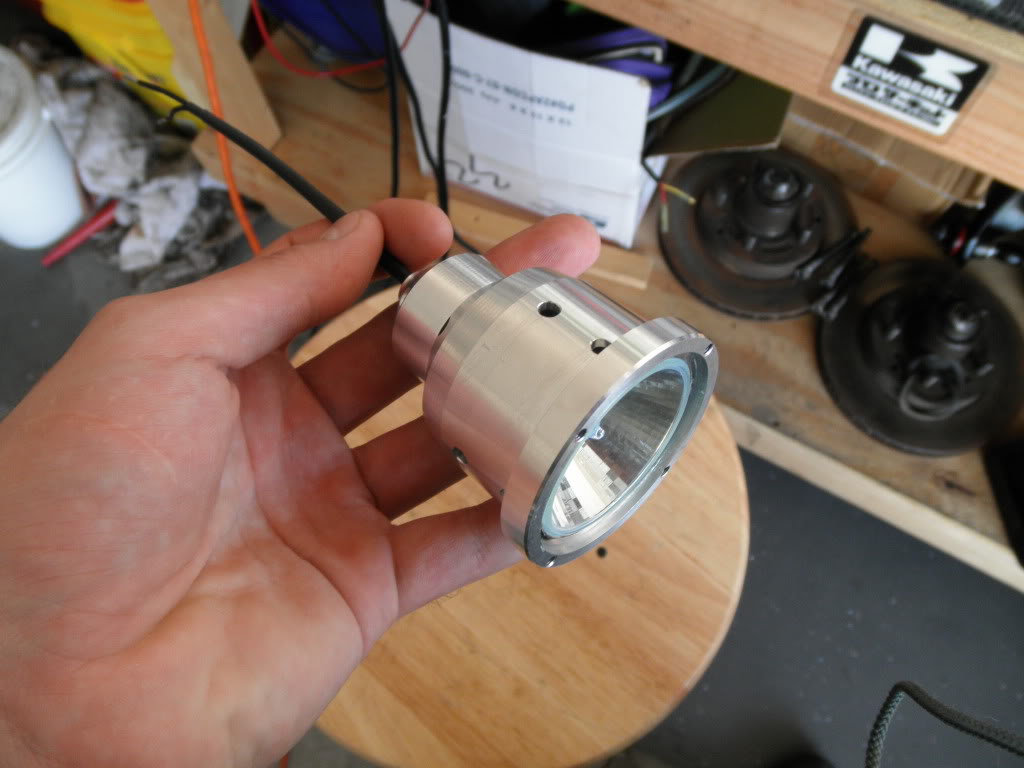
dirt bike helmet lamp for night riding
dirtbike fork seal driver tool
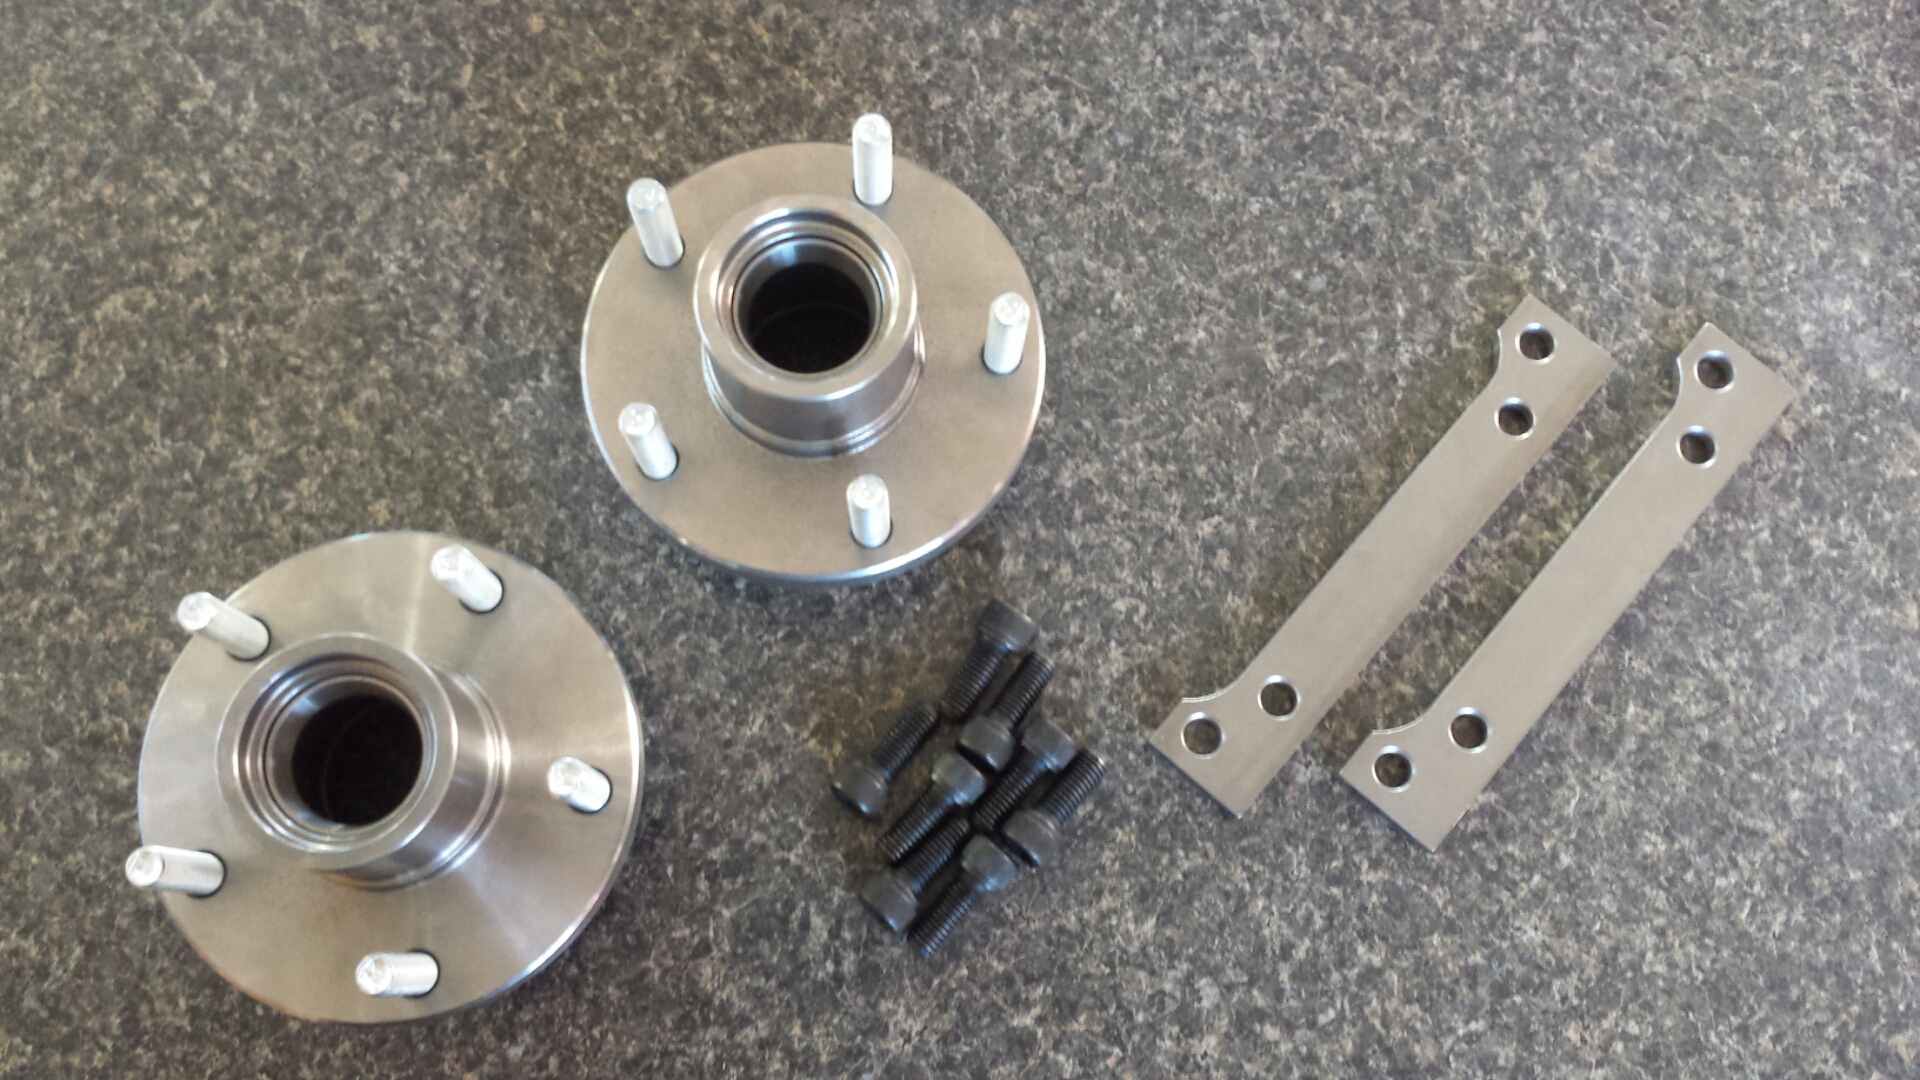
s10 big front brake kits i make and sell in the s10 world

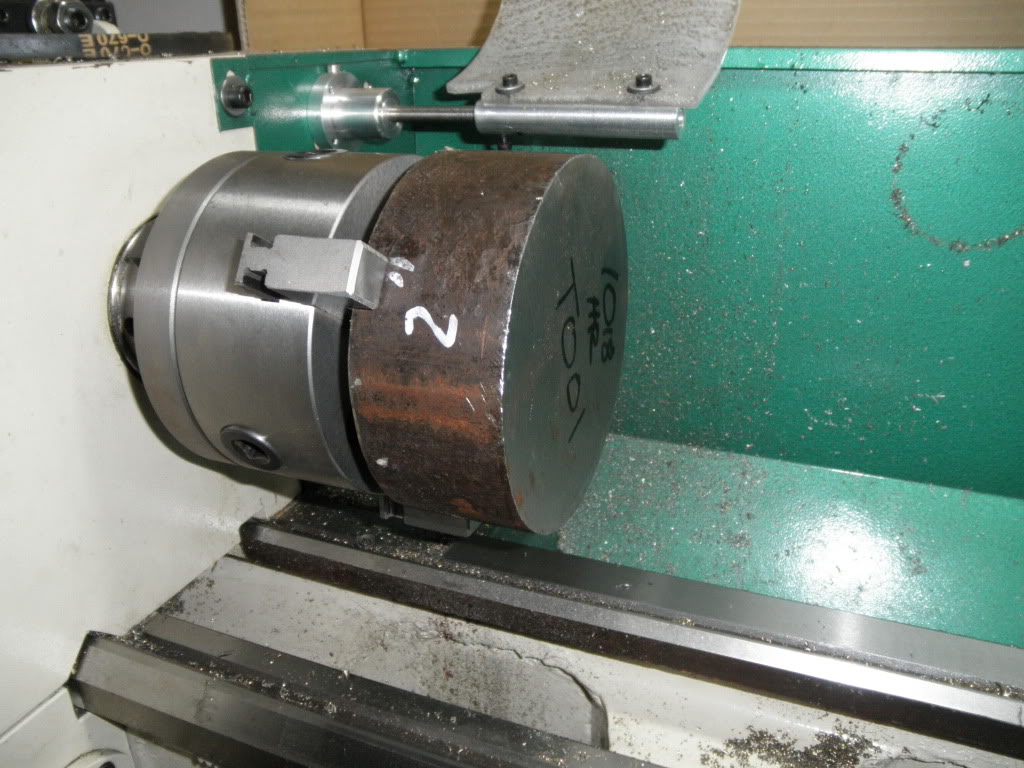
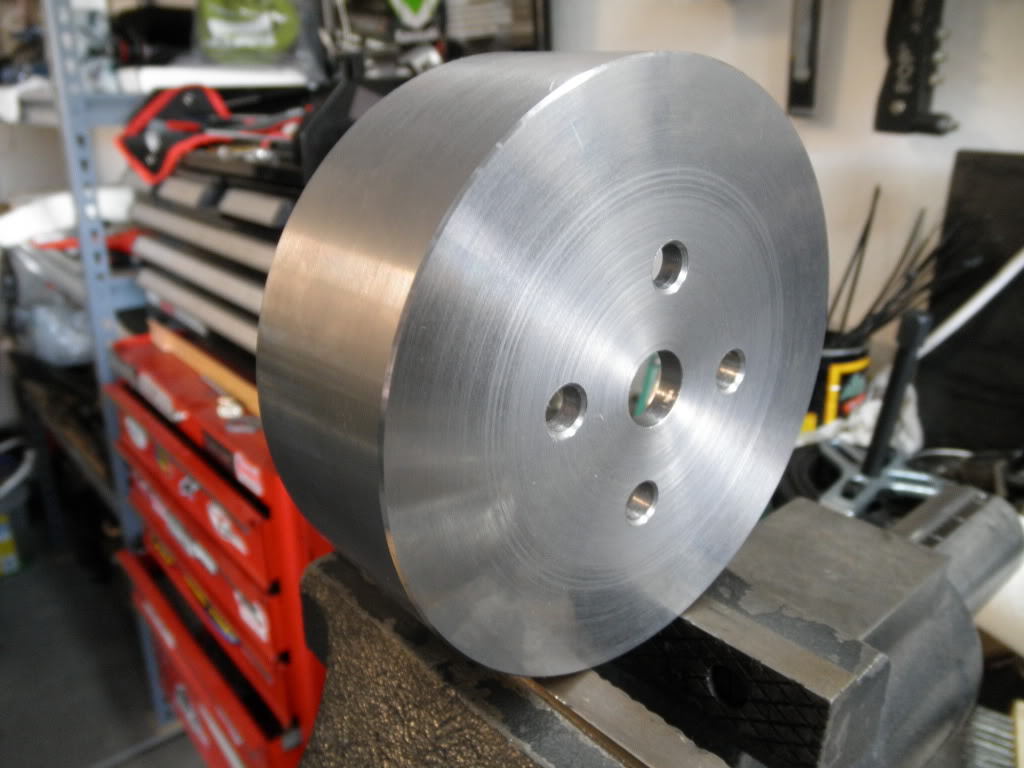
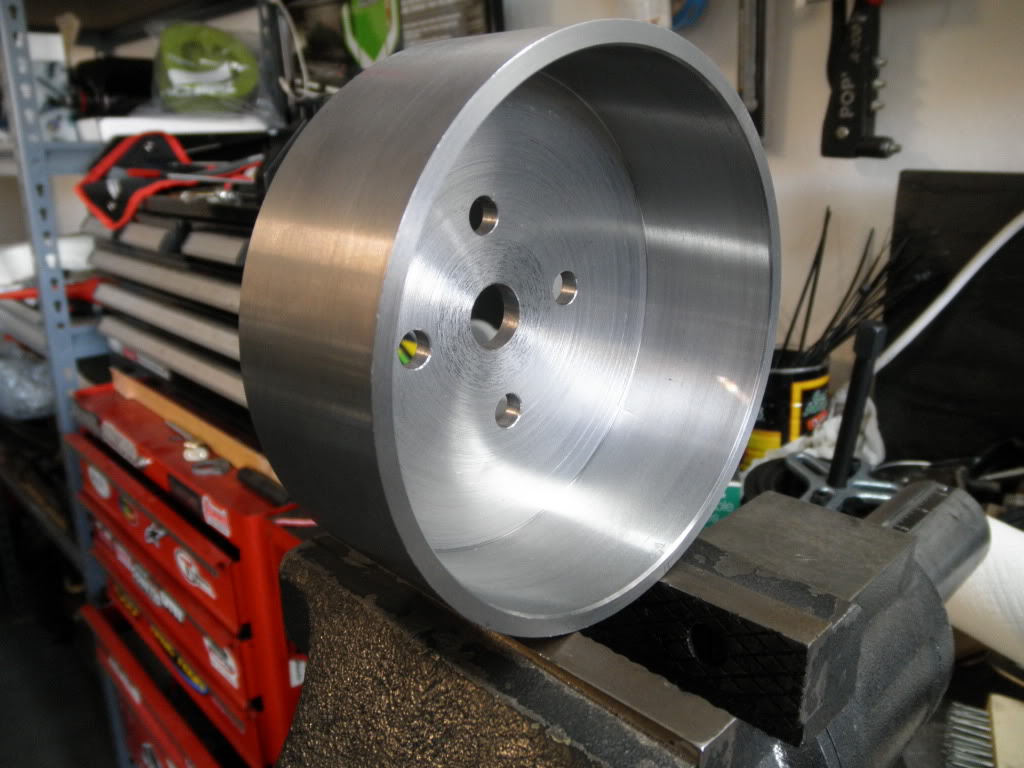
small block chevy water pump pulley to use short nose water pump with long nose accessories for rad clearance in sbc swapped vehicle, like my s10
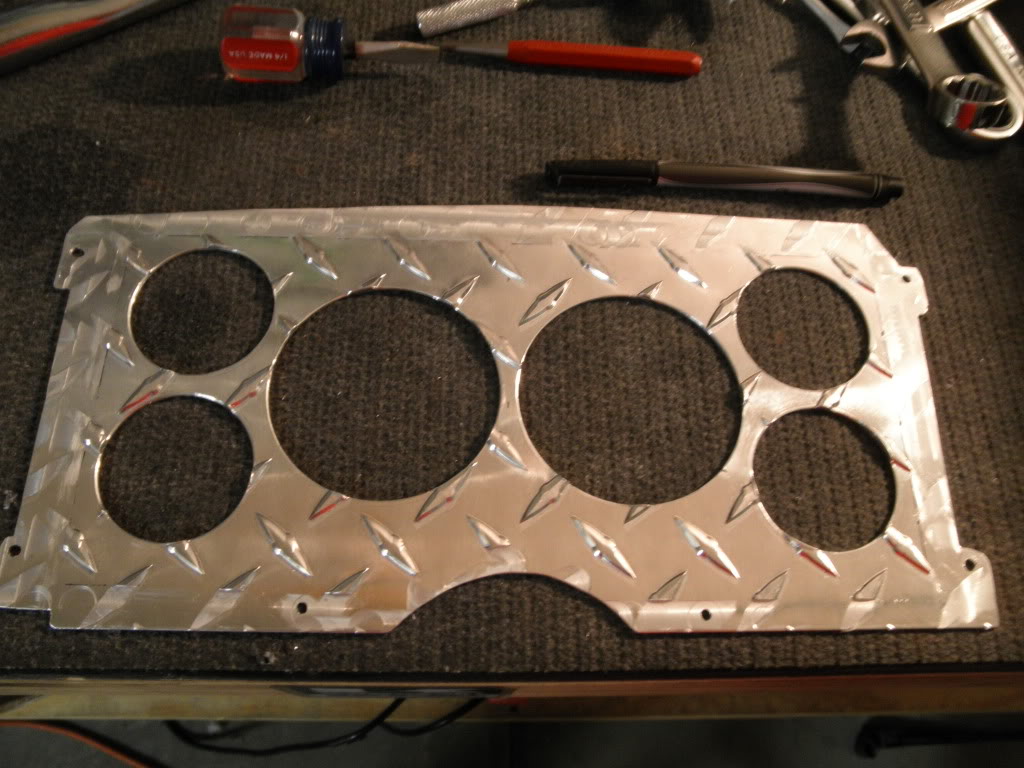
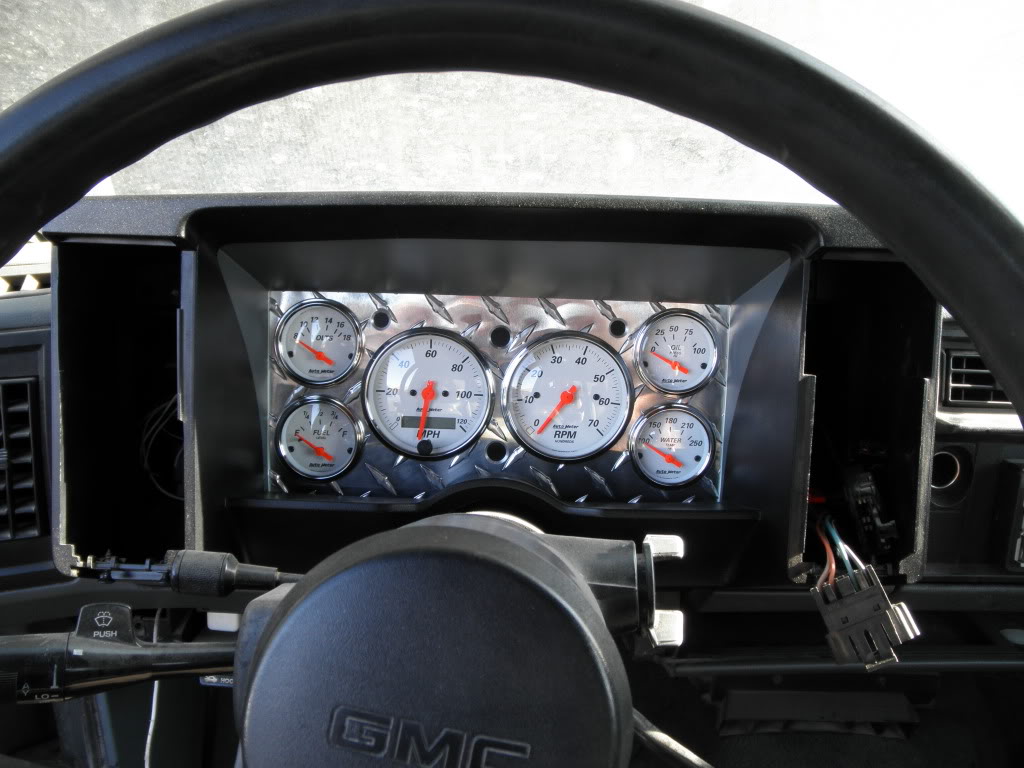
custom gauge cluster for arp gauges in fist gen s10
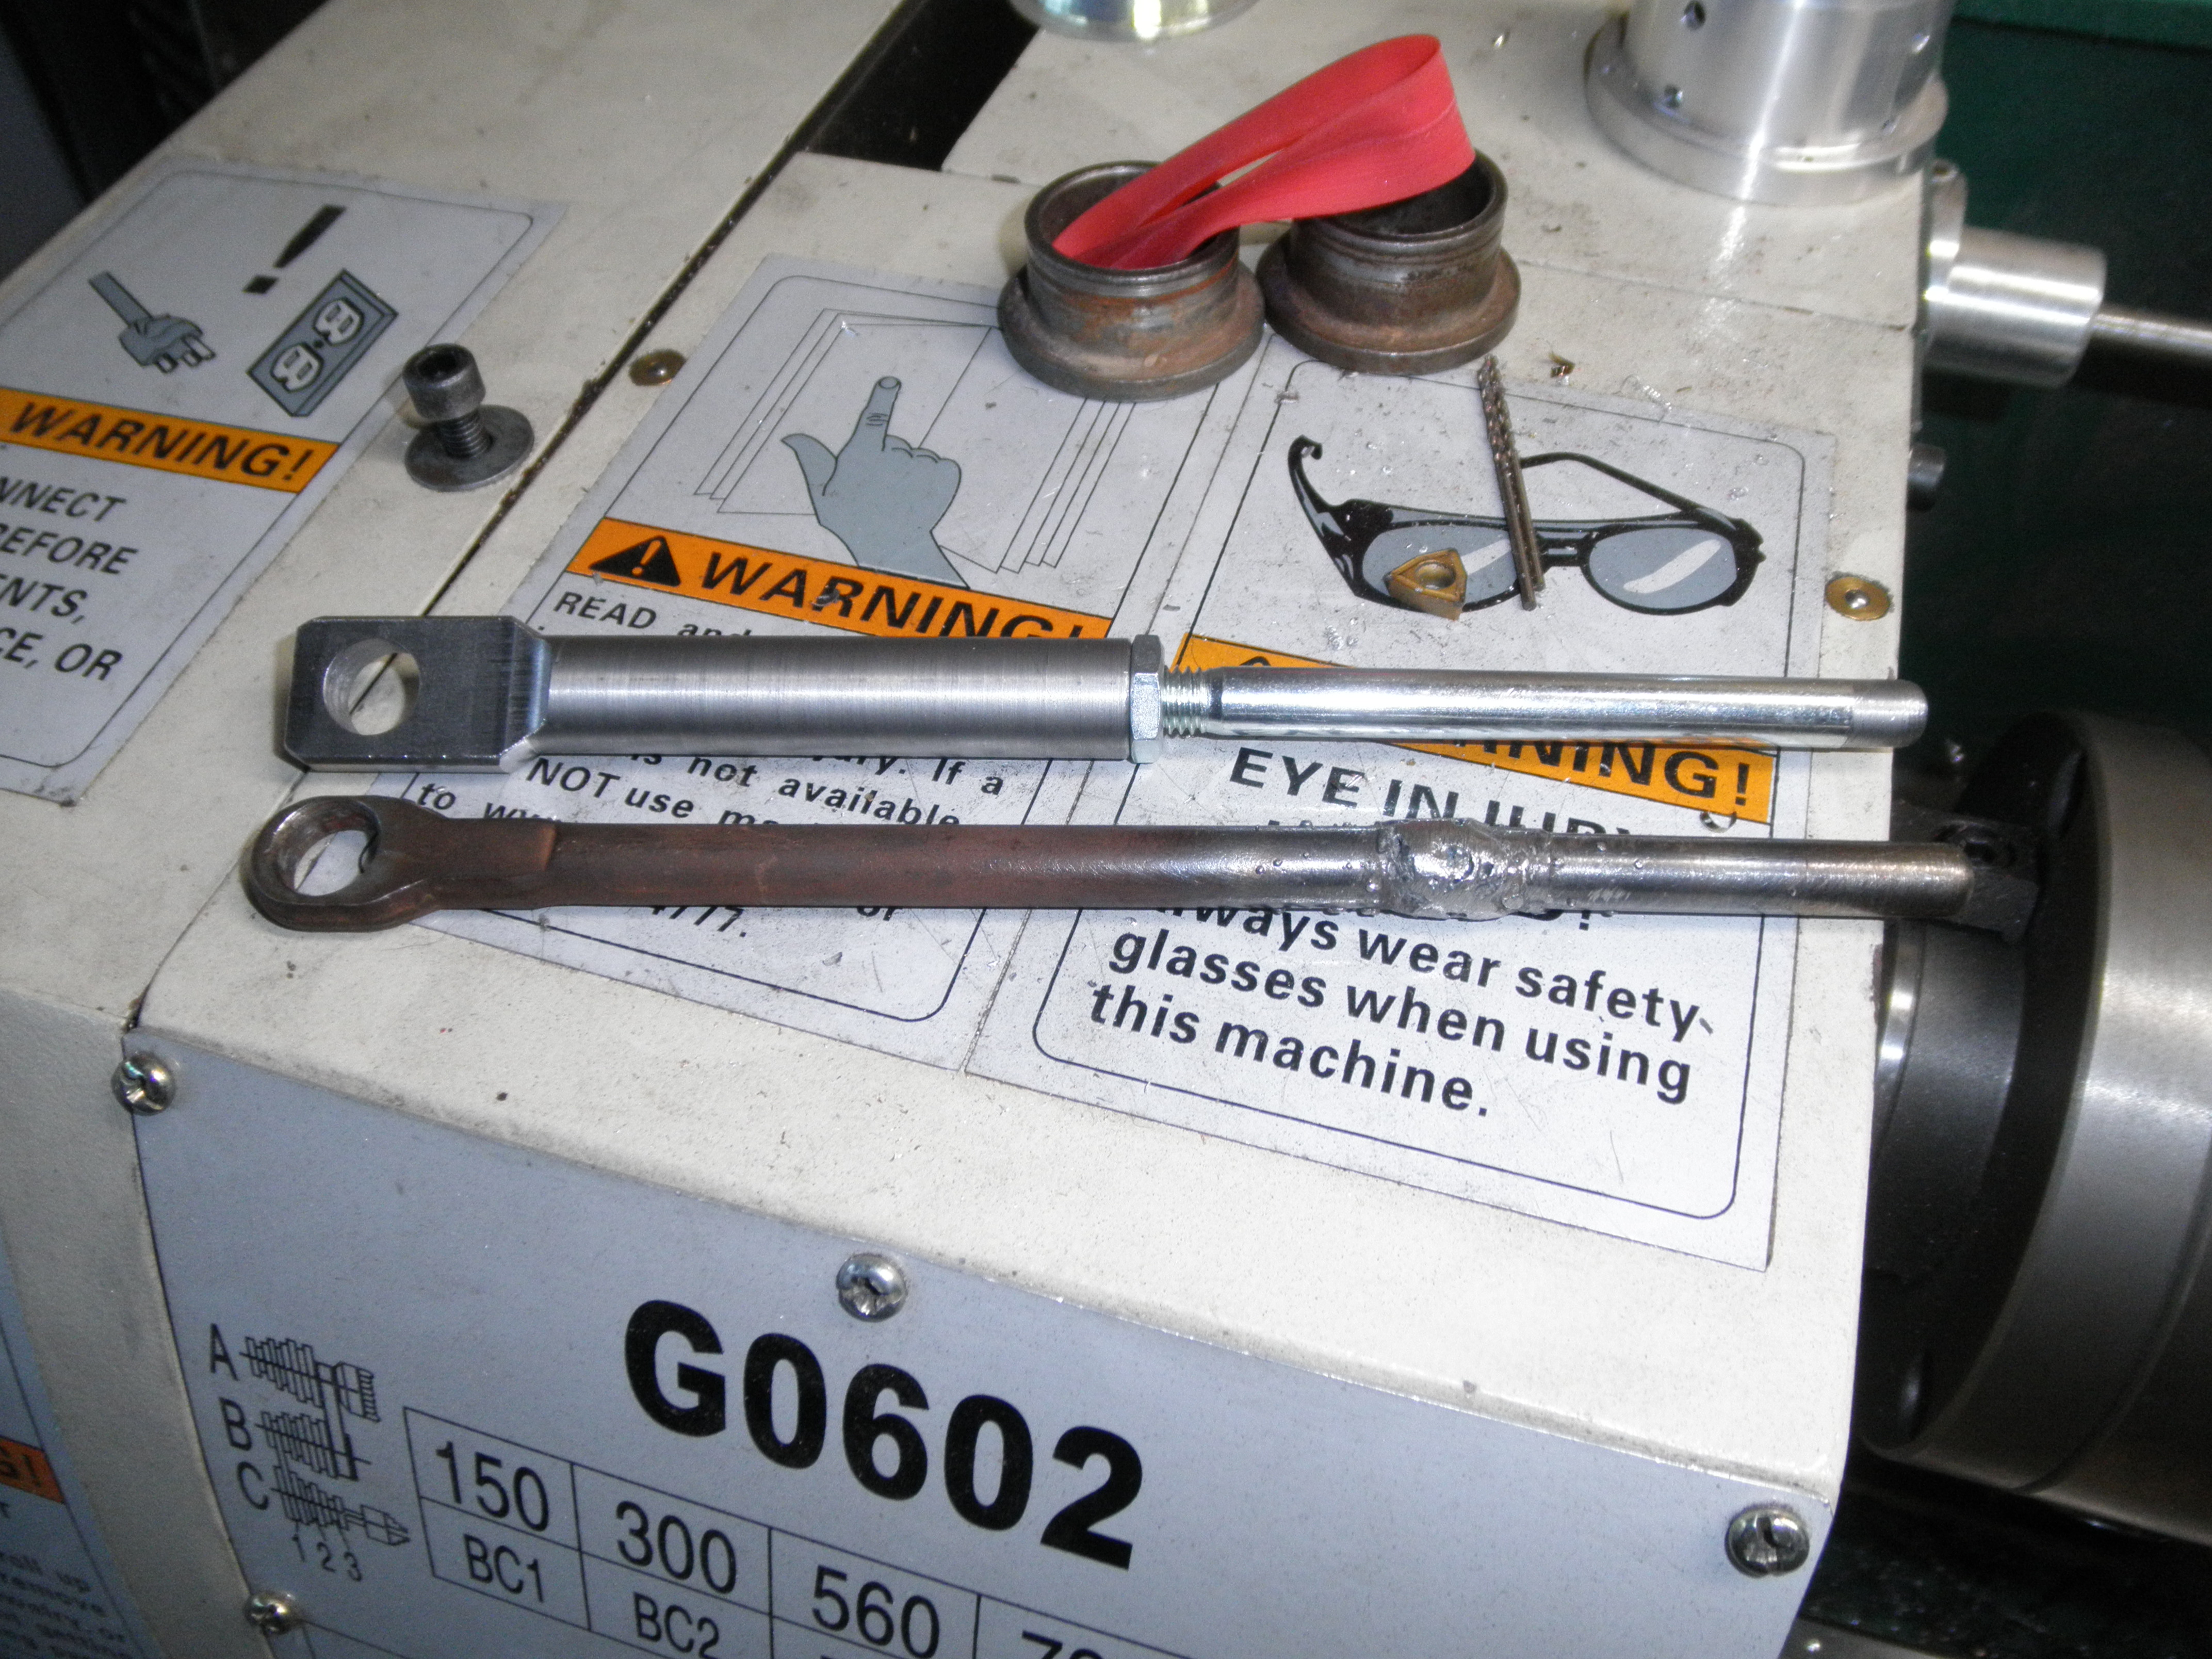
brake master adjustable pushrod for gbodies and s10
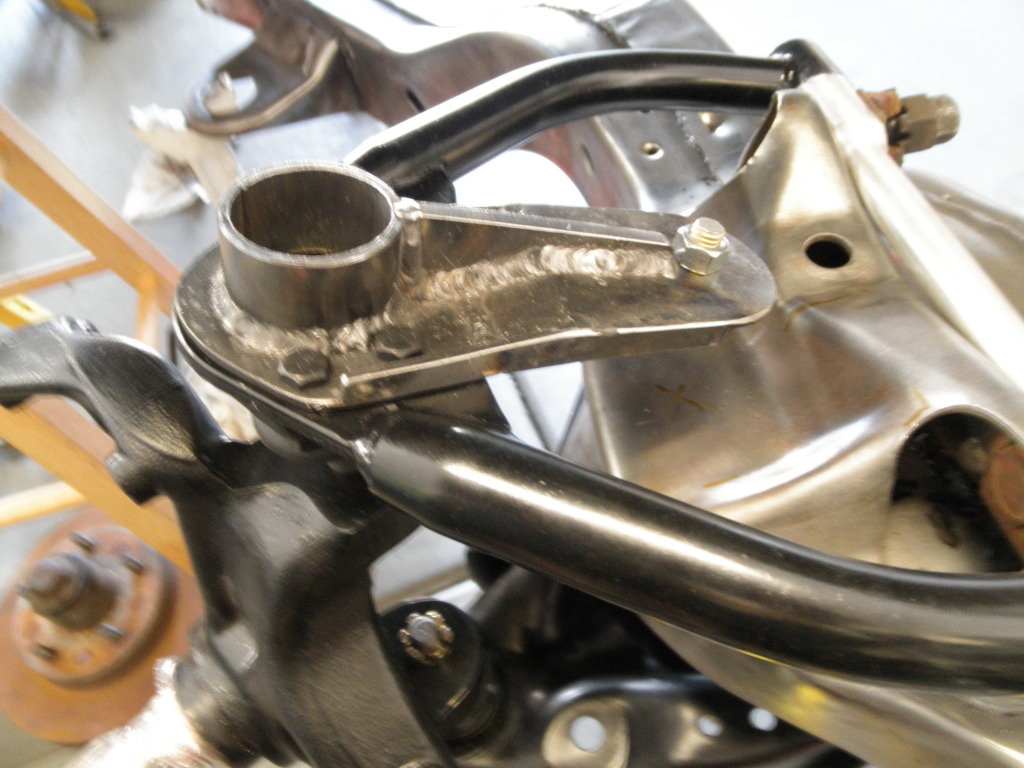
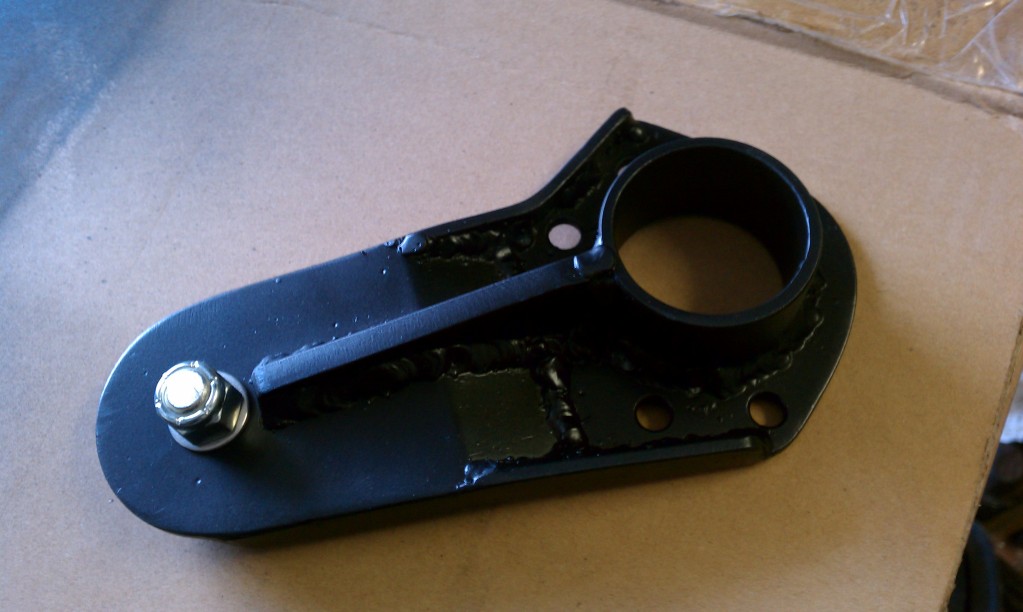
droop stop bracket for s10s with tubular uppers
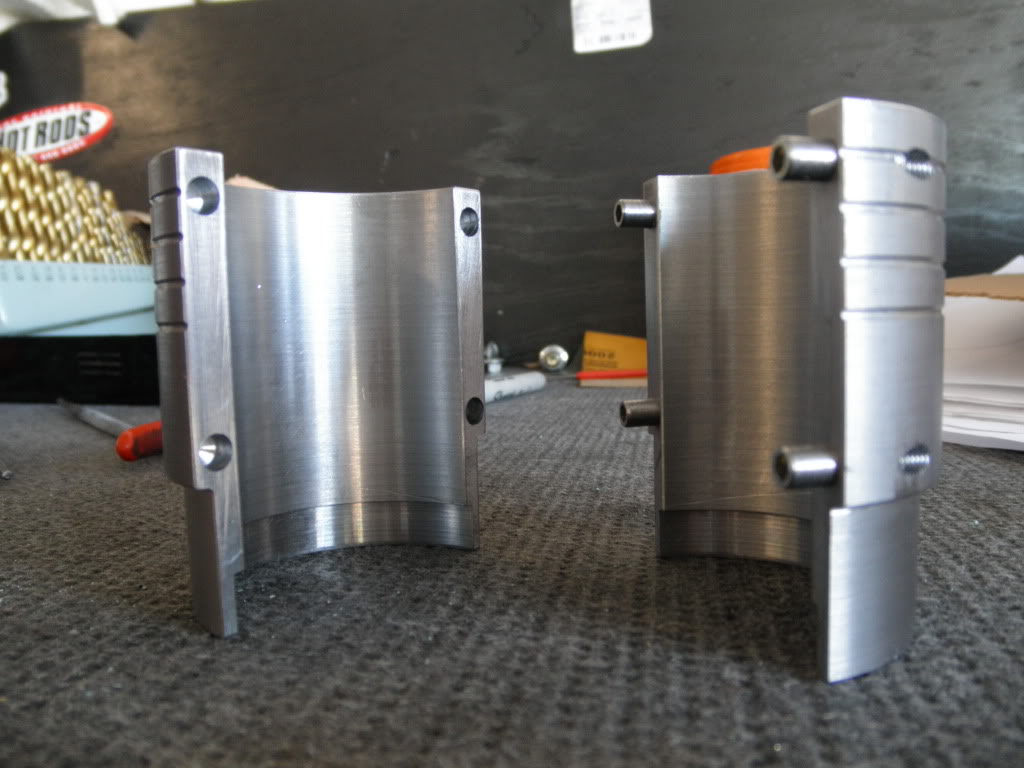
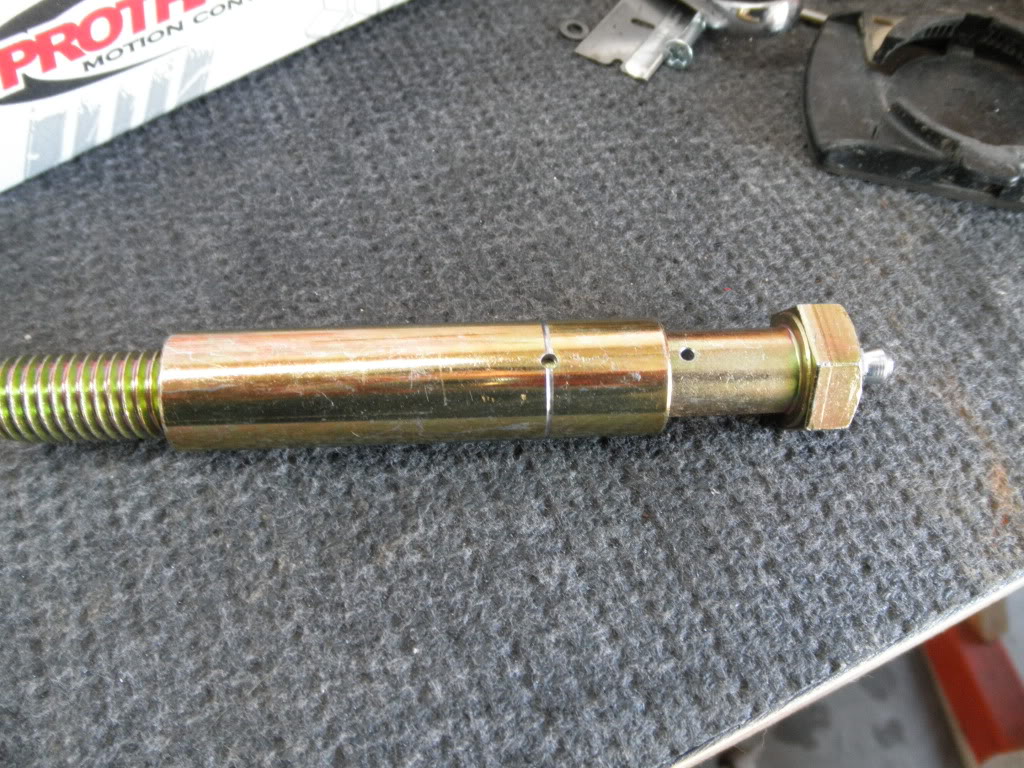
greasble pivot bolt for the urethane squeeks
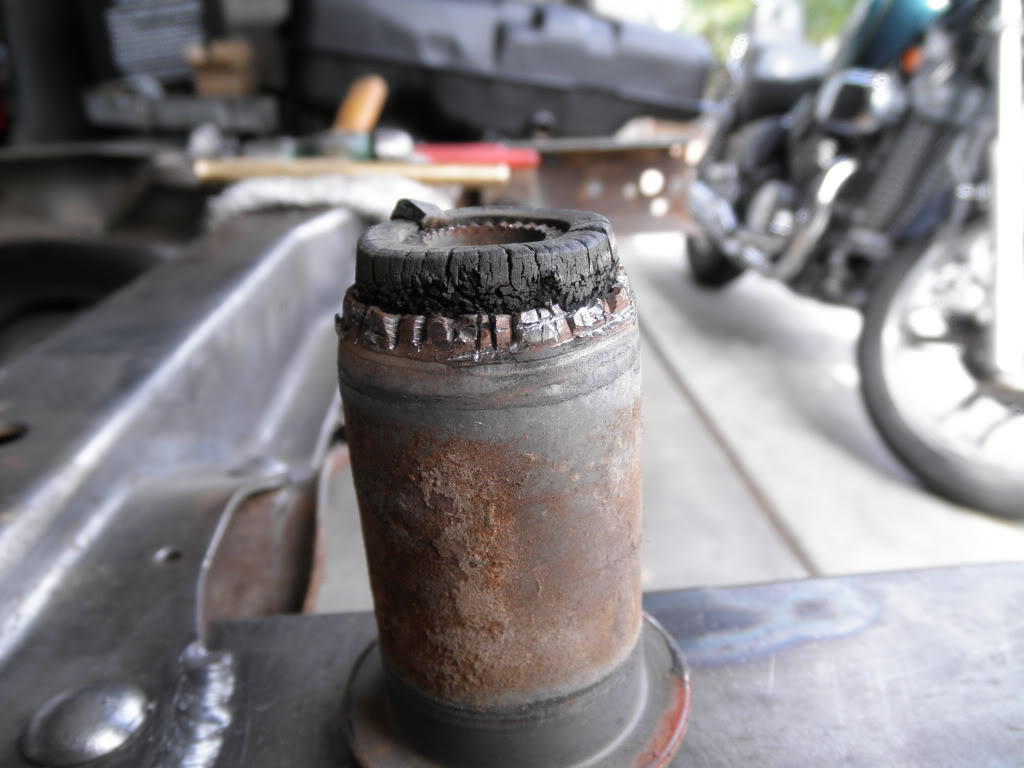
**** reusing the outer sleeve of the stock bushing. i make my own cuz im a badass
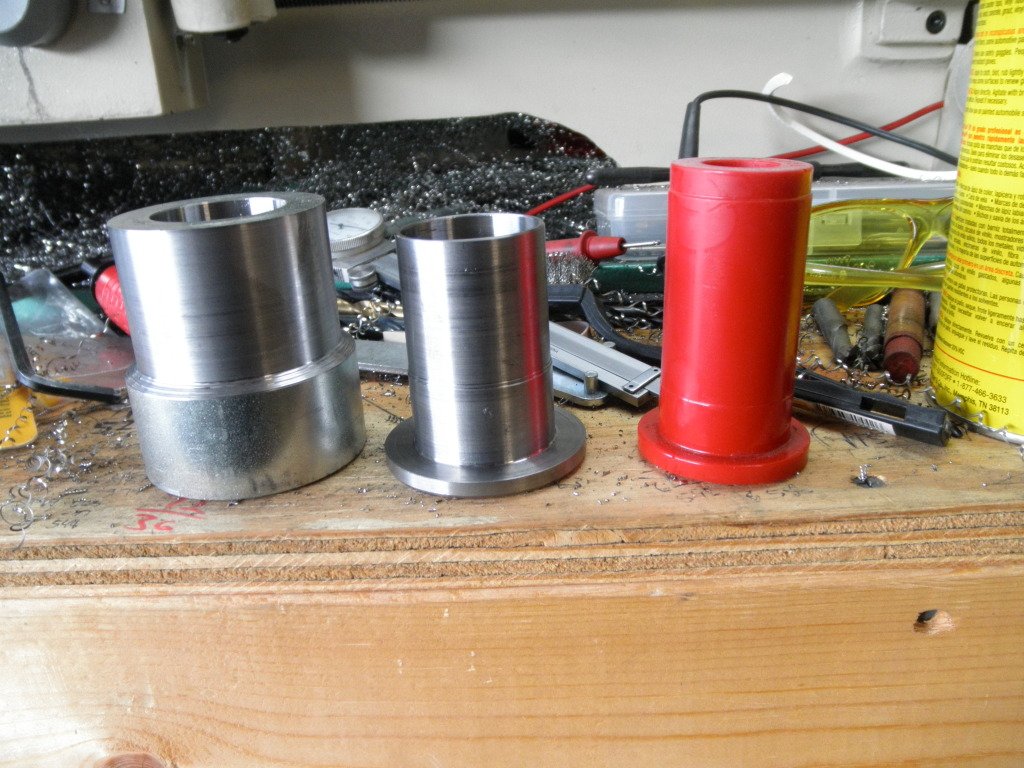
or maybe i just fuked up the stock ones before reading the directions?
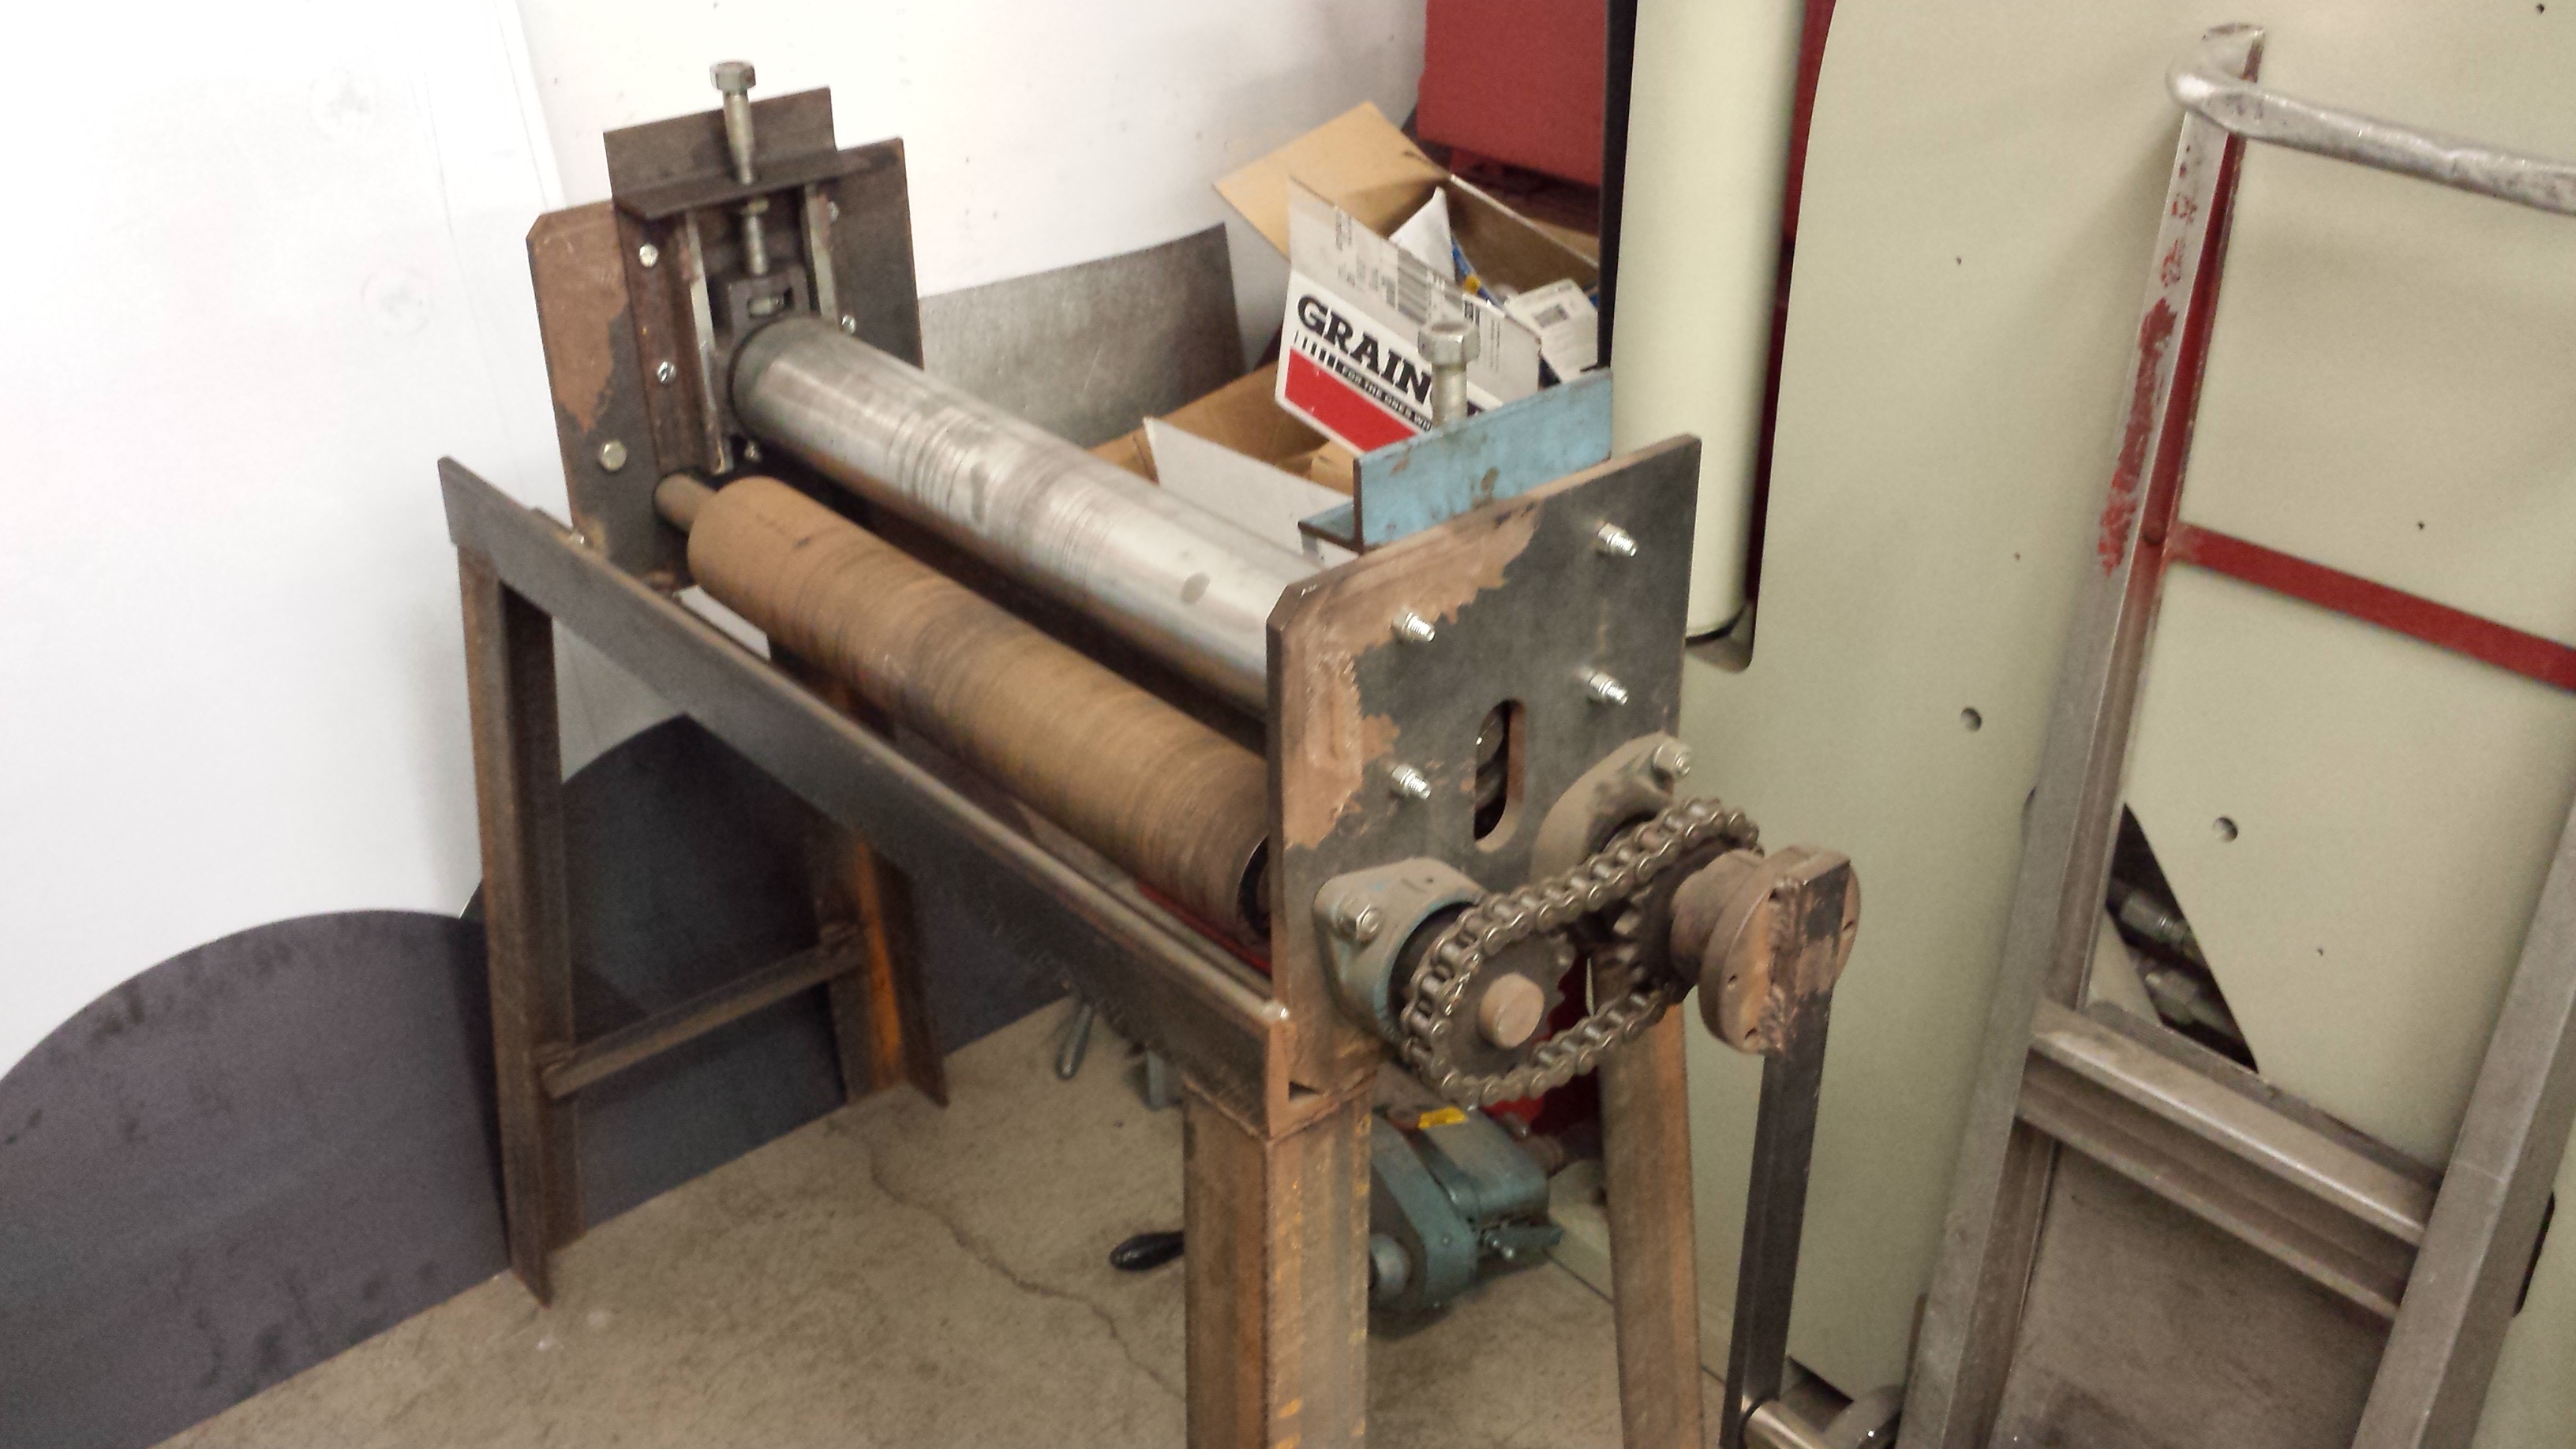
i cant take credit for this one. $10 sheet roller right next to the 100 ton nc press brake
one day i welded a bunch of rectangle tubing into larger rectangles
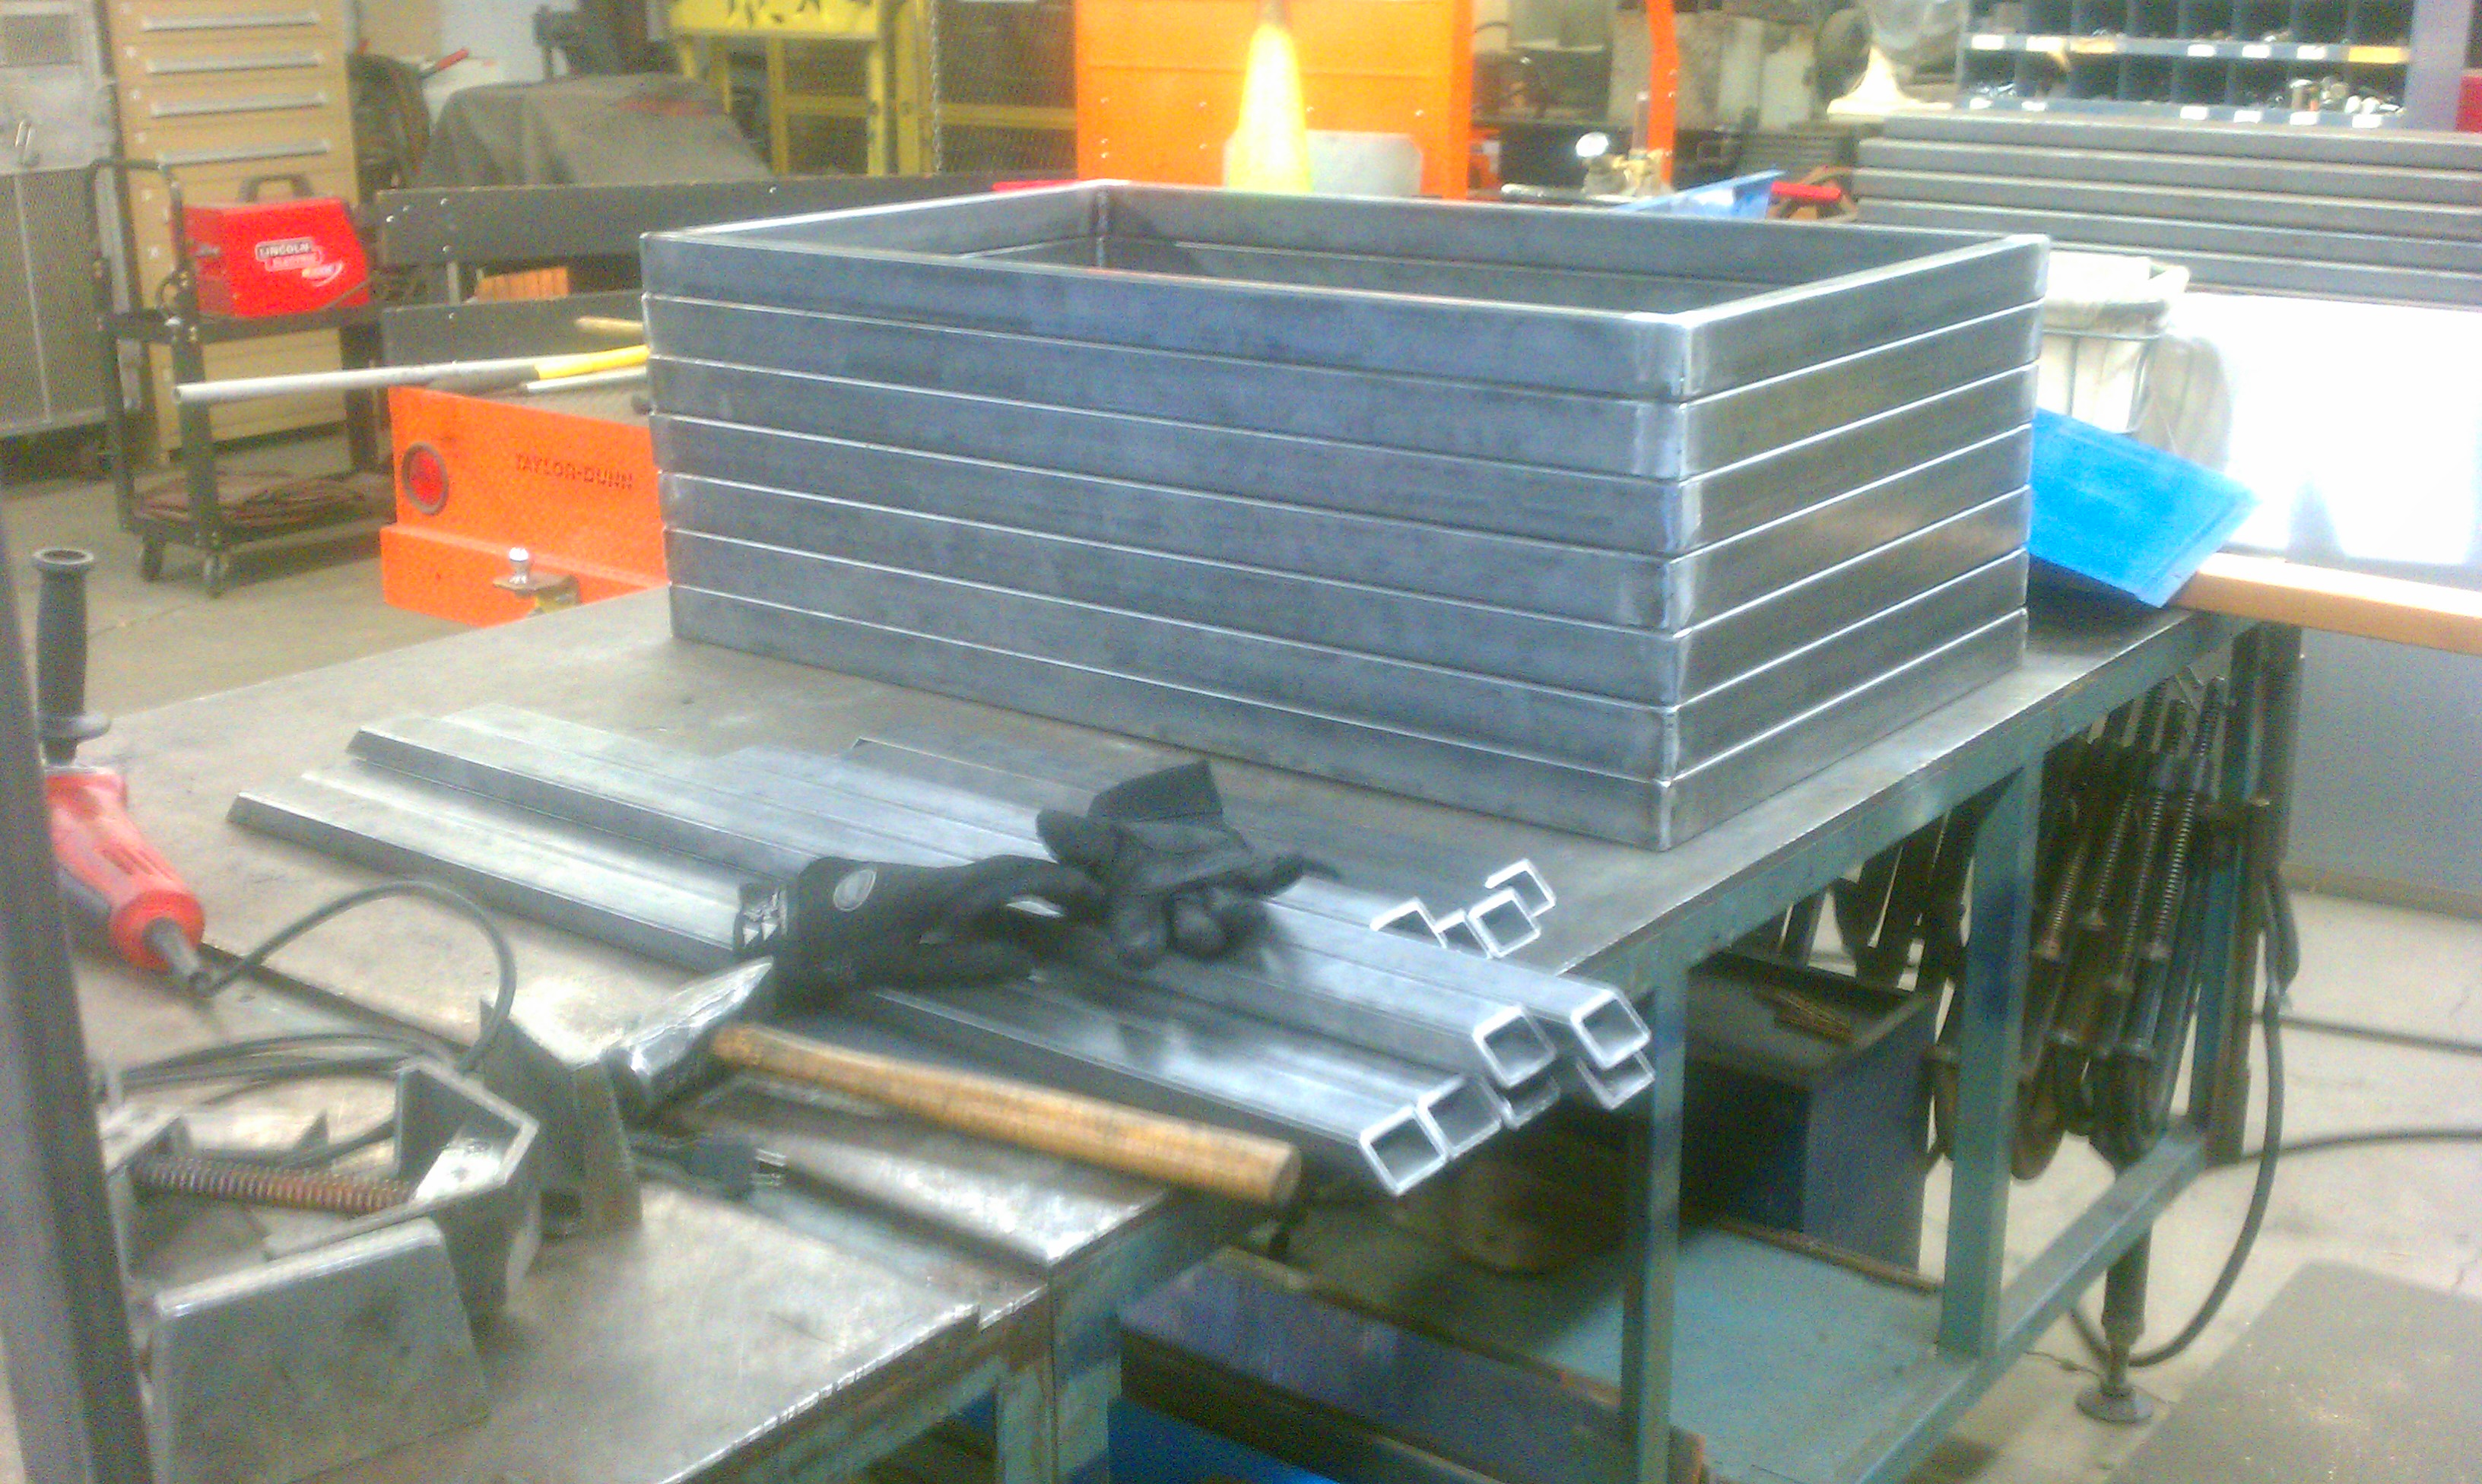
theyre actually base frames for portable conveyor belts i made for the governemnt...
helmet cam to roll bar mount

the kid i made, we call him izaak

tranny attachment (lol)

ive made a few v bands

1/4" ferrule for when my HF compressor decided to start leaking, didnt take long to see why

more drop blocks

emergency brake adapters for chevy s10 rear disc swaps
various awesome looking chips from the machine shop at work
ive always wanted to encapsulate these in acrylic for a nice paperweight
my fist day tig welding. best joint after about 2 hours of learing
one of the many tube amps ive built. this one is my personal hifi stereo amp
3", setback, angle drop blocks for s10 stance crowd who care about their drive line angles
dirt bike helmet lamp for night riding
dirtbike fork seal driver tool
s10 big front brake kits i make and sell in the s10 world
small block chevy water pump pulley to use short nose water pump with long nose accessories for rad clearance in sbc swapped vehicle, like my s10
custom gauge cluster for arp gauges in fist gen s10
brake master adjustable pushrod for gbodies and s10
droop stop bracket for s10s with tubular uppers
greasble pivot bolt for the urethane squeeks
**** reusing the outer sleeve of the stock bushing. i make my own cuz im a badass
or maybe i just fuked up the stock ones before reading the directions?
i cant take credit for this one. $10 sheet roller right next to the 100 ton nc press brake
one day i welded a bunch of rectangle tubing into larger rectangles
theyre actually base frames for portable conveyor belts i made for the governemnt...
helmet cam to roll bar mount
the kid i made, we call him izaak
tranny attachment (lol)
ive made a few v bands
1/4" ferrule for when my HF compressor decided to start leaking, didnt take long to see why
more drop blocks
Last edited by hi_im_sean; Jul 30, 2014 at 11:22 PM.
Reply
1
1

Joined: Sep 2005
Posts: 34,402
Total Cats: 7,523
From: Chicago. (The less-murder part.)
And the EX3 is actually the budget model.

The camera itself costs less then $10,000, and the whole package (including lens, shader, teleprompter, robotic head, etc) comes in well under $35k. An average US household could easily afford to purchase one every single year, assuming that they don't waste too much money on frivolities such as food, healthcare, housing, etc.
In the big studio, we have the expensive cameras. Sony HDC-1500s with nice Fujinon lenses and HDCU-1000 CCUs, sitting on brand new FHR-100 robots and Osprey pedestals. 'Bout $120k each, x5.
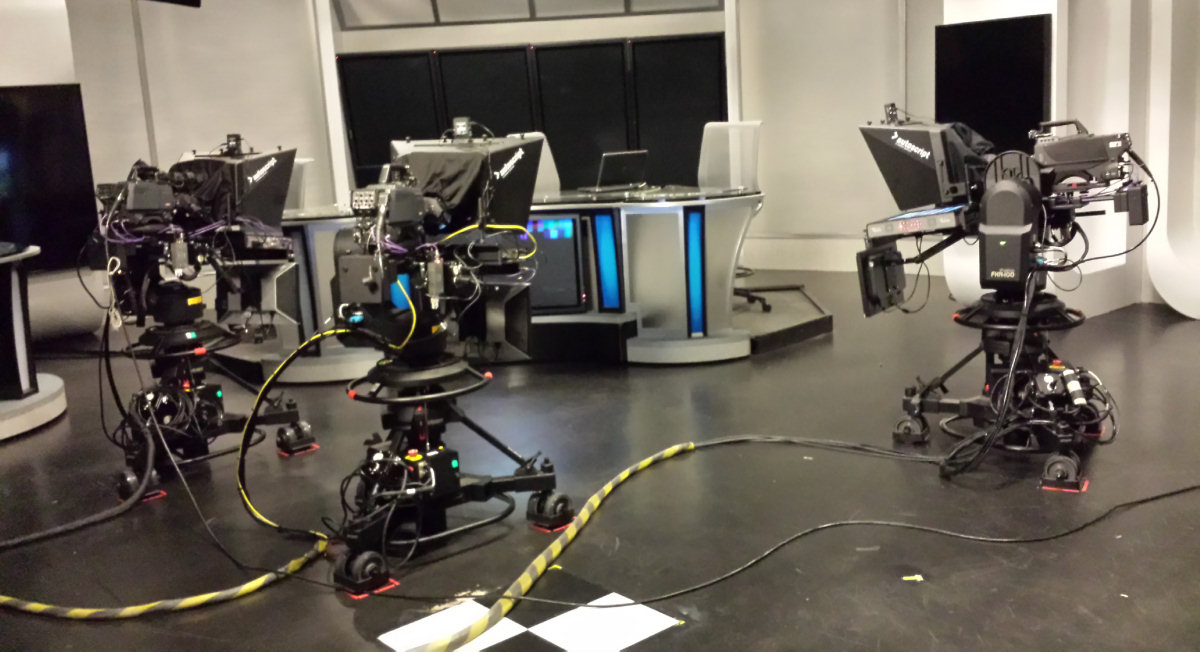
Cameras 1, 2, and 3 are shown here, 4 and 6 are similar. Cam 5 is the same HDC-1500 but on a jib (very expensive) and cam 8 is another lightweight EX3, but on a StediCam with an uncompressed, zero-frame-latency wireless system. Cam 9 is a basic "handheld" HDC-1500 on the same fiber network but with no accessories (no prompter, pedestal, etc) that's purely shoulder-mounted, used for things like close-up shots during the cooking segment.
The old cameras, on the old robots, in the old studio:

And very slightly older still:


Reply
0
0


On the bottom there's a CS8190 air core motor driver. I completely bypass the speedo driver circuit by putting tape over the leads on the flex circuit, and the four mounting standoffs actually make the new electrical connection to the gauge leads.
I take the input for the board from the squarewave speedo out signal (I actually messaged you about that a couple months ago I think), not the VR sensor. Originally I was worried about having to put a MAX9924 on the board as well, but the speedo out signal is perfectly conditioned for the CS8190.
It works really well other than jumping around during cranking due to noise (even though I thought I put a decent input filter on the speedo line).
It has a faster response time than the stock meter driver, though you can really only tell when the board is attached to the tach and you're revving the car in neutral

It was a really fun project, though obviously it has a pretty limited use case

Also: holy crap the people in here are awesome at metal working! I am not worthy!
Reply
0
0
Joined: Sep 2012
Posts: 4,560
Total Cats: 1,143
From: your mom's house phoenix, AZ
Reply
0
0
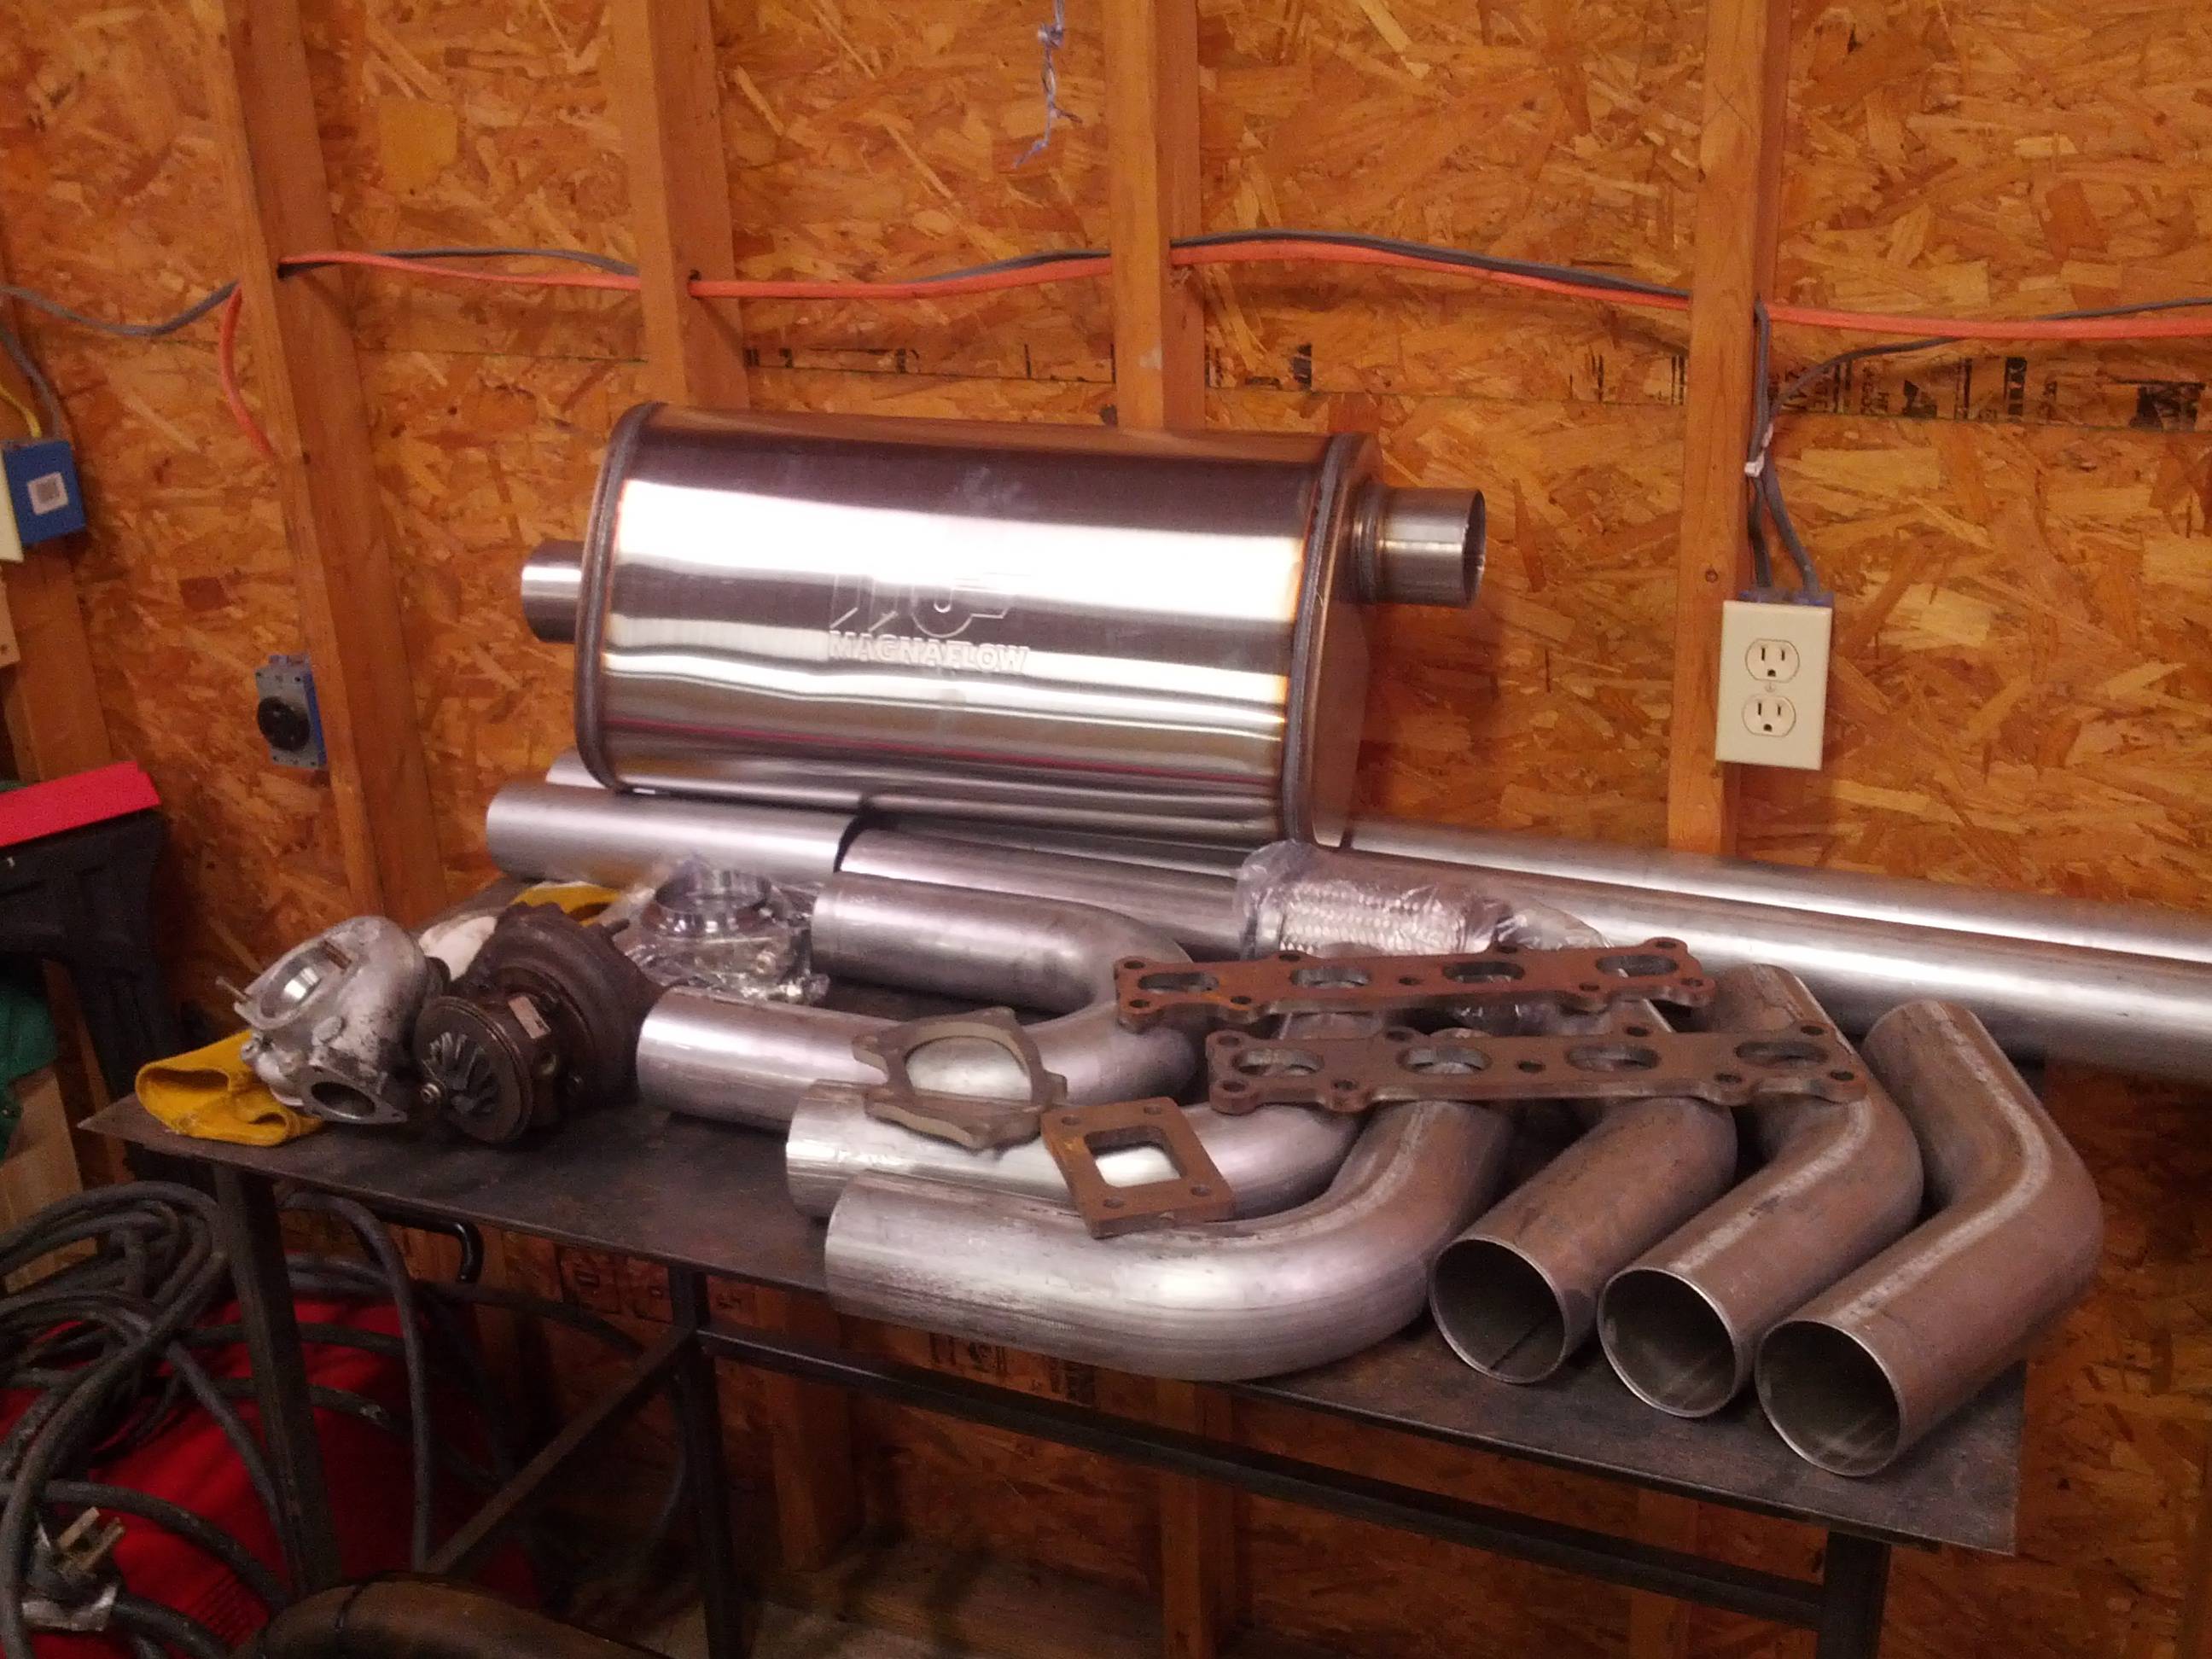

I only use 90 degree elbows, without legs, in a normal radius.
I cant see where you would need a tight radius in a Miata exhaust... the exception MAYBE would be someone putting one of those suitcase mufflers in (as pictured above), and needing it to be parallel to the bumper. Run the muffler 45 degrees to the car and you cut out bends making your exhaust flow better and you save a lot of headaches.
I cant see where you would need a tight radius in a Miata exhaust... the exception MAYBE would be someone putting one of those suitcase mufflers in (as pictured above), and needing it to be parallel to the bumper. Run the muffler 45 degrees to the car and you cut out bends making your exhaust flow better and you save a lot of headaches.
Reply
0
0
This is how I did a large muffler in a Miata without crazy bends. It looks fine from the back of the car too, being that its tucked at the bumper level.
 HellaFab Exhaust by HellaFab, on Flickr
HellaFab Exhaust by HellaFab, on Flickr
Reply
0
0
This car had flanged axles, no brace.
If you add a brace with the flanged axles, you just need a 45 up and another angle over to the muffler.
1 piece axles are the bomb though, get those.
If you add a brace with the flanged axles, you just need a 45 up and another angle over to the muffler.
1 piece axles are the bomb though, get those.
Reply
0
0
Manifold and downpipe done. Love this picture.
Shows the manifold and downpipe really well as well as the turbo brace.

HellaFab Vband Bottom Mount by HellaFab, on Flickr
More photos in my personal thread.
Shows the manifold and downpipe really well as well as the turbo brace.
HellaFab Vband Bottom Mount by HellaFab, on Flickr
More photos in my personal thread.
Reply
0
0

Reply
0
0


