
2jz Miata build thread


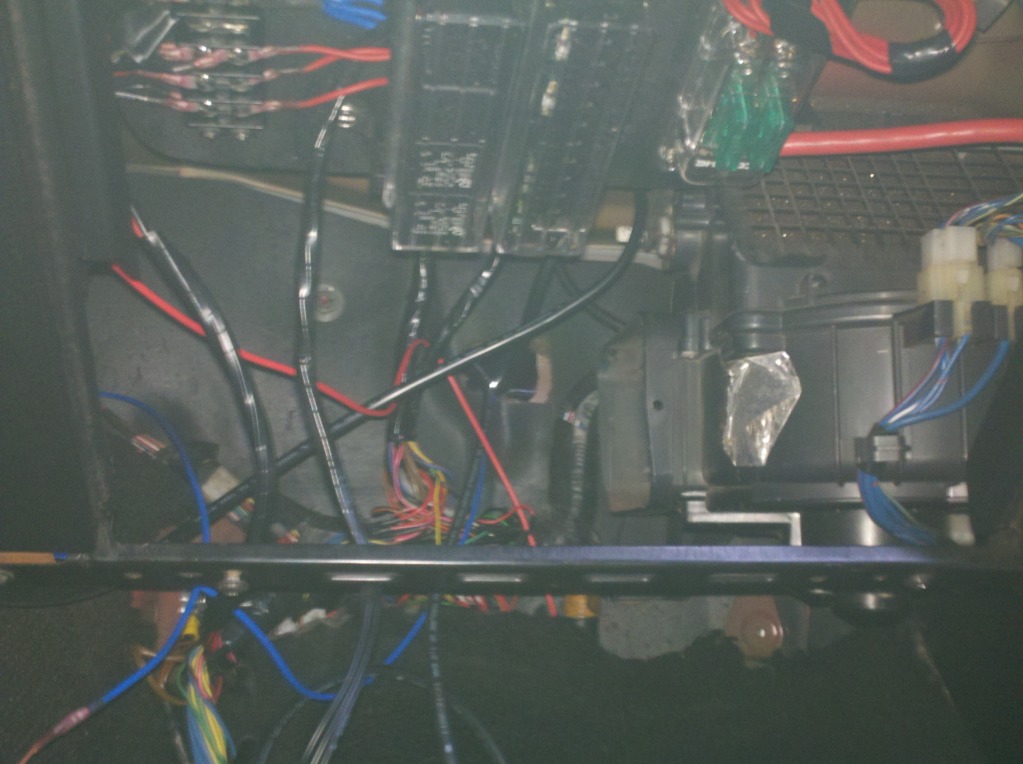
On another note I got some work done before the rain came in. It does not look like much but I managed to get all the extra miata wiring harness out of the car so only the wires that are needed are there. I ran all the lighting wires on the drivers side through the under fender area. It looks 100% better. If it does not rain tomorrow I will get the gauges all working so I can actually tune. I have everything to install my fan and fan control as well.
Reply
 0
0

0

Newb
Joined: Nov 2010
Posts: 42
Total Cats: 0
From: frederick md
Reply
0
0


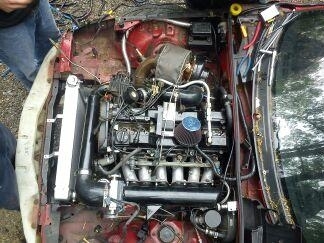
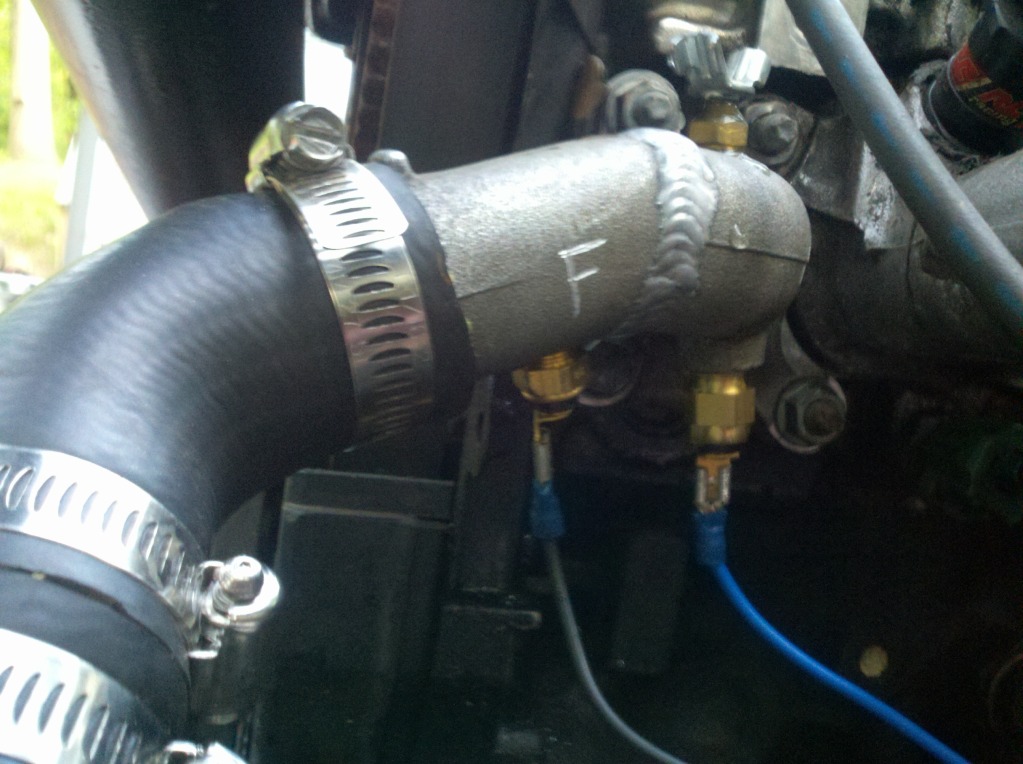
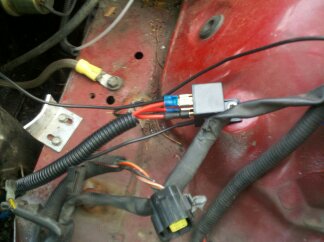
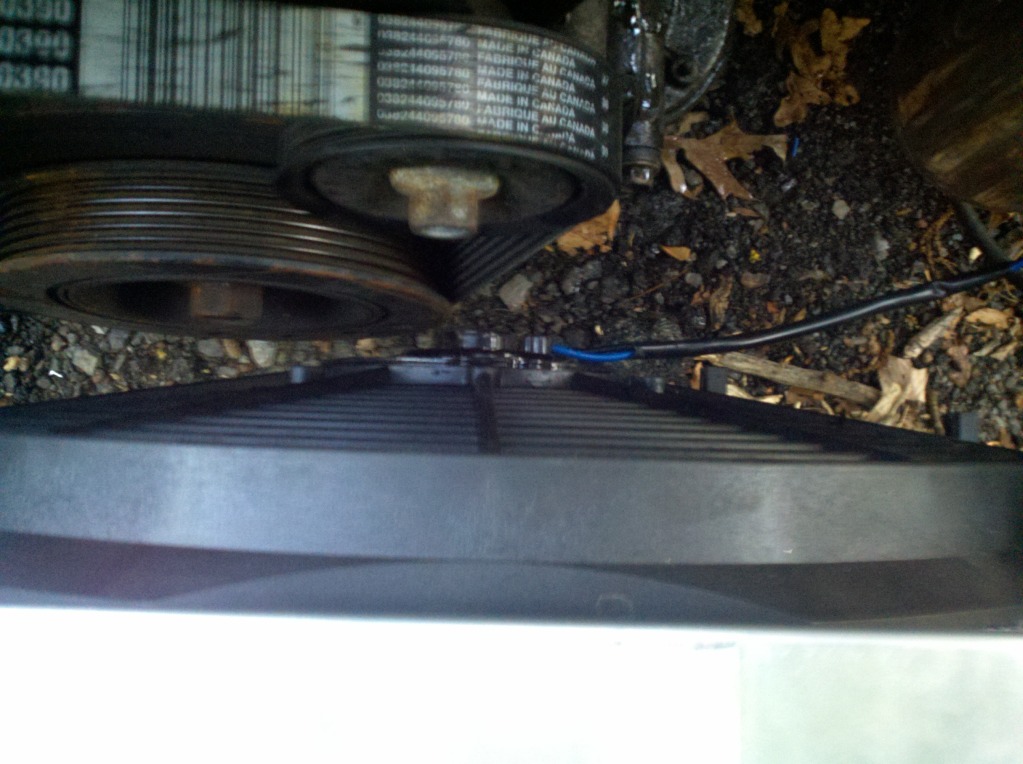
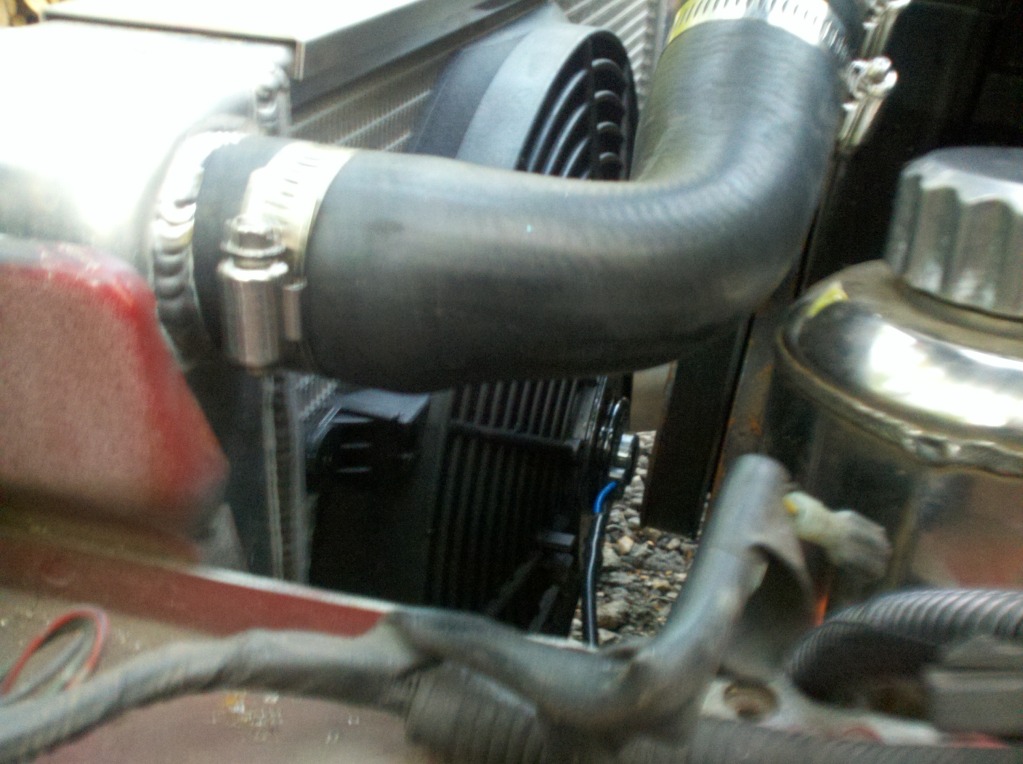
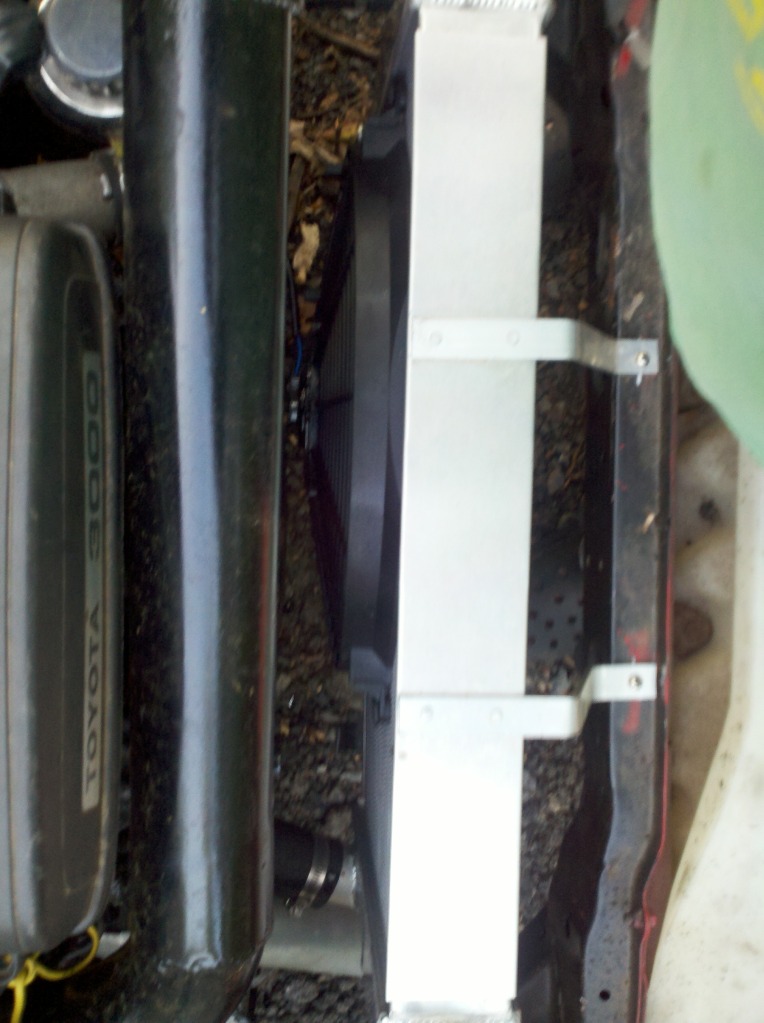
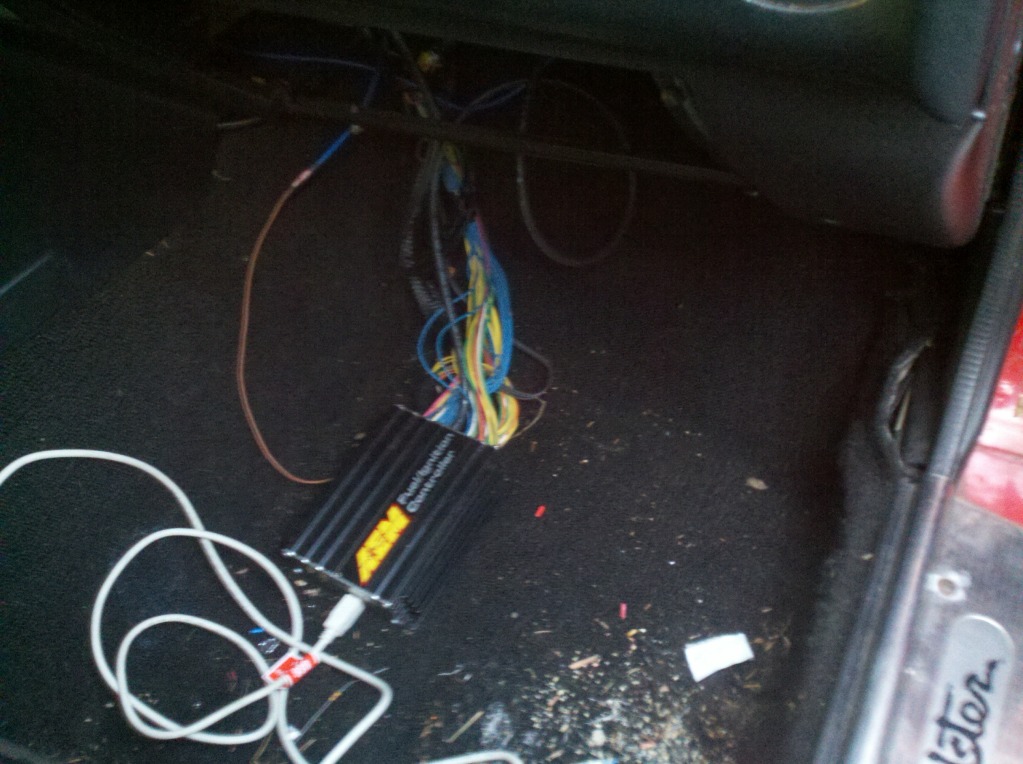
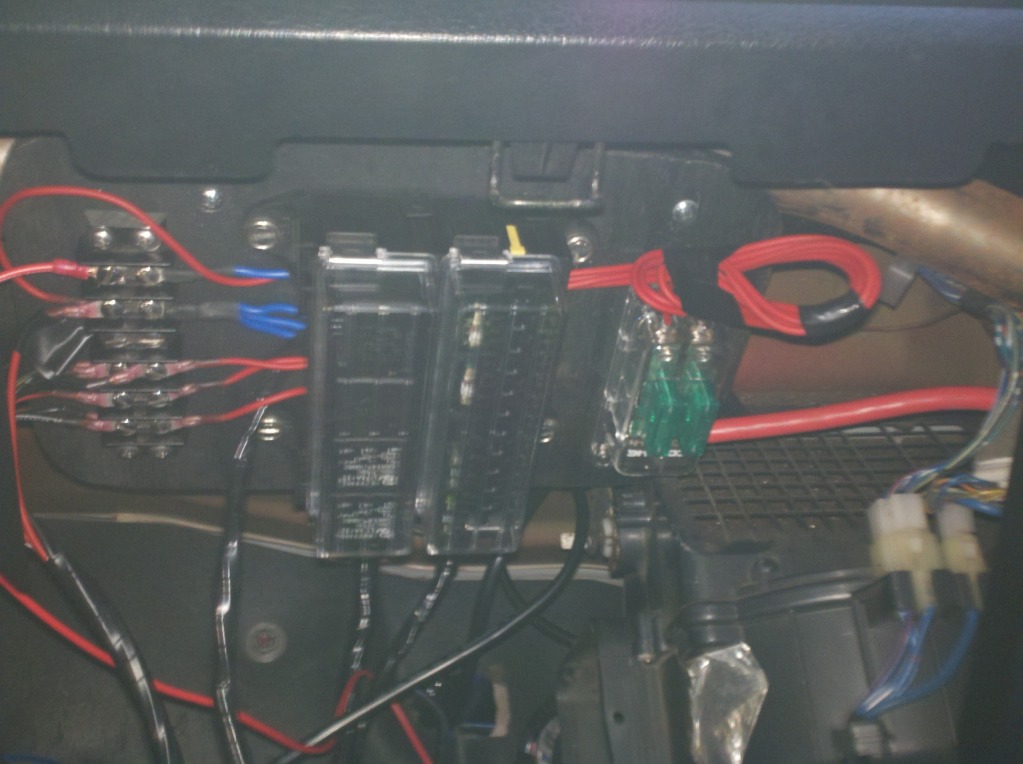
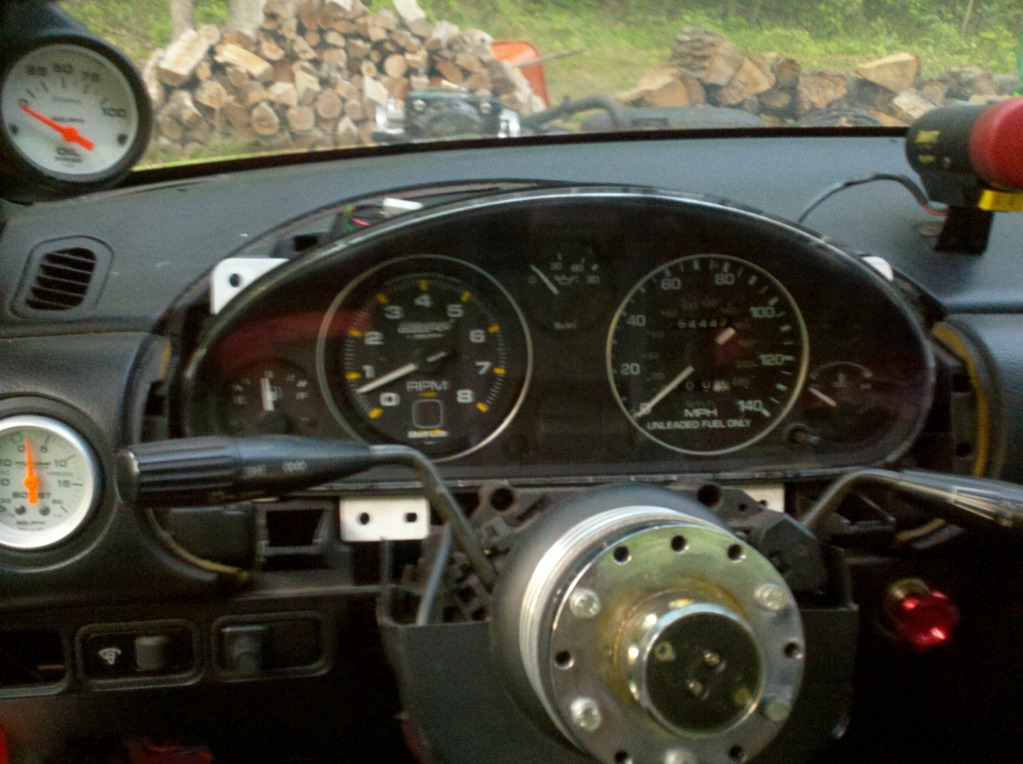
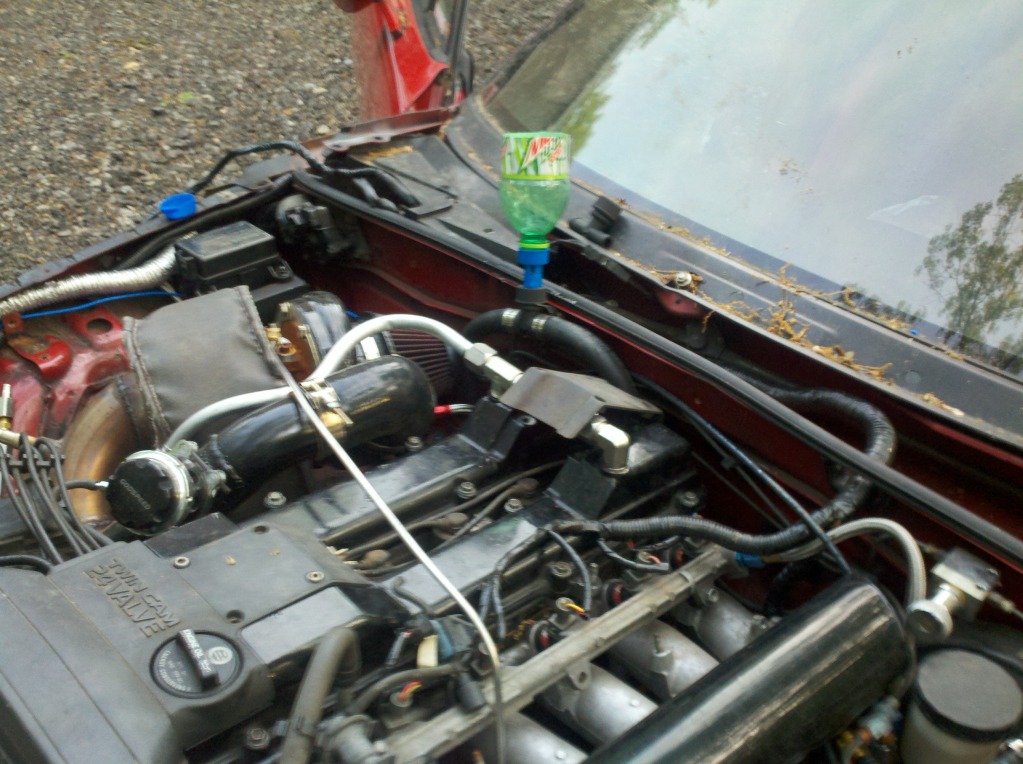
Ok so I go all my gauges working and installed, only gauge that does not work is the factory oil pressure gauge and I do not care about that one. I have removed all the extra wiring from the engine bay that I know of and it looks 1000000 times better kinda looks like a real car. I am still need to finish rerouting all the lighting wires in the fenders. I installed the new slim radiator 14" fan it is a close fit but it is in there and I need to test that my fan set up works. I installed a relay with a honda fan switch witch should go to ground at 195 degrees but it was late so I did not start the car. It will be nice if it works and cycles like stock that is the plan at least. I also picked up a stock miata coolant temp gauge and wired it up so I think the stock temp gauge will work as well. You can see in the one pic the two sensors mounted to the bottom of the water neck I used my dremel to mark one "F" for fan switch and one "G" for gauge they look identical so I had to do something. All the fuse box, ecu in mounted and under the carpet just need to mount the FIC. I feel like the car is really starting to come together for real this time so I can only hope it won't be much longer. Still need to mount diffuser, fenders, bumper, headlights, and possibly seats. I also need to really start to think about what I am going to do about a hood. Let me know what you all think sorry for the long story. I will have a couple short vids of the gauges tomorrow.
Cleaned up engine bay

Wiring I removed from engine bay

Temp sensor and fan switch
Fan relay need to find a better mounting spot.
New hella awesome radiator fan
Passenger side floor looks usable for the first time in two years!!!!!!
Cleaned up engine bay
Wiring I removed from engine bay
Temp sensor and fan switch
Fan relay need to find a better mounting spot.
New hella awesome radiator fan
Passenger side floor looks usable for the first time in two years!!!!!!
Reply
0
0
Fuse box mounted up under the dash
New and improved gauges and gauge cluster looking super race like
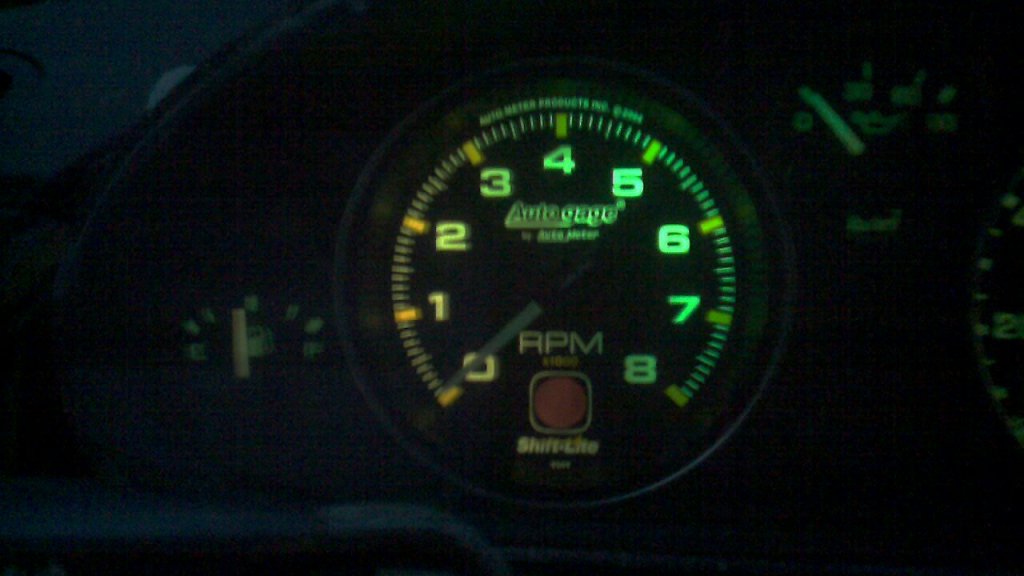
Autometer tach back light in stock gauge cluster. looks pretty darn good.
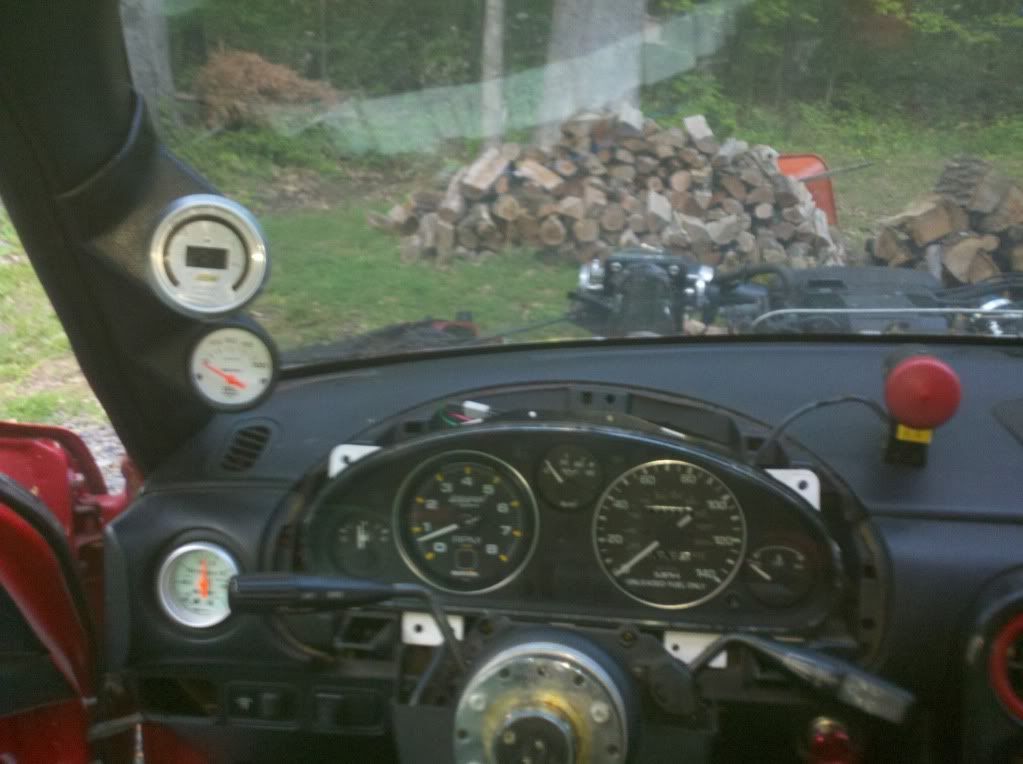
Engine bay looking almost presentable. With awesome coolant filler.
New and improved gauges and gauge cluster looking super race like
Autometer tach back light in stock gauge cluster. looks pretty darn good.
Engine bay looking almost presentable. With awesome coolant filler.
Reply
0
0
Had the car running this evening to check all the gauges and things. Good news all the gauges work and the fan cycles on and off with the switch like stock. I feel like it is finally going somewhere.
Last edited by Sean; Apr 30, 2012 at 09:56 PM.
Reply
0
0

I really like what you did with the tach! I have been planning to do something similar but havent found a tach I like until now.
Im thinking of using the one that is similar but without the shift light. Were the wires similar enough to the stock tach to just wire onto the OE connections? Also, what did you use to seal up the gap on the sides of the tach?
Im thinking of using the one that is similar but without the shift light. Were the wires similar enough to the stock tach to just wire onto the OE connections? Also, what did you use to seal up the gap on the sides of the tach?
Reply
0
0
I really like what you did with the tach! I have been planning to do something similar but havent found a tach I like until now.
Im thinking of using the one that is similar but without the shift light. Were the wires similar enough to the stock tach to just wire onto the OE connections? Also, what did you use to seal up the gap on the sides of the tach?
Im thinking of using the one that is similar but without the shift light. Were the wires similar enough to the stock tach to just wire onto the OE connections? Also, what did you use to seal up the gap on the sides of the tach?
Ok so the wiring was straight forward you can run the wires out the back of the cluster and I used ring terminals to attach to the stock ground, power, and signal locations. There is also a white wire for illumination that comes out of the tach that I removed because I just let the back light in the factory dash do the job. I used super high temp hot glue 850 degree to glue everything in. I will also tell you in advance you have to do a good bit of trimming around where the airbag light and headlight's moving light are.This didnt bother me I just eliminated them all together. I also had to completely disassemble the tach so it was just the face and circuit board and then mounted it. I used a delrin ring turned down to fit into the gauge cluster hole and then put a recess in it that the gauge face snapped into. It fits perfect when all said and done. I would have gone for one without a shift light but I bought this one used for $20 so I could not complain.
Reply
0
0
Does the A/C removal thing hose w/e (the one that connects blower to heater unit) fit with the fuse box in there?
I want to do the same but with the stock fuse box. There's a ton of room there once you remove AC, lol
I want to do the same but with the stock fuse box. There's a ton of room there once you remove AC, lol
Reply
0
0
My car never came with A/C just a heater. The fuse box fits with the stock heater box and hose that runs from the blower motor to the heater box. I assume if you remove the A/C you will have even more room and my fuse box is huge compared to the stock one. If you want next time you make it to summit point just come by and take a look at it.
Reply
0
0
Awesome! I see what I was seeing earlier too, It looked like you used plastic to enlarge the gauge by just a fraction, but thats actually the bezel, So I kinda answered my own question there. Is the glue necessary? I plan to be in the gauge cluster at least twice and if I can avoid gluing it the first time, then I am that much better off.
Reply
0
0

Ok so I did some tuning on the car tonight I really want to get the idle and start up dialed in before I do anything else with it. I hate having a car that will not start and idle nicely. First off I had to drill a new hole in my throttle body pulley so the throttle cable would work correctly. Then moved on to calibrating the fic and tunning. I was able to get a really stable idle at 1200 rpm but there is a really harsh cross over between 1200 and 800 rpm one the 1200 side it is -80%/-90% somewhere in there on the 800 side it is only -50%/-60%. I am starting to learn why people do not like piggy back systems. It is working but it is a pita to get it right. Good news is after about an hour of messing with it. It will start up nice hold 1200 rpm at 12.5-13.2 A/F but still need to smooth out the 800-1000 rpm area. It stumbles to 10.0 at some points and pegs 16.0 at others so with time I am sure it will be fine. On another good note after nearly and hour and a half of idle / low rev it did not ever go past half on the temp gauge and the fan cycled on and off about 5 times so I am really happy with that.
Reply
0
0

I removed everything related to the factory mazda engine and air bag system. As well as the wiper system. I left all the lighting and the factory fuse box. I was able to cut all the wire covering back and separate the lighting from the rest and just cut away. The only thing I did not want to cut is two ground wires near the factory fuse box I left those be.
Reply
0
0


