
Building a blonde young beefcake wearing nothing but skimpy shorts named Rocky


The intake has been taken care of, you say my wastegate is good to go, the only thing left is my bov. Which I actually think it is 1/8 npt, I may be all set. I'll have to order up the kit and see.
Reply
 0
0

0

Nice work, Bryan!
Earlier I posted you were running ALLOFIT. Now that Fae's unbanned, this is entirely inappropriate. Can't wait to see what ABUNCHOFIT does on a real dyno.
Earlier I posted you were running ALLOFIT. Now that Fae's unbanned, this is entirely inappropriate. Can't wait to see what ABUNCHOFIT does on a real dyno.
Reply
0
0

Thread Starter
Senior Member
iTrader: (7)
Joined: Sep 2009
Posts: 754
Total Cats: 68
From: Royal Oak Michigan
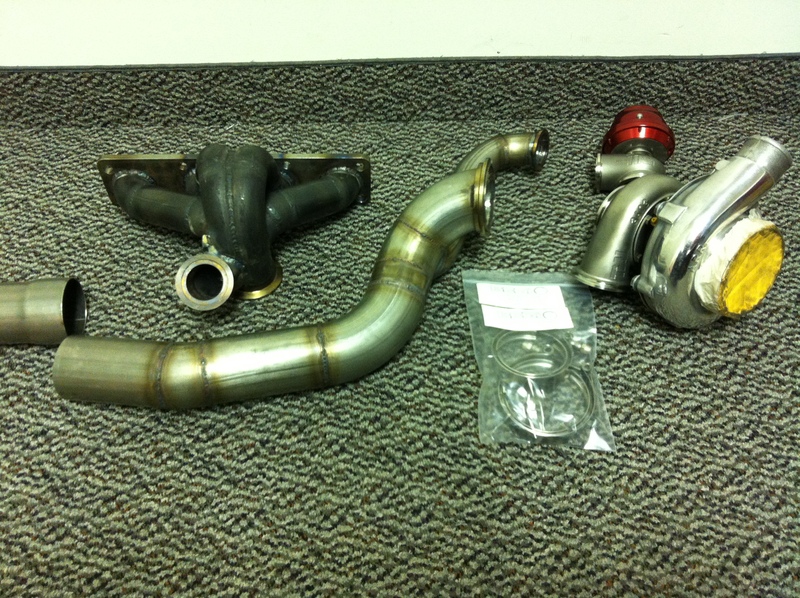
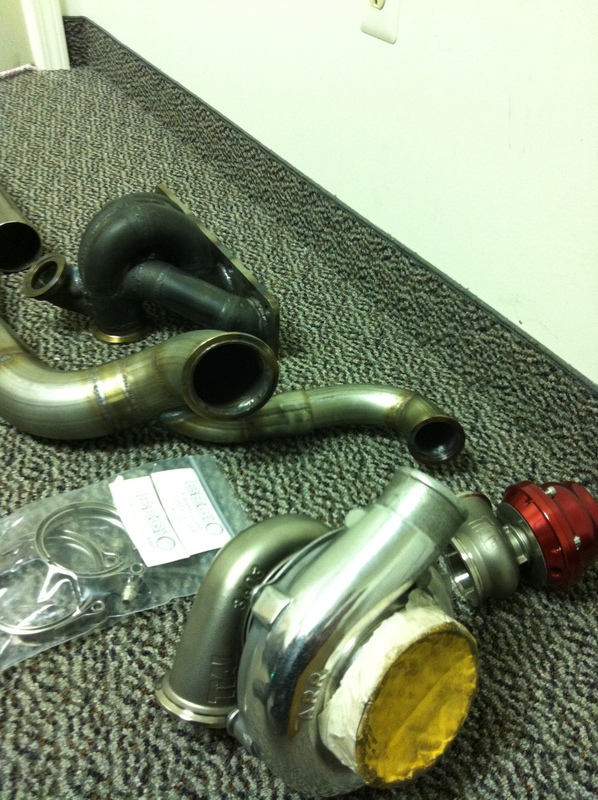
My parts showed up today. Santa Claus is black and works for UPS by the way.
I also went and picked up my wheel from my wheel repair guys:
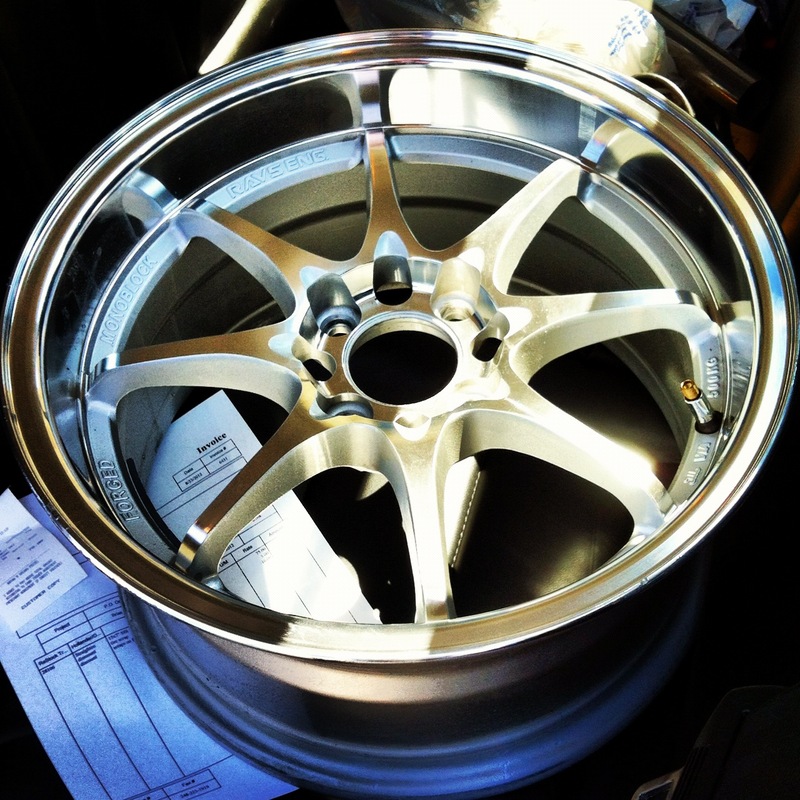
I'll head out tonight to start fitting everything.


I also went and picked up my wheel from my wheel repair guys:

I'll head out tonight to start fitting everything.
Reply
0
0
Reply
0
0
Joined: Oct 2011
Posts: 5,732
Total Cats: 830
From: Detroit (the part with no rules or laws)
You had restock wheels do that wheel? They did work on mine, got a bent on center rim back to normal. They do great work, and have great machinery. They even gave me a tour of their shop. +1 for them.
Reply
0
0
Thread Starter
Senior Member
iTrader: (7)
Joined: Sep 2009
Posts: 754
Total Cats: 68
From: Royal Oak Michigan
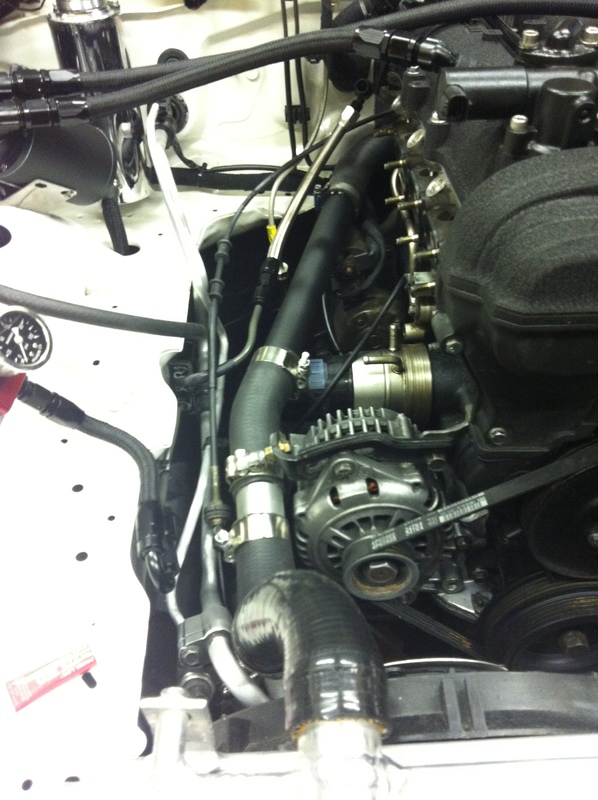
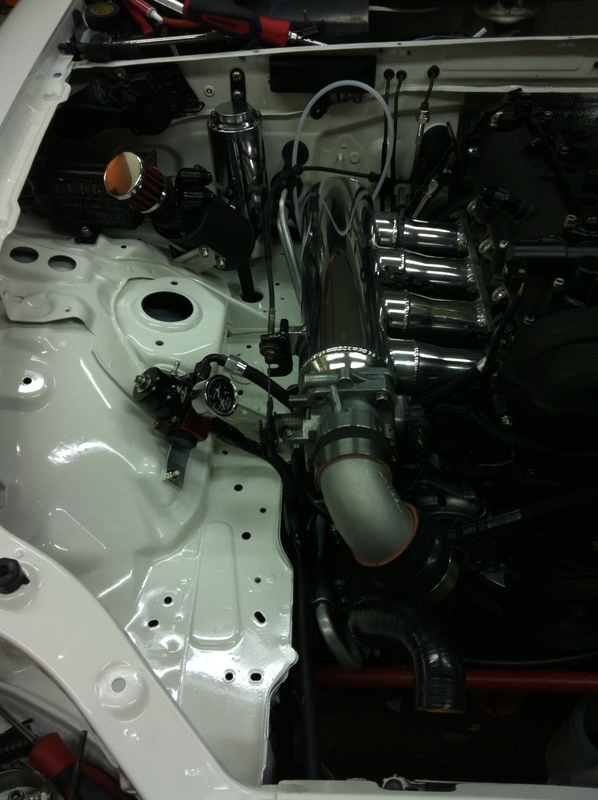
I mocked everything up to become familiar with the layout and to see if any major problems with the setup would come into play. Glad I did� Power steering must go. I�ll be fabricating something to keep my Air Conditioning. A tensioner will need to be created to be used with a smaller belt as the power steering assembly acted as the current tensioner. You can see I mocked up one of the coolant lines. Not super happy with this routing so it will be changed to run under the turbo and away from the manifold. With stainless lines I need to be very conscious of rubbing as they will (and have) wear through things.

I�ve decided to use the port in the side of the block for my coolant. I�m also switching to AN lines so here they are mocked up.
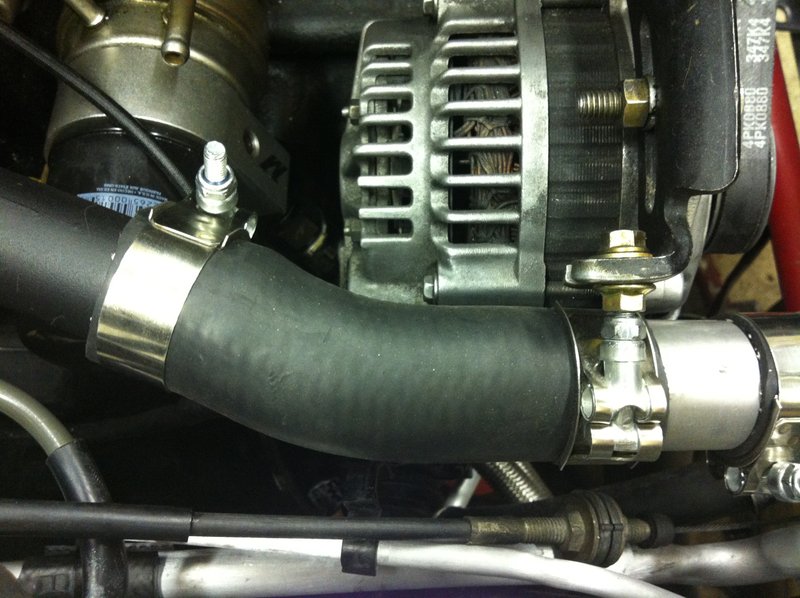
For the coolant reroute I wanted something clean and reliable. I went and picked up the 2002 Tahoe radiator hose that most people use, then I chopped it up. You can see that there is hard pipe in the middle- that�s actually my old recirculating valve hard pipe, just so happened to be the right size for the job.
Then I used a slight elbow and mounted it to the alternator bracket using a t-bolt clamp. I have had my tension set bolt removed for months so this was convenient. I used locking nuts with loctite. The assembly sits here comfortably with it unbolted but this was just for some added insurance.
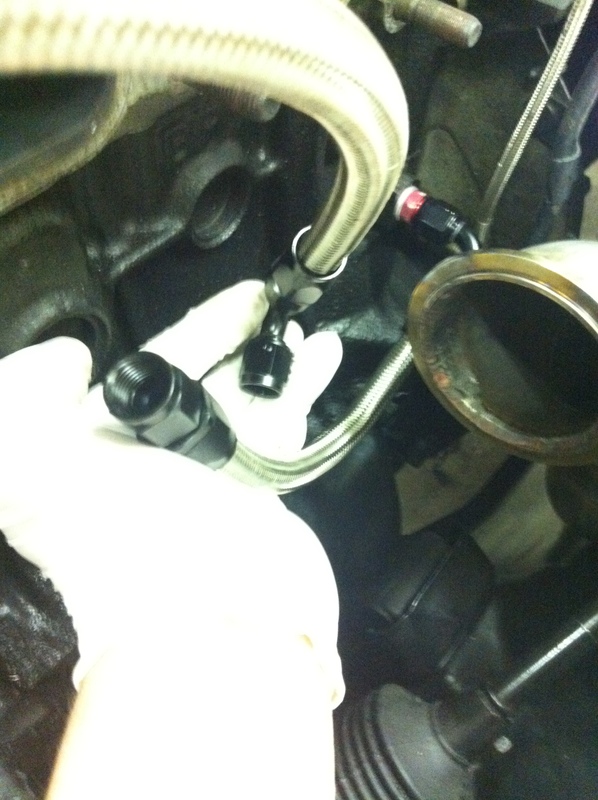
Next was my fuel setup � I converted the fuel lines to AN using the adapter shown here:
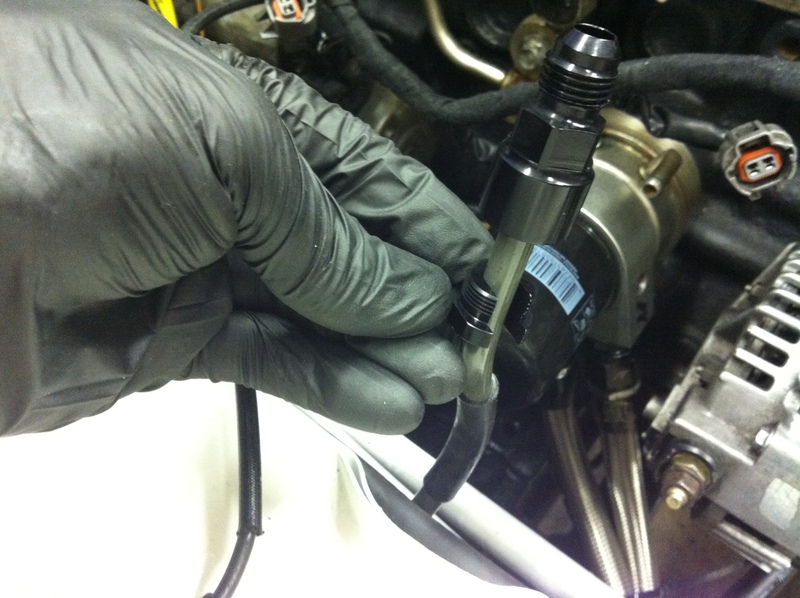
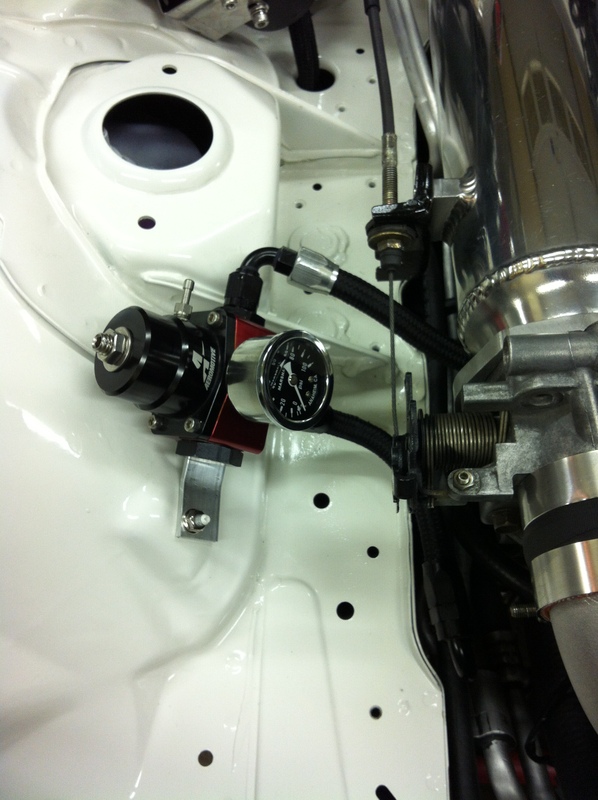
Then installed my Aeromotive regulator. I ended up using an existing hole in the bay with my own bracket. Locking hardware and loctite was used here as well.
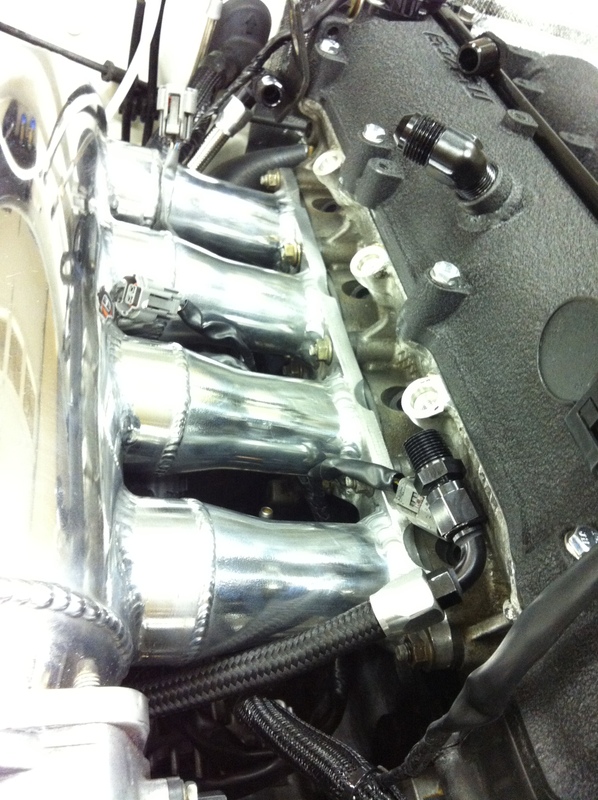
I extended a bunch of my wiring to route it all under the intake manifold, even the injector leads. After that was complete I mocked up the intake manifold to check for obstructions.
The lines are in place and awaiting my fuel rail.
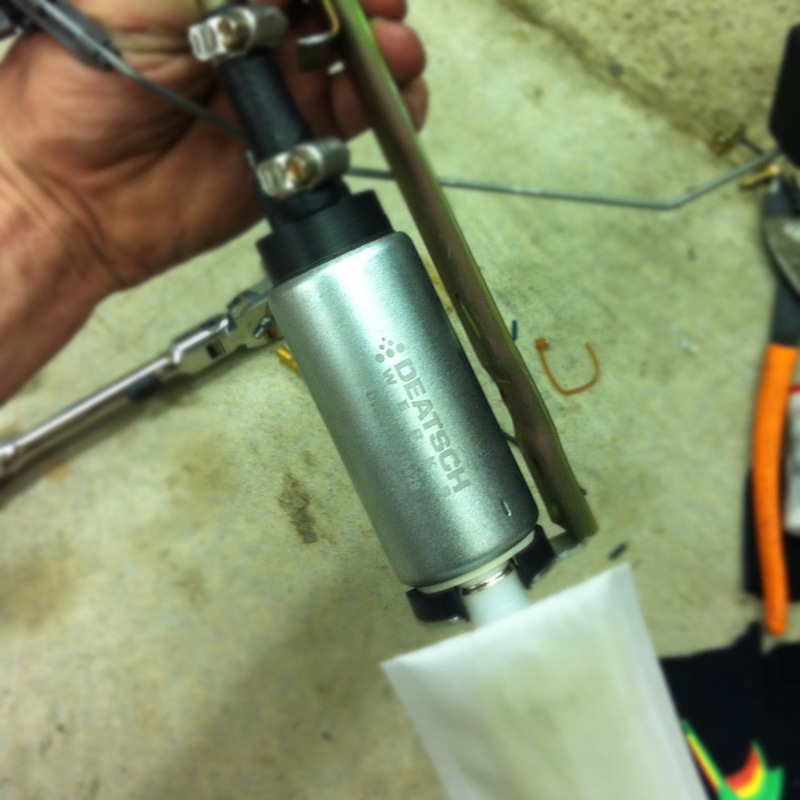
Next task was to install my Deatsch Werks pump. The DW pump is quieter than my old one, still in-tank and will flow the power I need. Since my car is a returnless setup I chopped off the regulator and redirected the return flow onto the pump for cooling reasons.
Manifold after ceramic coating:
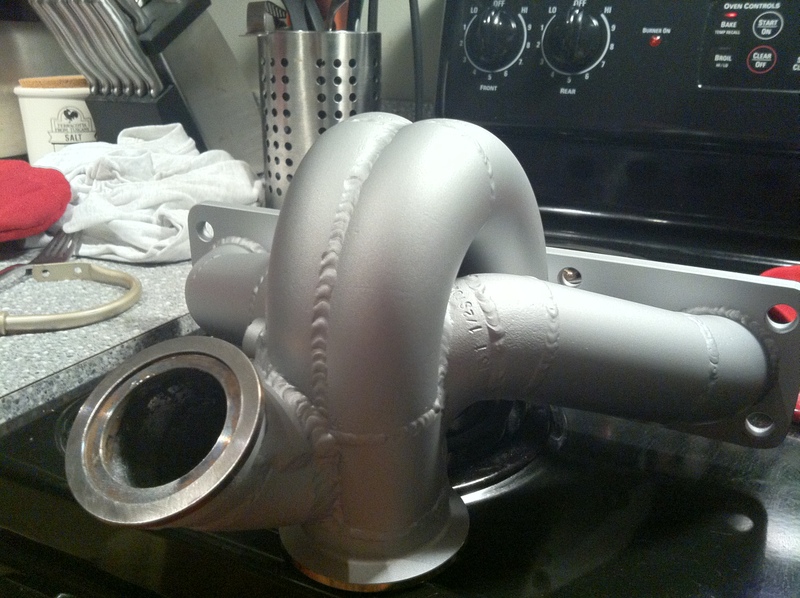
Now I'm just waiting on the fuel rail.

I�ve decided to use the port in the side of the block for my coolant. I�m also switching to AN lines so here they are mocked up.

For the coolant reroute I wanted something clean and reliable. I went and picked up the 2002 Tahoe radiator hose that most people use, then I chopped it up. You can see that there is hard pipe in the middle- that�s actually my old recirculating valve hard pipe, just so happened to be the right size for the job.

Then I used a slight elbow and mounted it to the alternator bracket using a t-bolt clamp. I have had my tension set bolt removed for months so this was convenient. I used locking nuts with loctite. The assembly sits here comfortably with it unbolted but this was just for some added insurance.

Next was my fuel setup � I converted the fuel lines to AN using the adapter shown here:

Then installed my Aeromotive regulator. I ended up using an existing hole in the bay with my own bracket. Locking hardware and loctite was used here as well.

I extended a bunch of my wiring to route it all under the intake manifold, even the injector leads. After that was complete I mocked up the intake manifold to check for obstructions.

The lines are in place and awaiting my fuel rail.

Next task was to install my Deatsch Werks pump. The DW pump is quieter than my old one, still in-tank and will flow the power I need. Since my car is a returnless setup I chopped off the regulator and redirected the return flow onto the pump for cooling reasons.

Manifold after ceramic coating:

Now I'm just waiting on the fuel rail.
Reply
0
0


Very nice.
I'm not understanding what you're saying about returnless/chopped regulator/re-direct though, and I'm very curious about it, since I'll probably need to do the same. Can you explain how your fuel system is setup? You have the regulator in bay, and chopped off the regulator in tank? Maybe I just didn't have enough coffee this morning.
I'm not understanding what you're saying about returnless/chopped regulator/re-direct though, and I'm very curious about it, since I'll probably need to do the same. Can you explain how your fuel system is setup? You have the regulator in bay, and chopped off the regulator in tank? Maybe I just didn't have enough coffee this morning.
Reply
0
0
Thread Starter
Senior Member
iTrader: (7)
Joined: Sep 2009
Posts: 754
Total Cats: 68
From: Royal Oak Michigan
Very nice.
I'm not understanding what you're saying about returnless/chopped regulator/re-direct though, and I'm very curious about it, since I'll probably need to do the same. Can you explain how your fuel system is setup? You have the regulator in bay, and chopped off the regulator in tank? Maybe I just didn't have enough coffee this morning.
I'm not understanding what you're saying about returnless/chopped regulator/re-direct though, and I'm very curious about it, since I'll probably need to do the same. Can you explain how your fuel system is setup? You have the regulator in bay, and chopped off the regulator in tank? Maybe I just didn't have enough coffee this morning.

Reply
1
1
 Not because it's necessary just because they were laying around.

Looks good! The factory pulley bracket for the AC belt should be able to fit with that manifold. I had to make spacers with pieces of pipe so that the bracket would clear the lower coolant reroute inlet.
Reply
0
0

I'm guessing his issue is going to be getting around that gigantic intake rather than contacting turbo/manifold. I'm running an AC tensioner bracket (off an NA if it matters) and it fit fine around my BEGI coolant reroute, but judging by his picture it would definitely contact that intake tube. It looks like it may be possible to trim back the coupler on the turbo to free up a little room though.
Reply
0
0


