
H3AVY to H3AVYER to...H3AV1EST P1G


No CF dipped *****, no care.
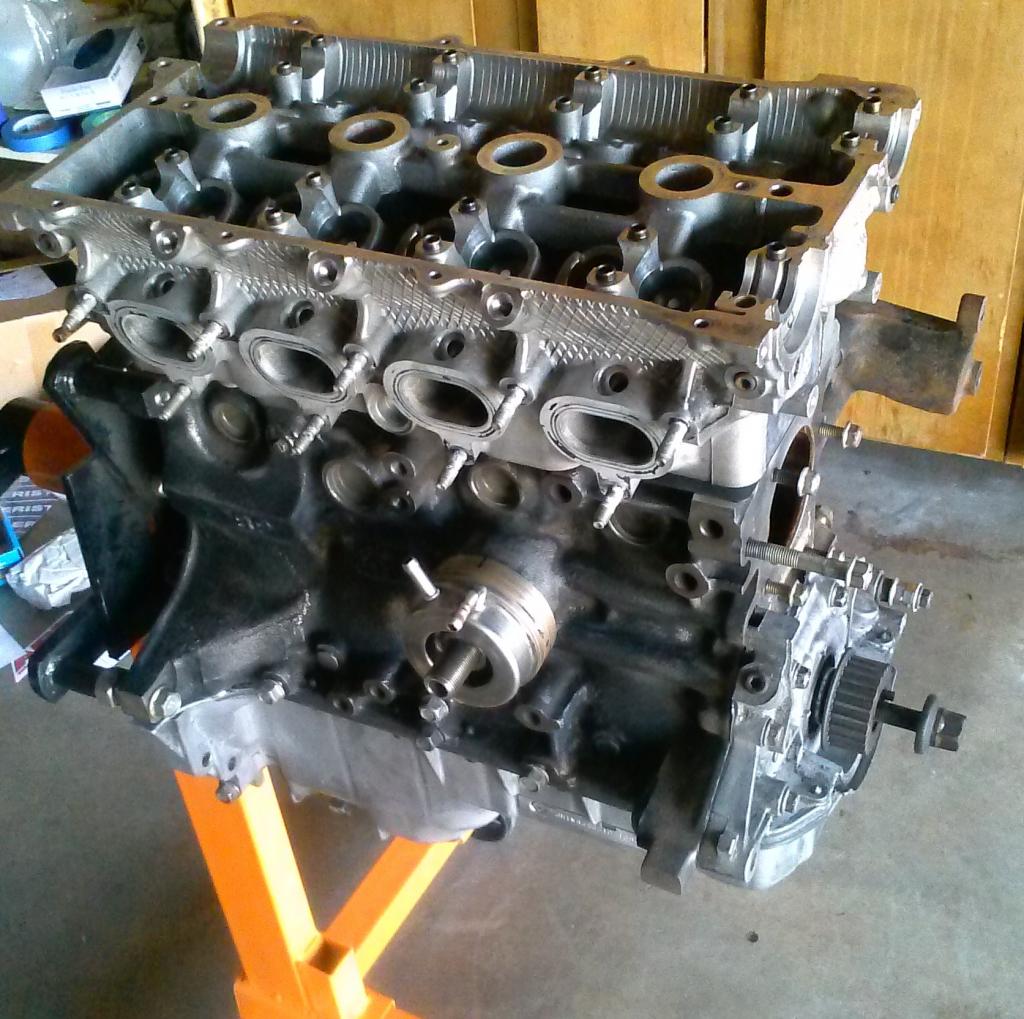
Vlad, question for you. I just got my donor motor ripped apart here, I'm curious how your cylinders looked before you honed them and how many miles were on your block.
My cylinders all look very nice with visible crosshatching still. There are a few vertical scratches you can barely catch a nail on though, so my question is this. I always hear you should not be able to catch a nail on any scratches or they are too deep. Is this before or after a hone? I'm fairly sure that after a quick hone the scratches will be a non-issue. Good news is the crank looks GREAT. Do you recommend sanding/polishing the crank or anything? I was thinking some super fine grit sandpaper might be in order to polish it out.
Otherwise, hows the build going? I'm going to slap mine together soon I think.. getting excited now that the motor is apart.
Reply
 1
1

1
mine was somewhere over 100k
it was perfect and still cross-hatched, but I honed it anyway.
I would absolutely hone til there isn't any vertical scratches at all. Any remaining is just asking for trouble. Not sure about the crank, mine was flawless so I didn't touch it at all.
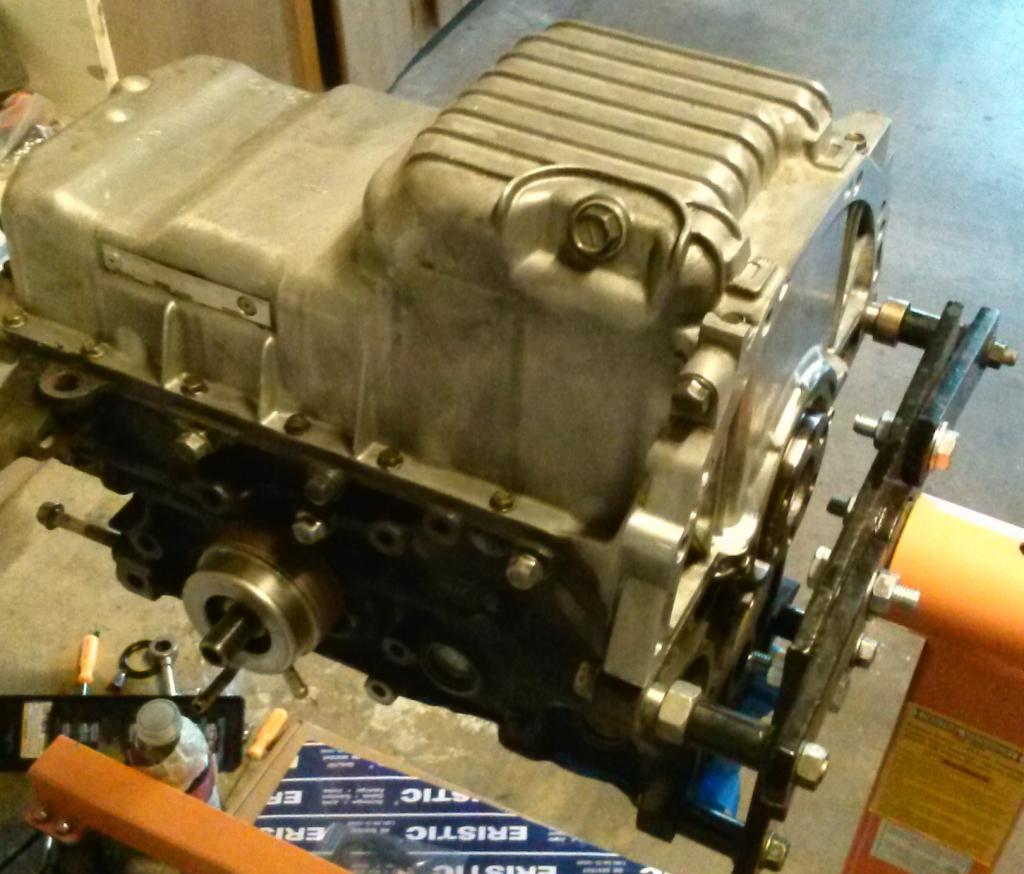
Its going. Yesterday re-assembled and re-installed the oil pump, and the rear ring that holds the rear main seal. Also assembled the intake mani and throttle body back together.
it was perfect and still cross-hatched, but I honed it anyway.
I would absolutely hone til there isn't any vertical scratches at all. Any remaining is just asking for trouble. Not sure about the crank, mine was flawless so I didn't touch it at all.
Its going. Yesterday re-assembled and re-installed the oil pump, and the rear ring that holds the rear main seal. Also assembled the intake mani and throttle body back together.
Reply
2
2
mine was somewhere over 100k
it was perfect and still cross-hatched, but I honed it anyway.
I would absolutely hone til there isn't any vertical scratches at all. Any remaining is just asking for trouble. Not sure about the crank, mine was flawless so I didn't touch it at all.
Its going. Yesterday re-assembled and re-installed the oil pump, and the rear ring that holds the rear main seal. Also assembled the intake mani and throttle body back together.
I'll be happy if this motor lasts 50k, being my first ever built. Of course I hope for over 100k.
I asked about the crank because there were different colored "lines" on it, but nothing you could actually feel with your finger nail. I assume that's fine, but might try to polish it out a bit. I'm not sure how good of an idea that is though.
Reply
1
1
Thanks. One came with the gasket set. Yes, tiny thin little film of the Permatex Ultra-Black was applied around the pick up hole just in case. Also I used the stuff on sealing the pan, mbsp, and oil pump. Came out really clean and nice, I hope it works as good as it looks. (the stuff is the strongest out of any I could find, so should probably work fine)
Today I try to finish up the head and start installing that.
Today I try to finish up the head and start installing that.
Reply
2
2
Another baseline dyno run today:
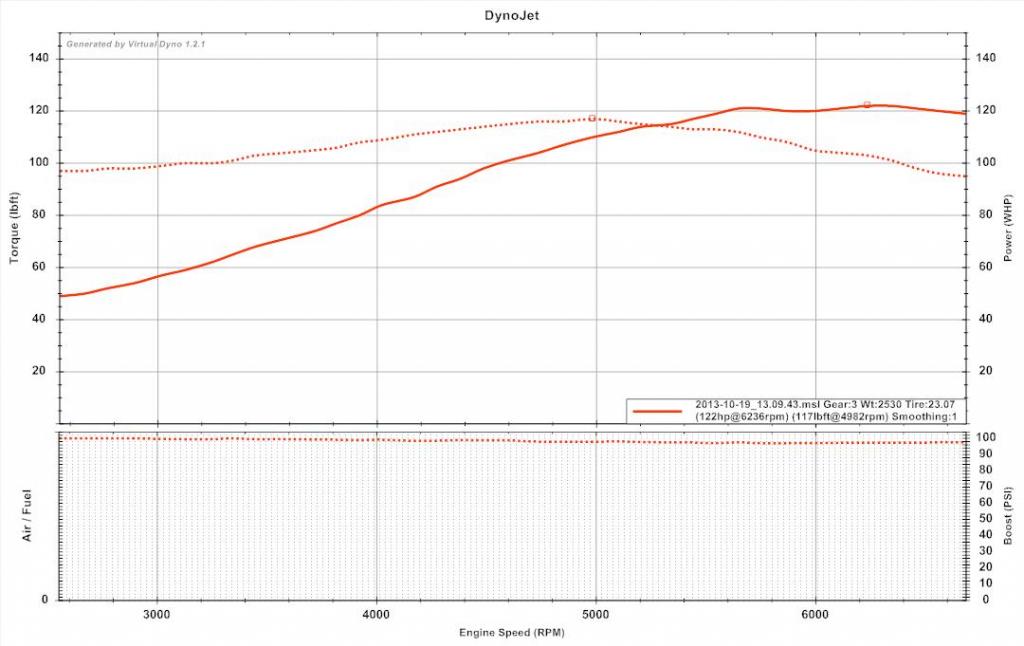
I'm super impressed with the consistency between runs. Last run was quite a while ago, same road same weather, etc. This time I got a full pull it looks like, and its within 1hp of the other one.
I'm super impressed with the consistency between runs. Last run was quite a while ago, same road same weather, etc. This time I got a full pull it looks like, and its within 1hp of the other one.
Reply
1
1


Looking great man, getting me excited.
Loving the ARP hardware! Did you use ARP main bearing hardware too? I know the rods come with ARP goodness, just wondering about the mains.
Loving the ARP hardware! Did you use ARP main bearing hardware too? I know the rods come with ARP goodness, just wondering about the mains.
Reply
1
1
Wow, some sad little person just negged pretty much every post of progress and pictures of the engine/dyno/other helpful posts in other threads.
I hope you feel good about yourself. Pretty sure I know who it is too
I hope you feel good about yourself. Pretty sure I know who it is too
Reply
6
6


